
Welcome! This page will guide you step by step through creating a simple bracelet using nalbinding.
If you’d like to learn more about nalbinding:
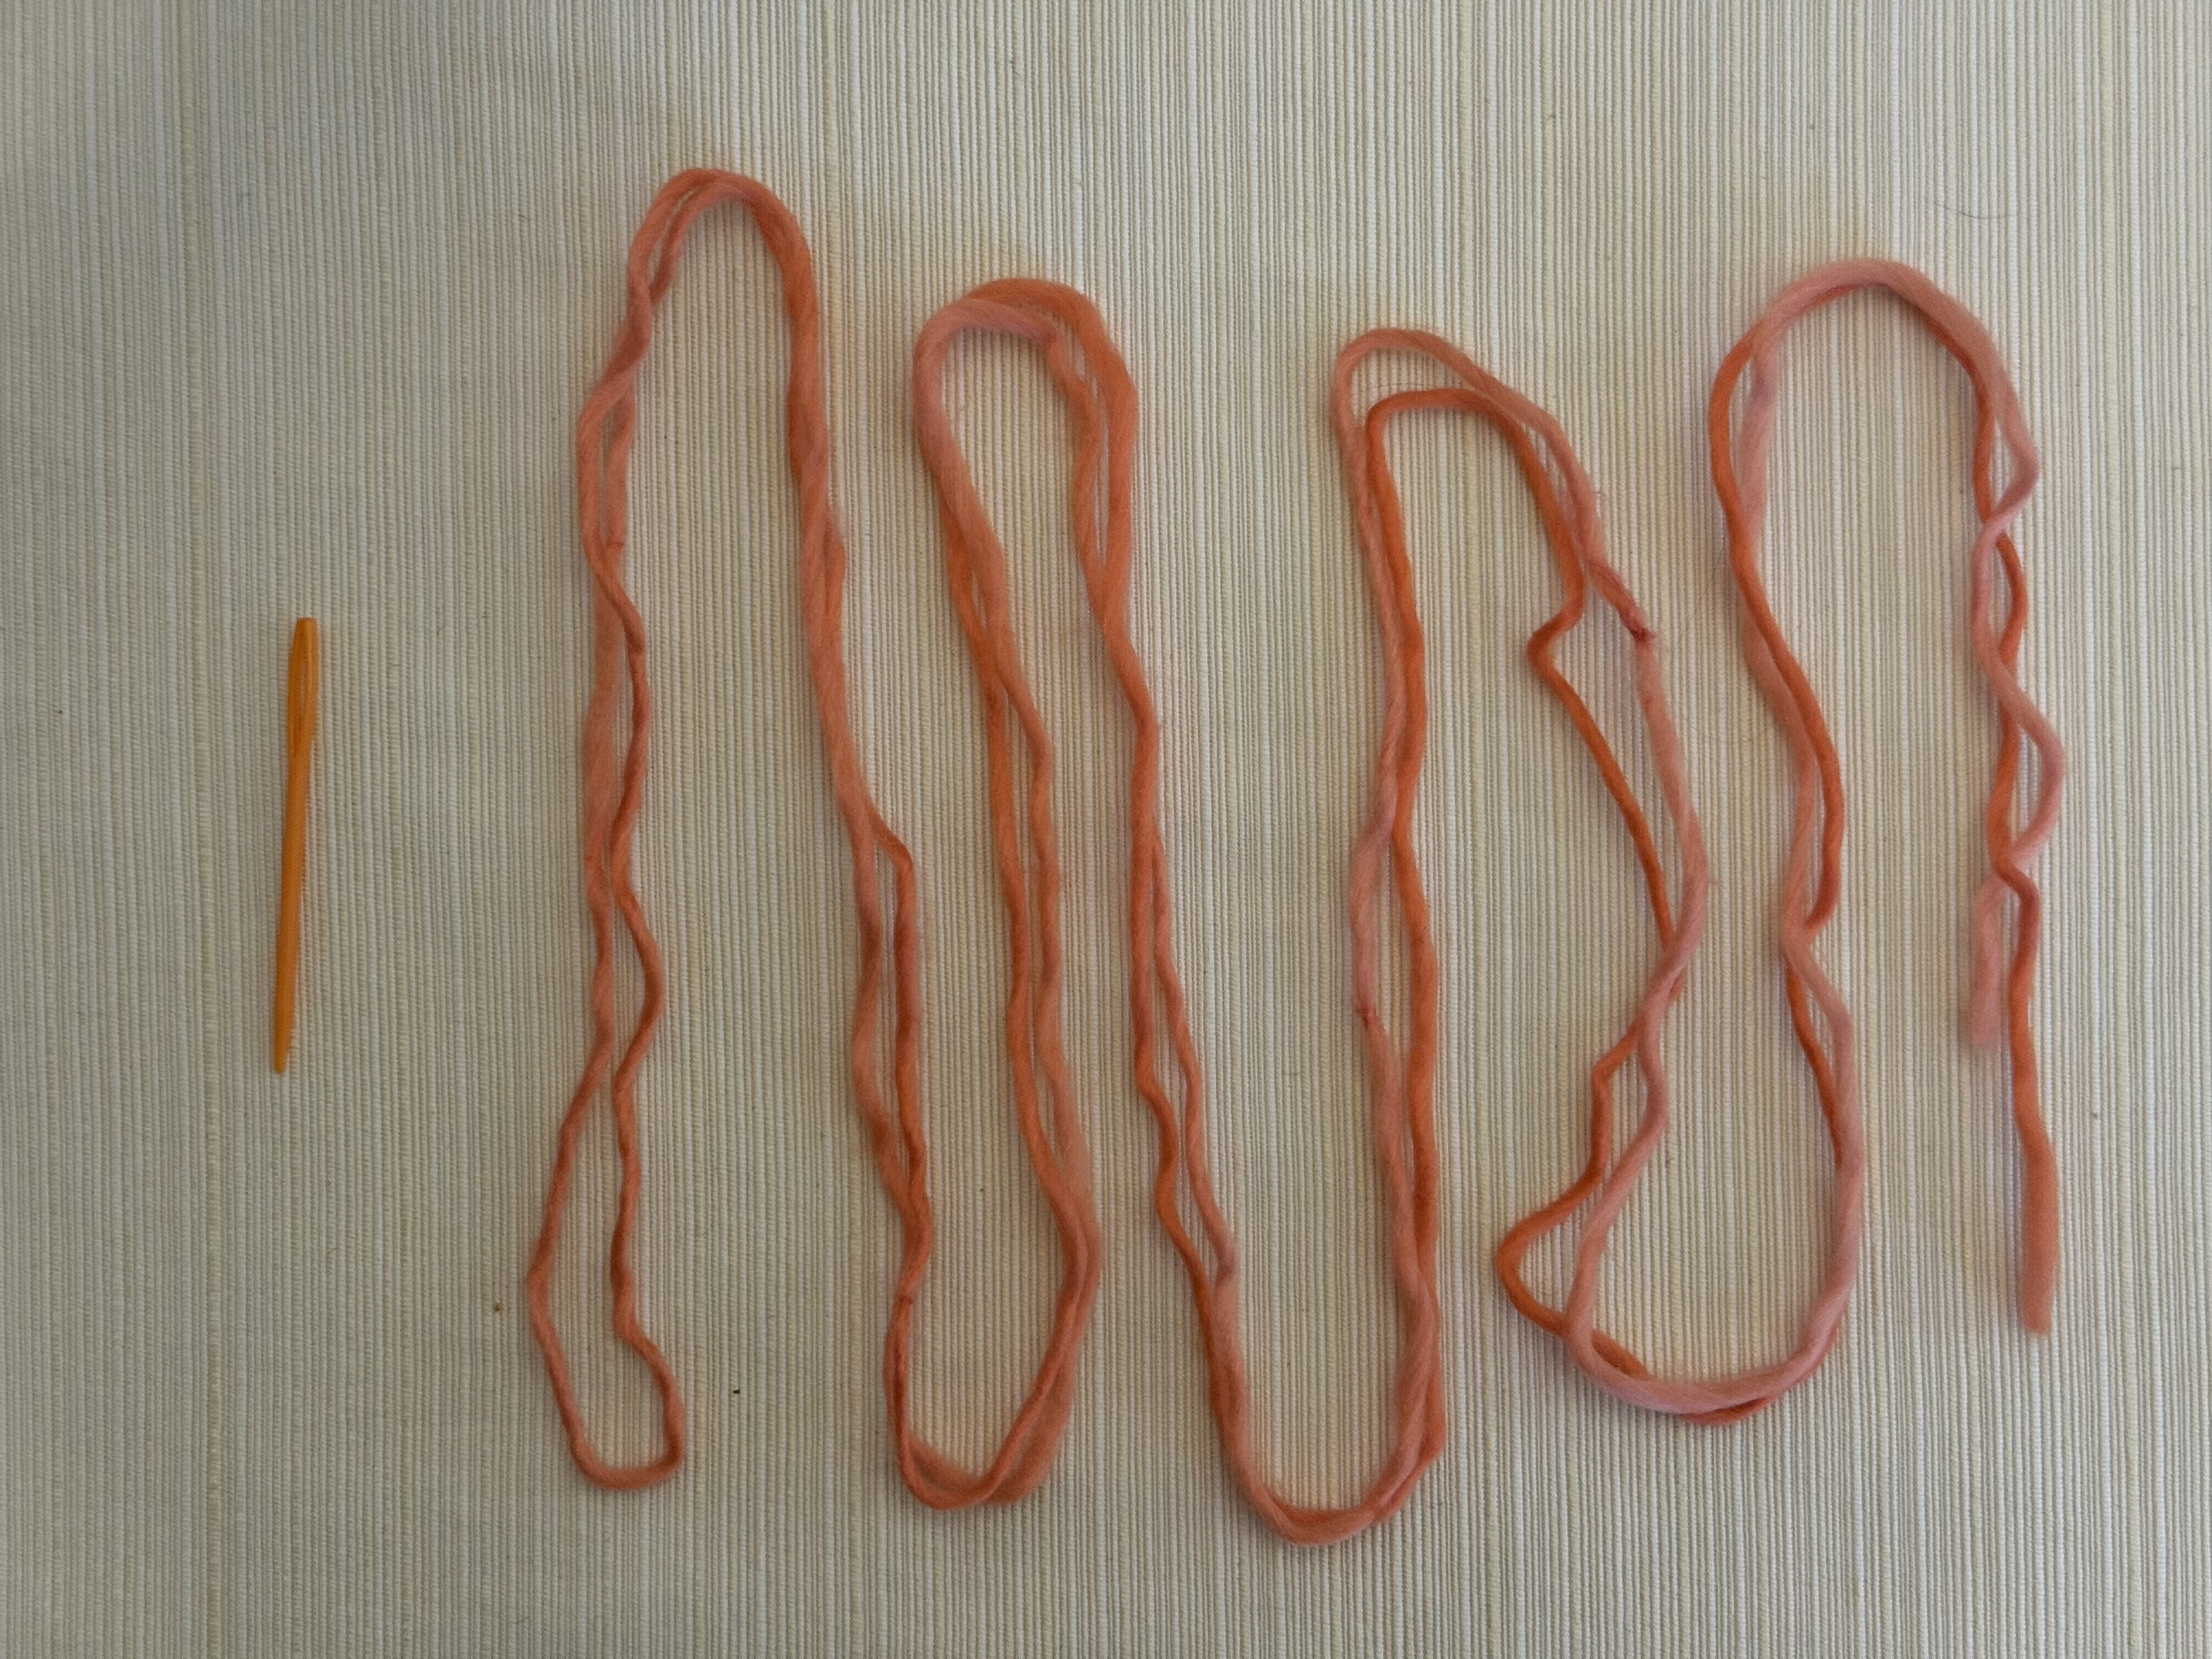
Materials
You will need:
- One armspan’s worth of worsted weight or heavier yarn (makes one bracelet). Fiber content doesn’t matter for right now.
- A blunt metal or plastic tapestry needle (or nalbinding needle, if you already have one)
- A pair of scissors
- A second person to help you, when you get to the end of the tutorial (optional)

Video guide
If you’d like a video guide, Bonsai Woman on YouTube made the one I recommend for beginners. If you prefer written instructions with pictures, keep scrolling down.
Written guide
We’ll be doing Oslo stitch, a beginner-friendly and widely known nalbinding stitch.
Click on any of the images below to enlarge them.
Step 1
Straighten out your yarn and undo any knots or loops.
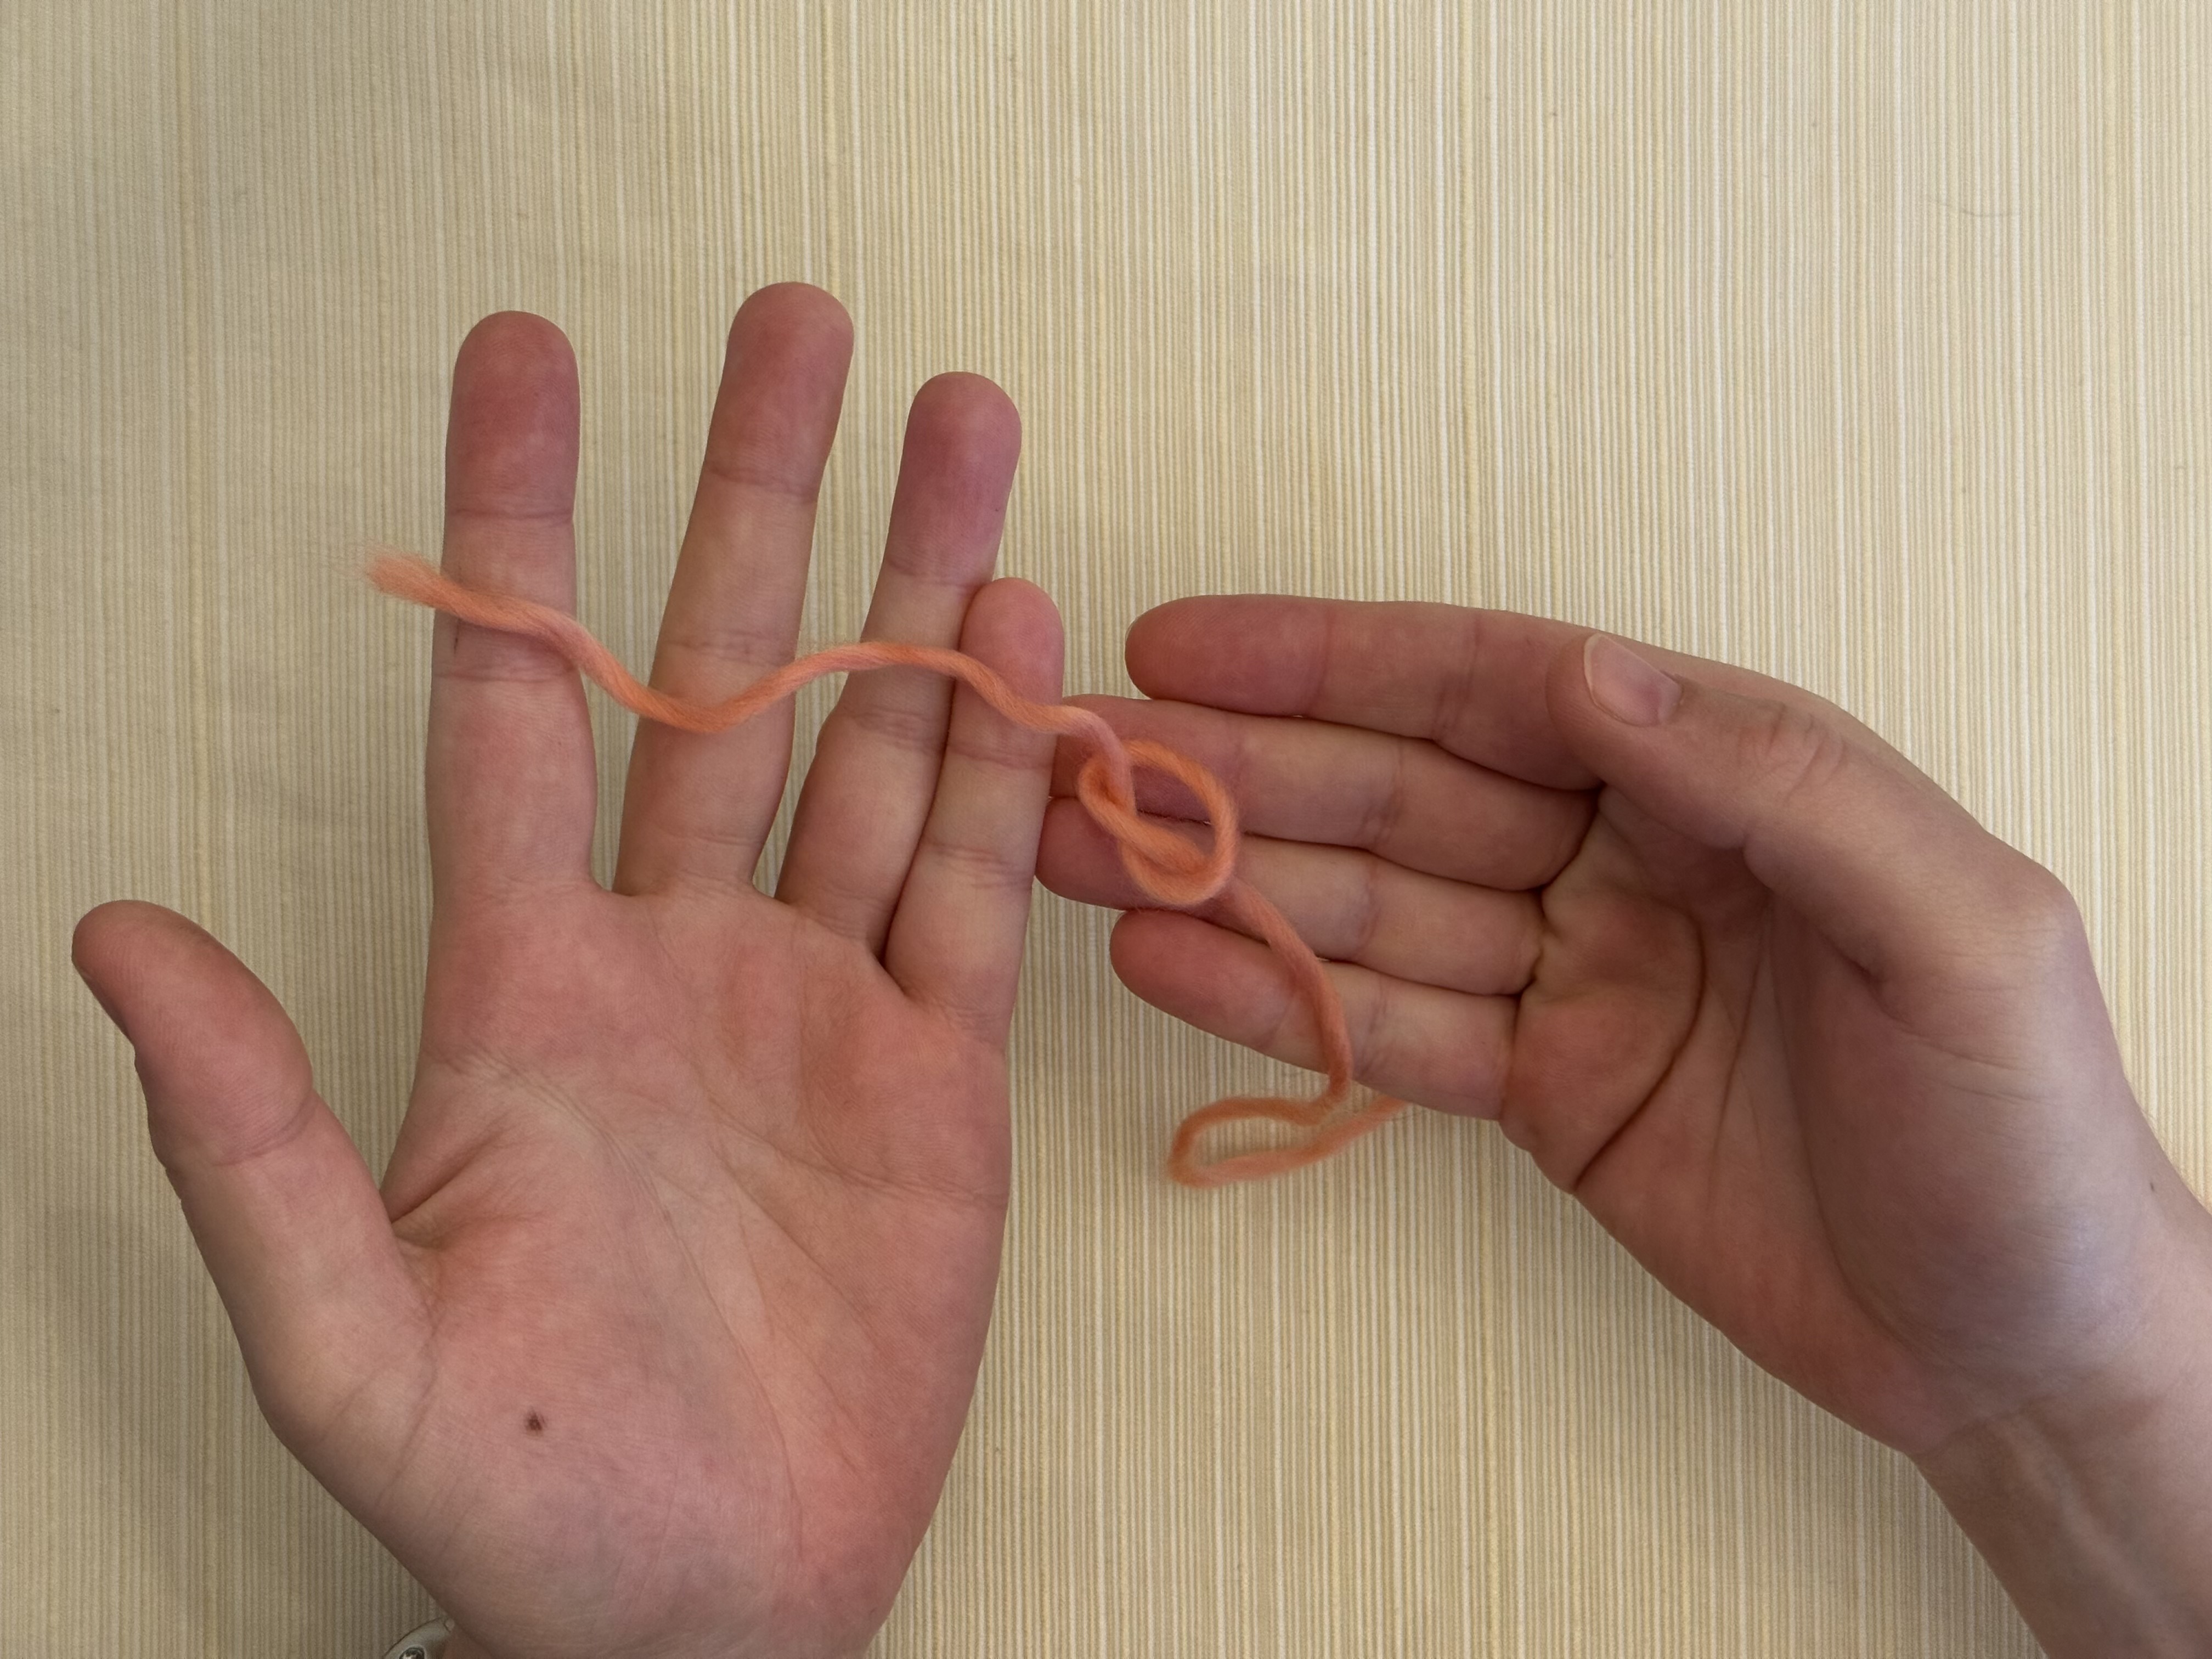
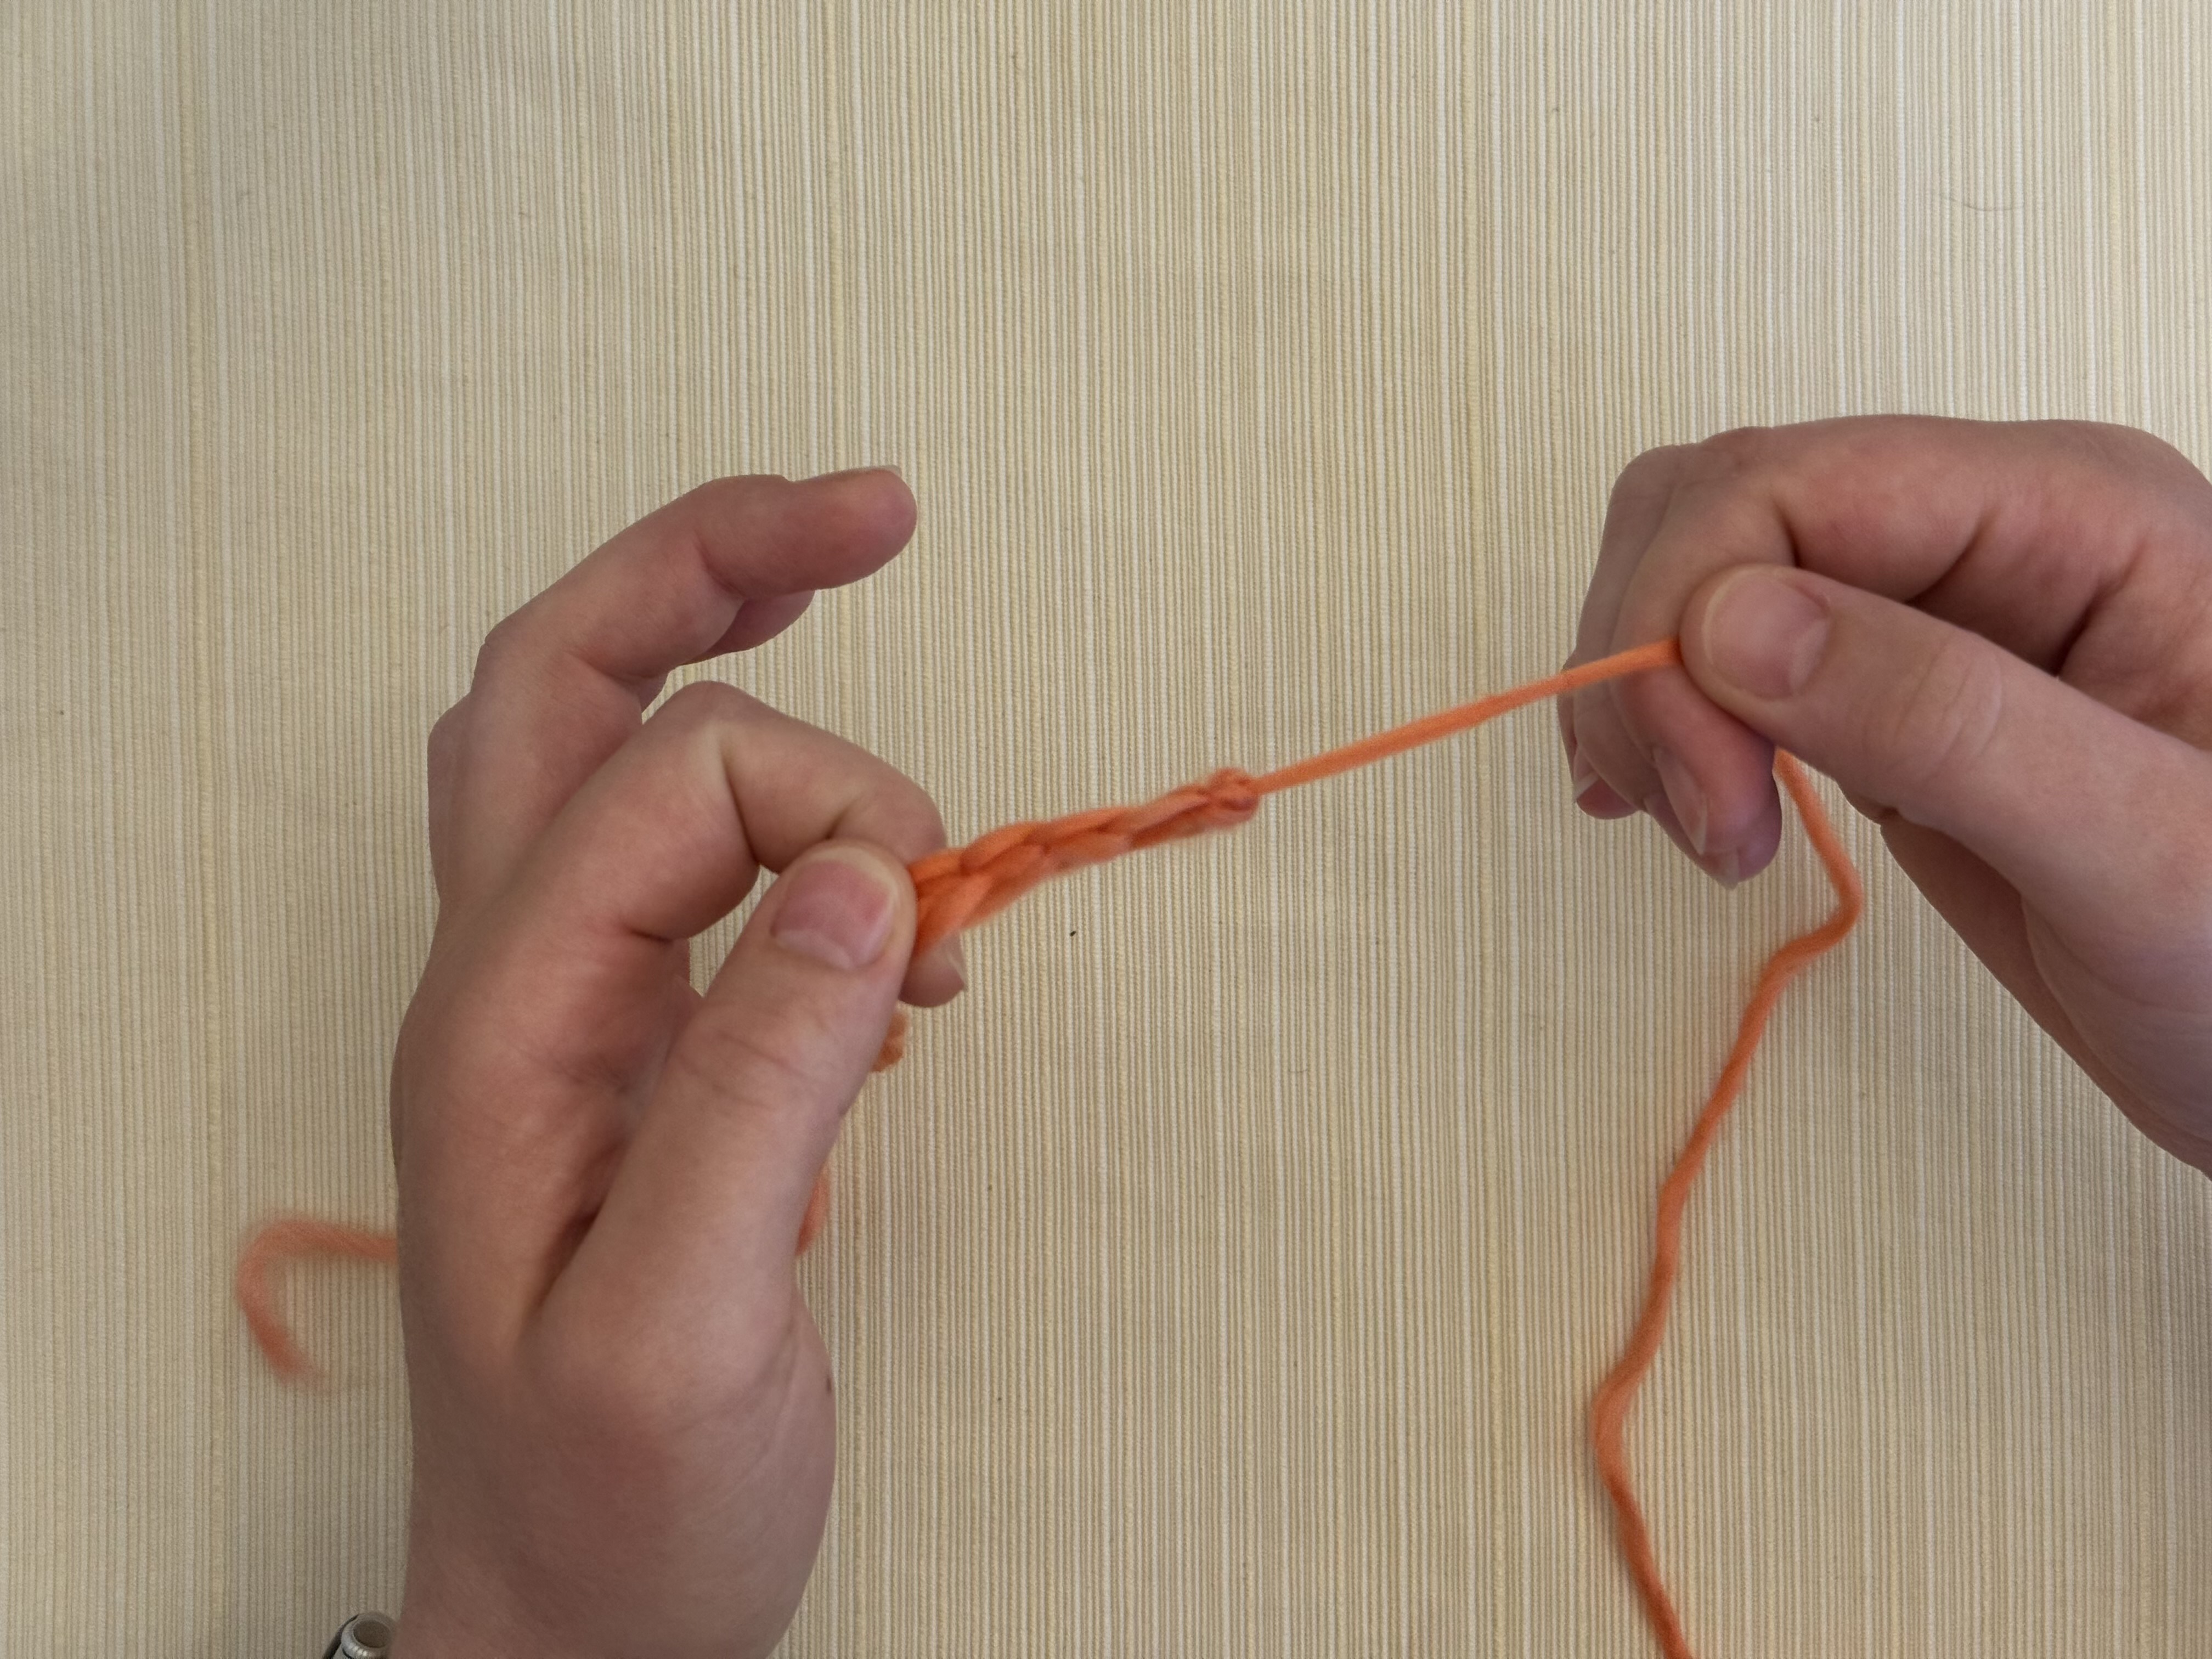
Step 2
With your yarn, make an overhand knot (also called a pretzel knot) about 6″ from one end of your yarn. It doesn’t matter which direction the twist of the knot goes.
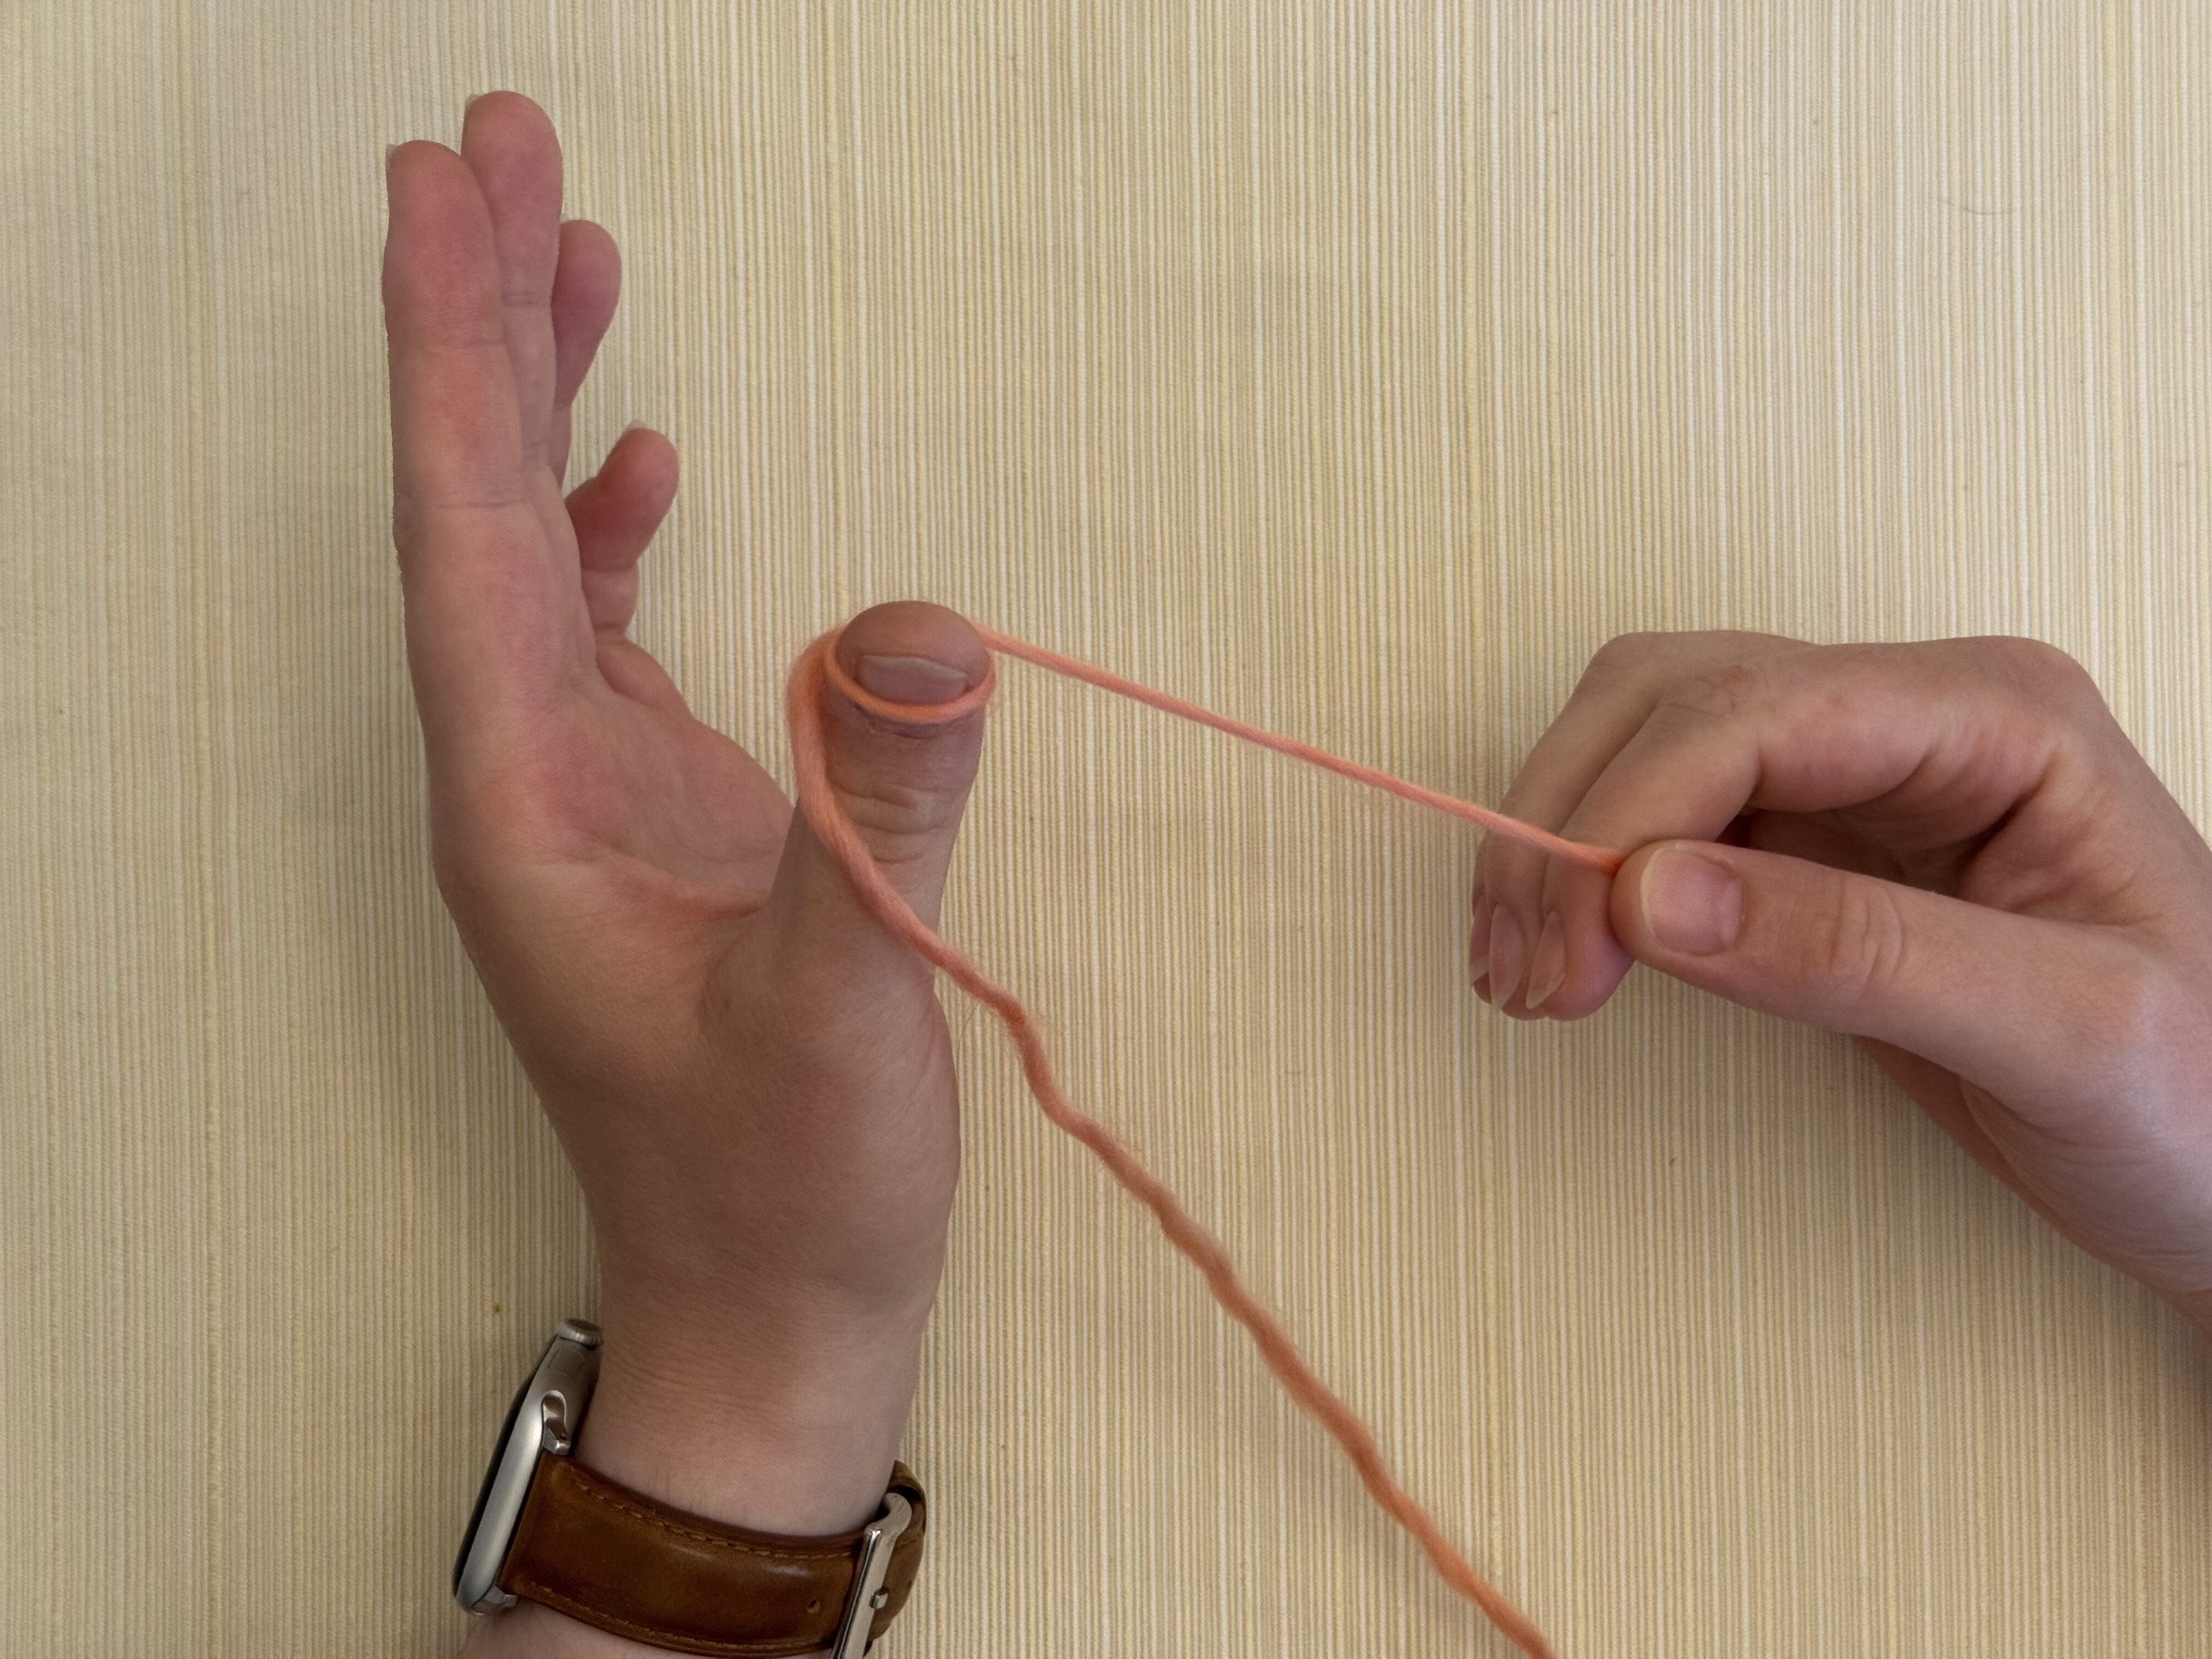
Step 3
Put the knot around your left thumb, with the twist of the knot against the pad of your thumb and the short tail of the yarn going to the right.
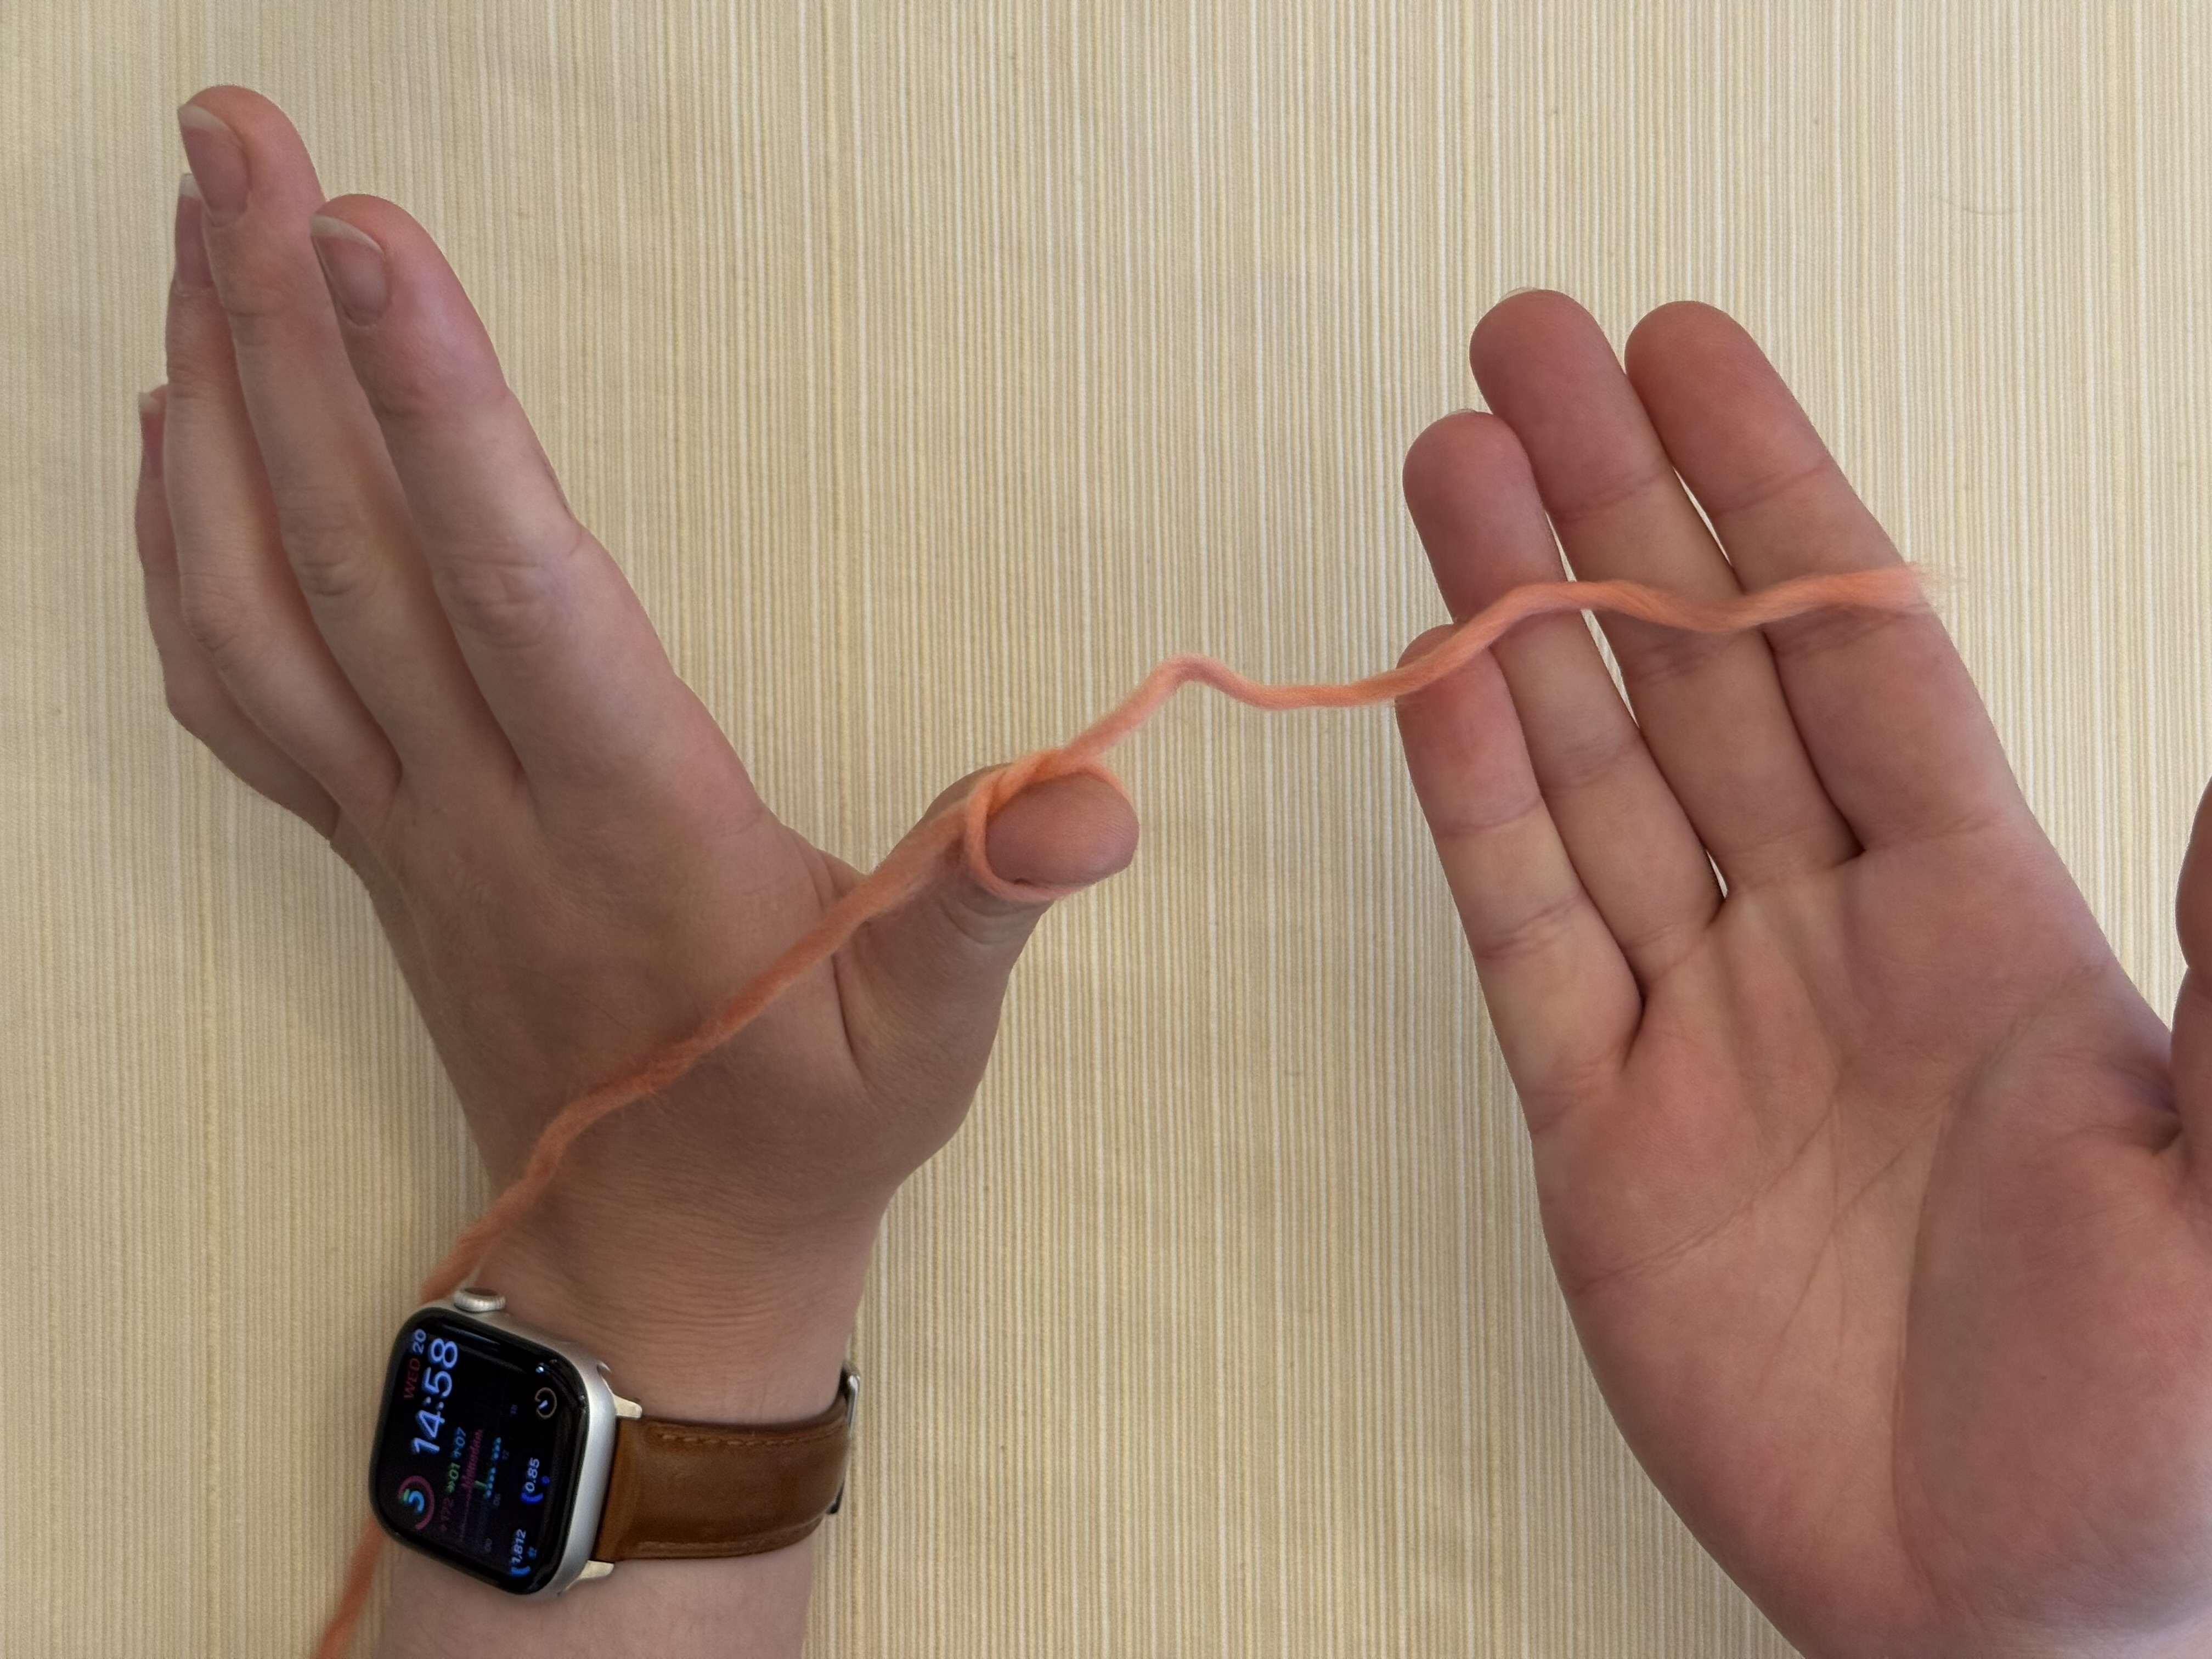
Step 4
Snug up the knot, and put the long end of the yarn (your working yarn) across and in front of your thumb.
Step 5
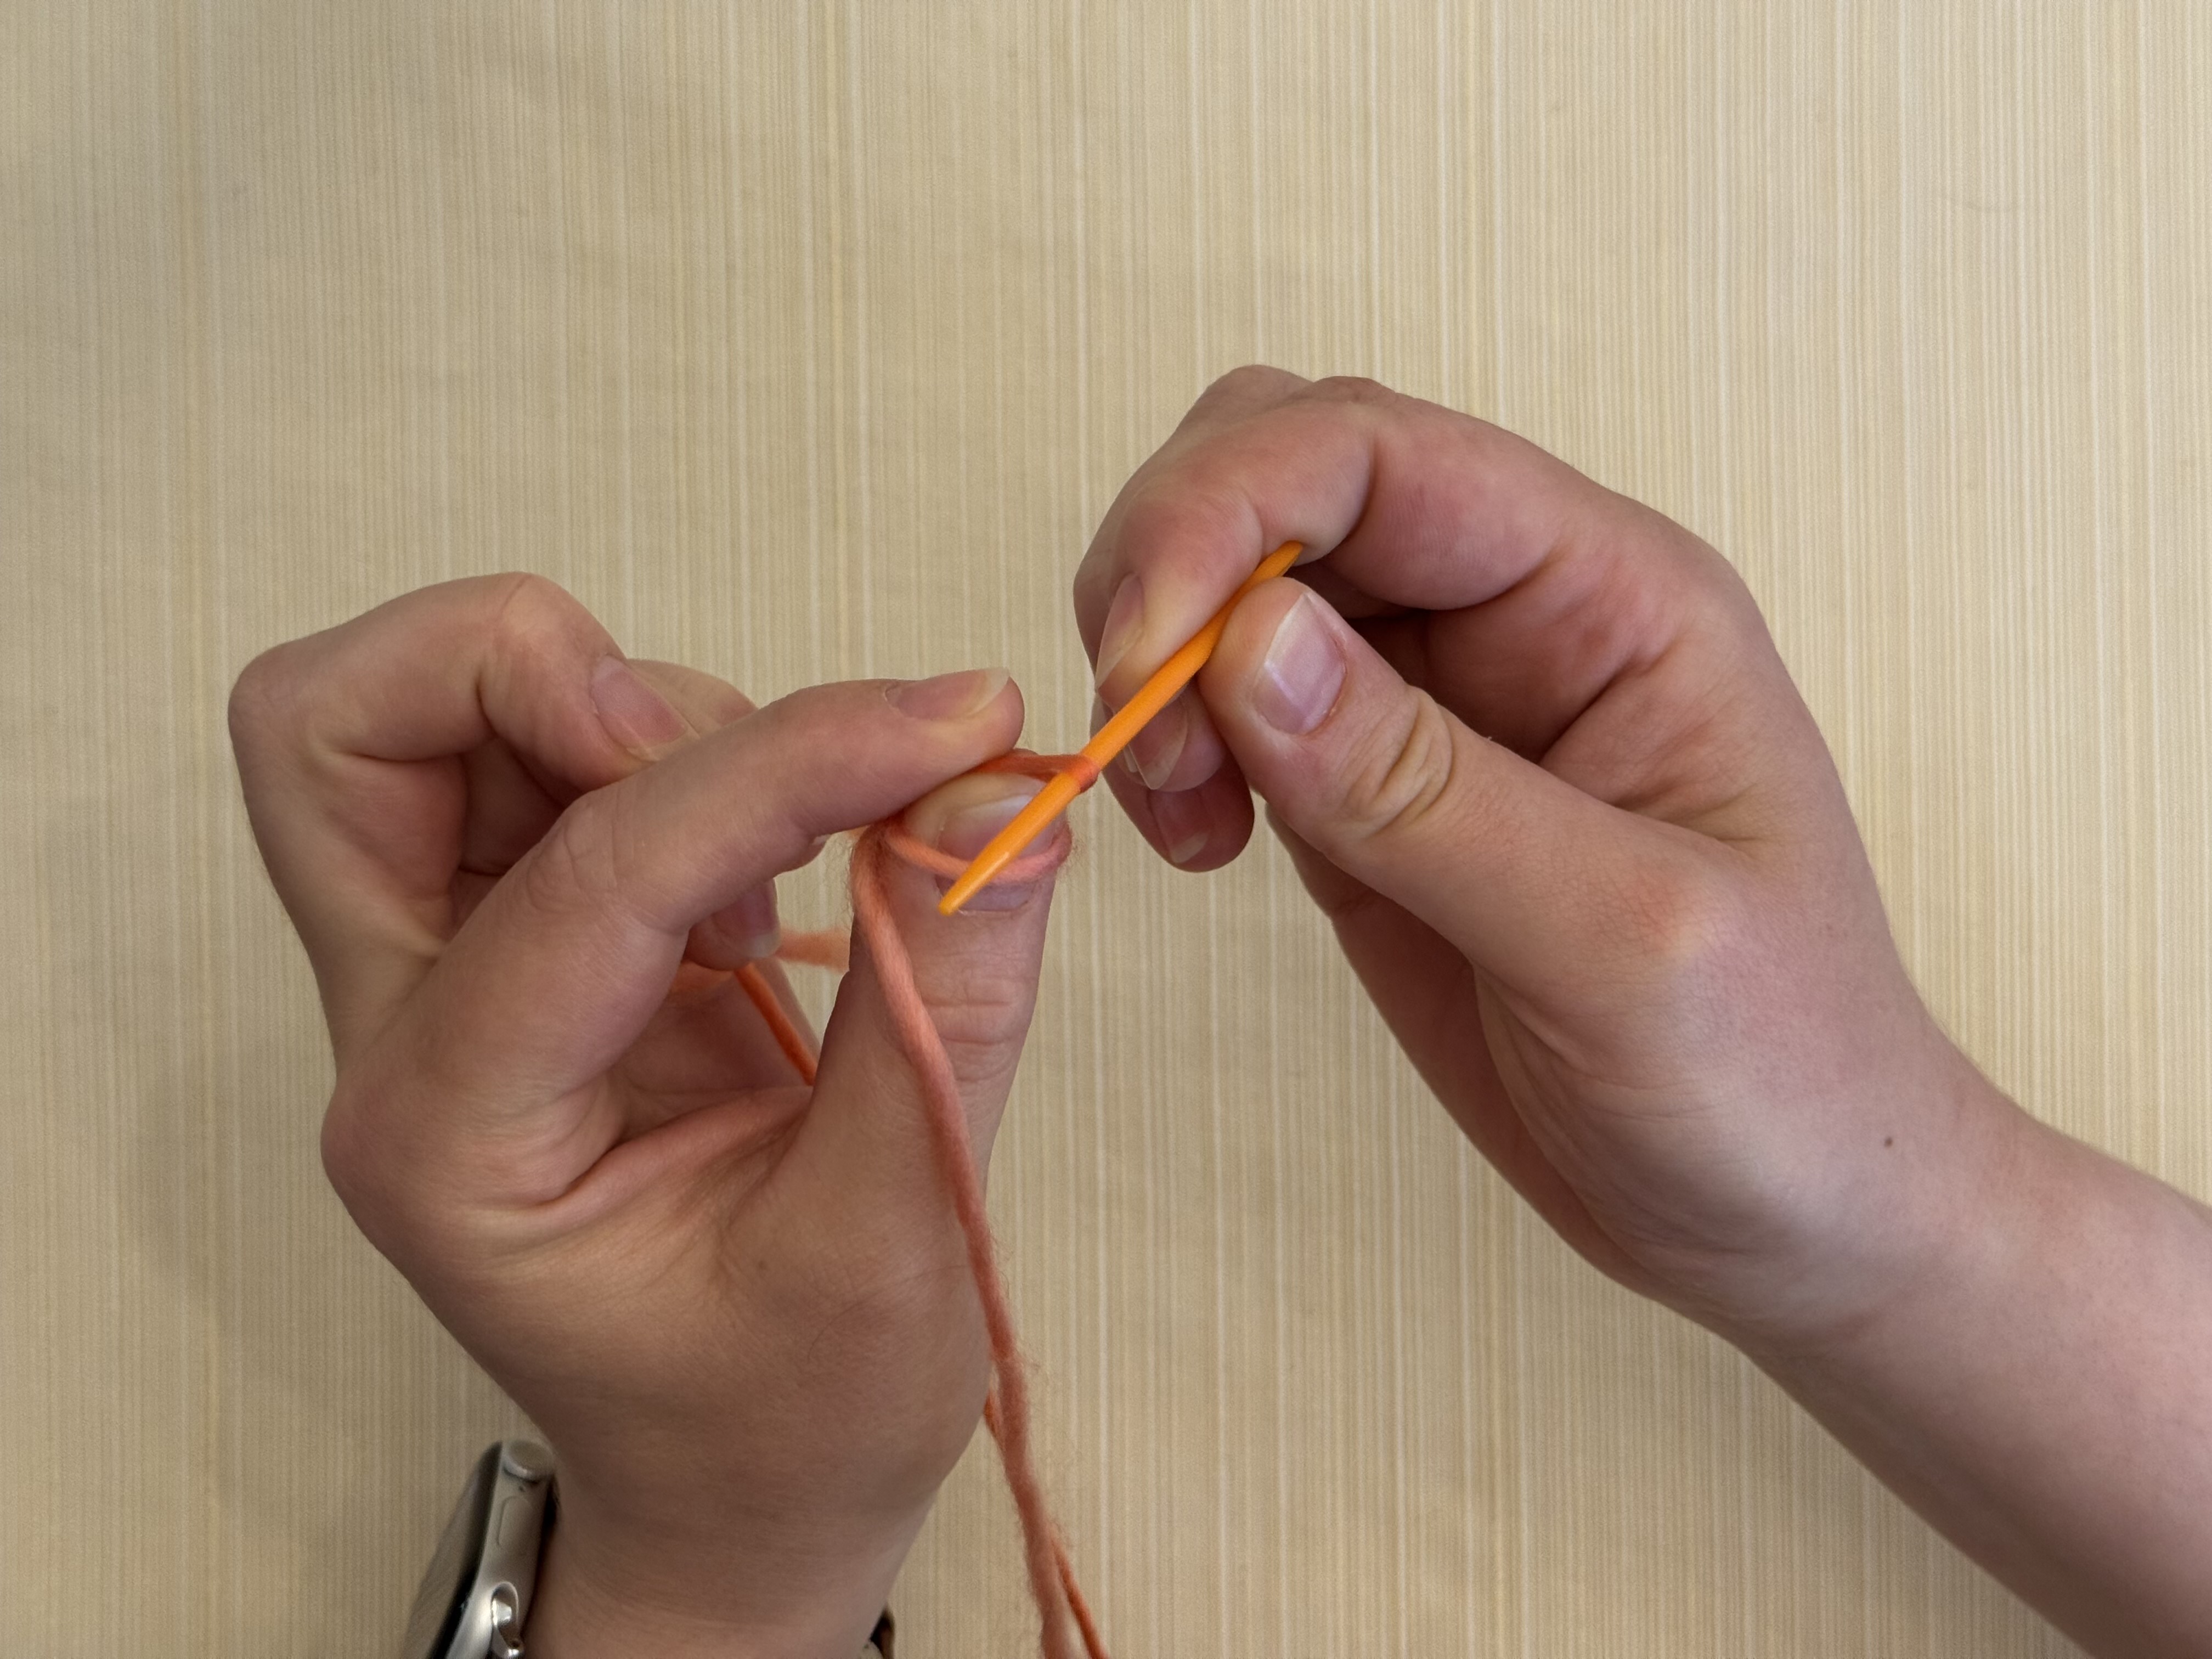
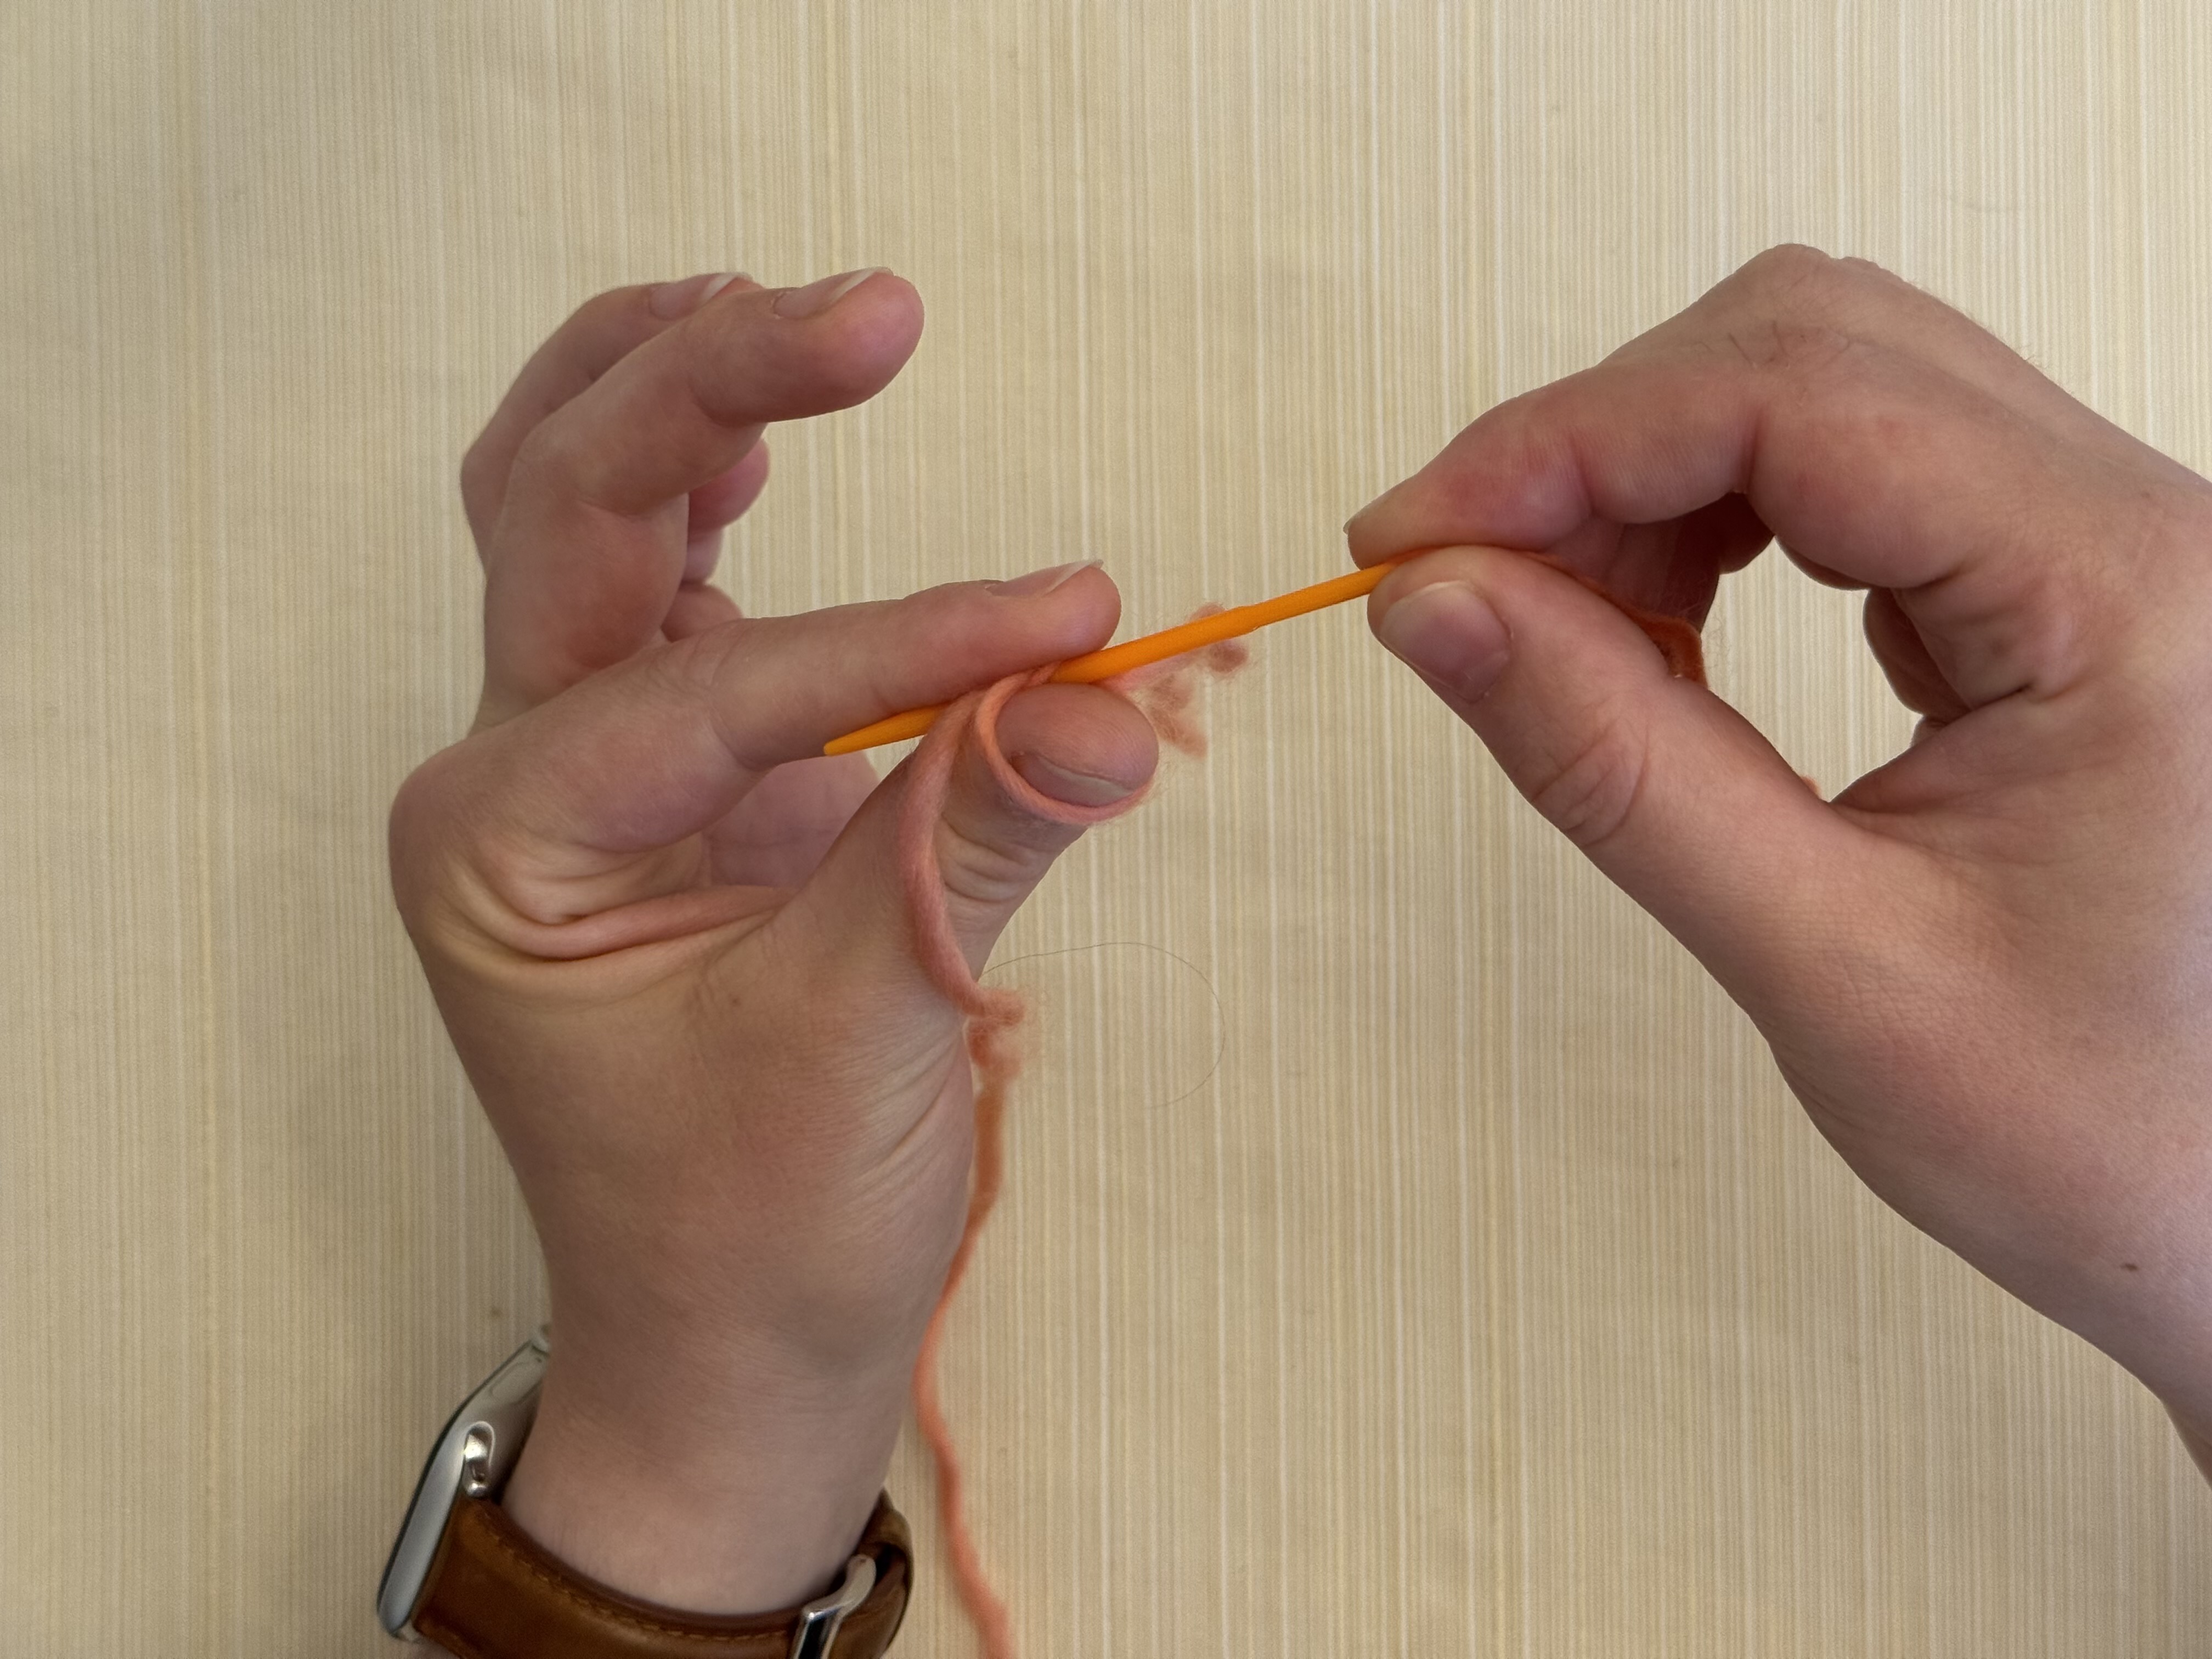
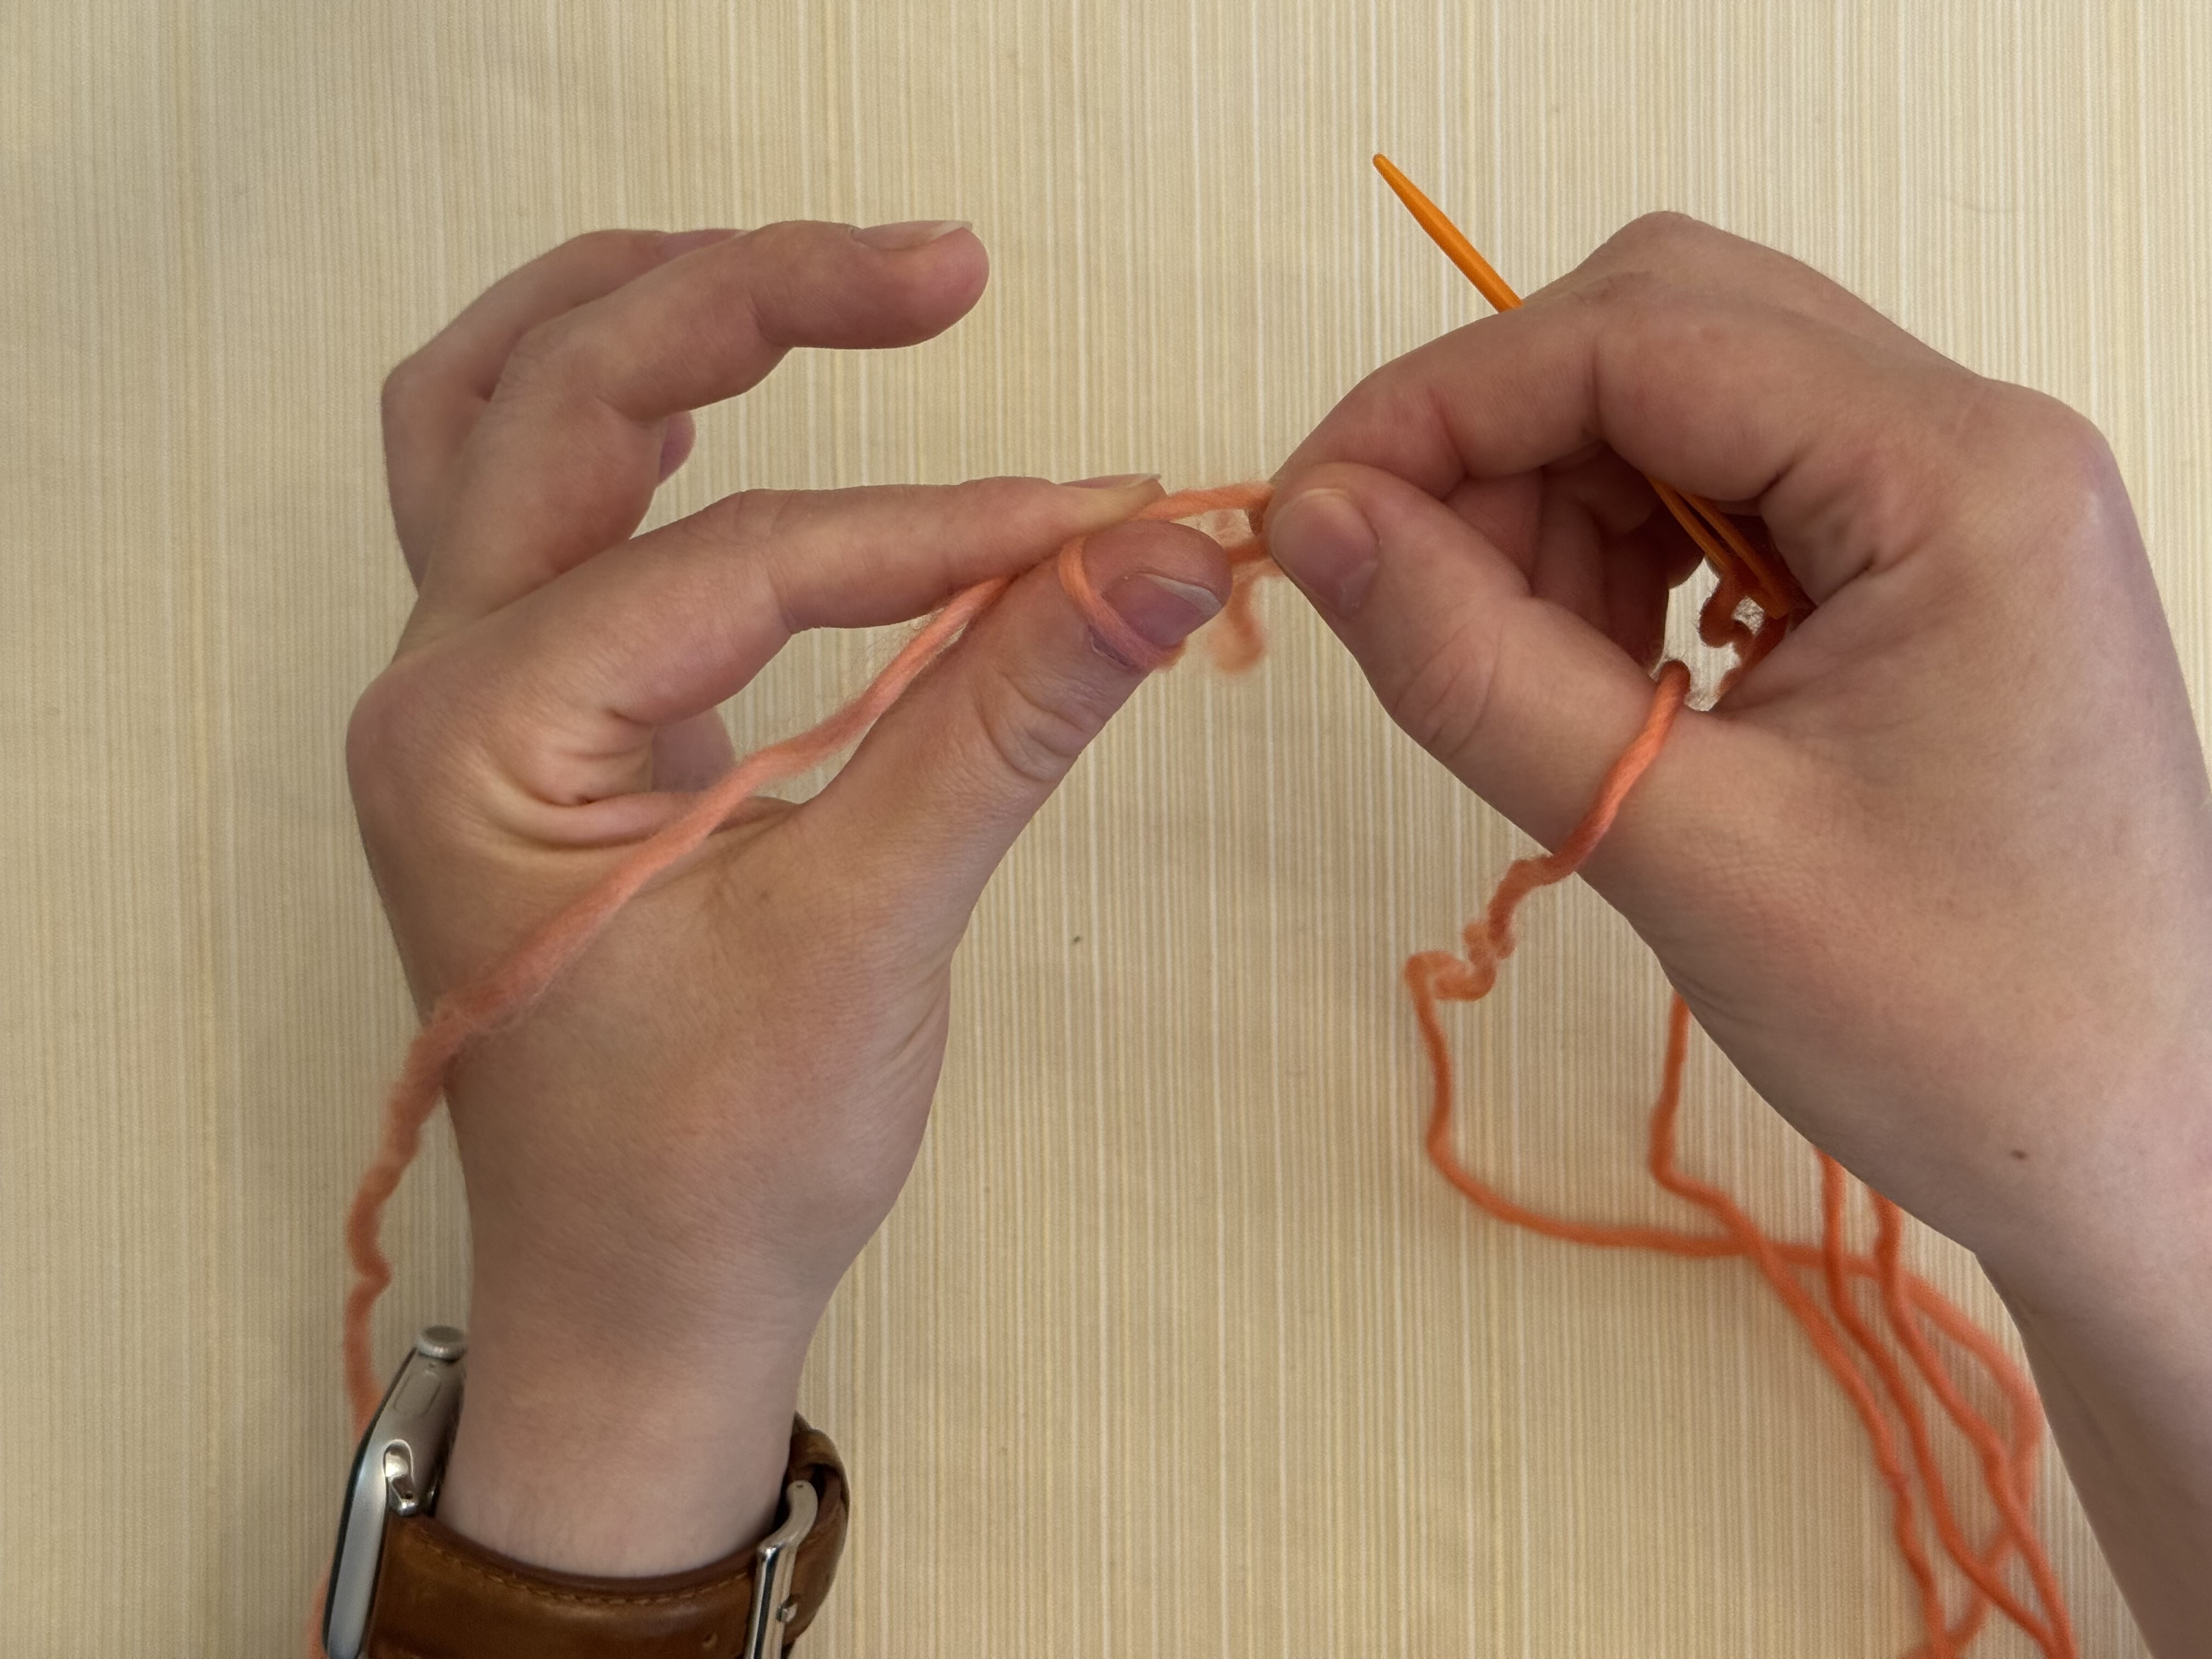
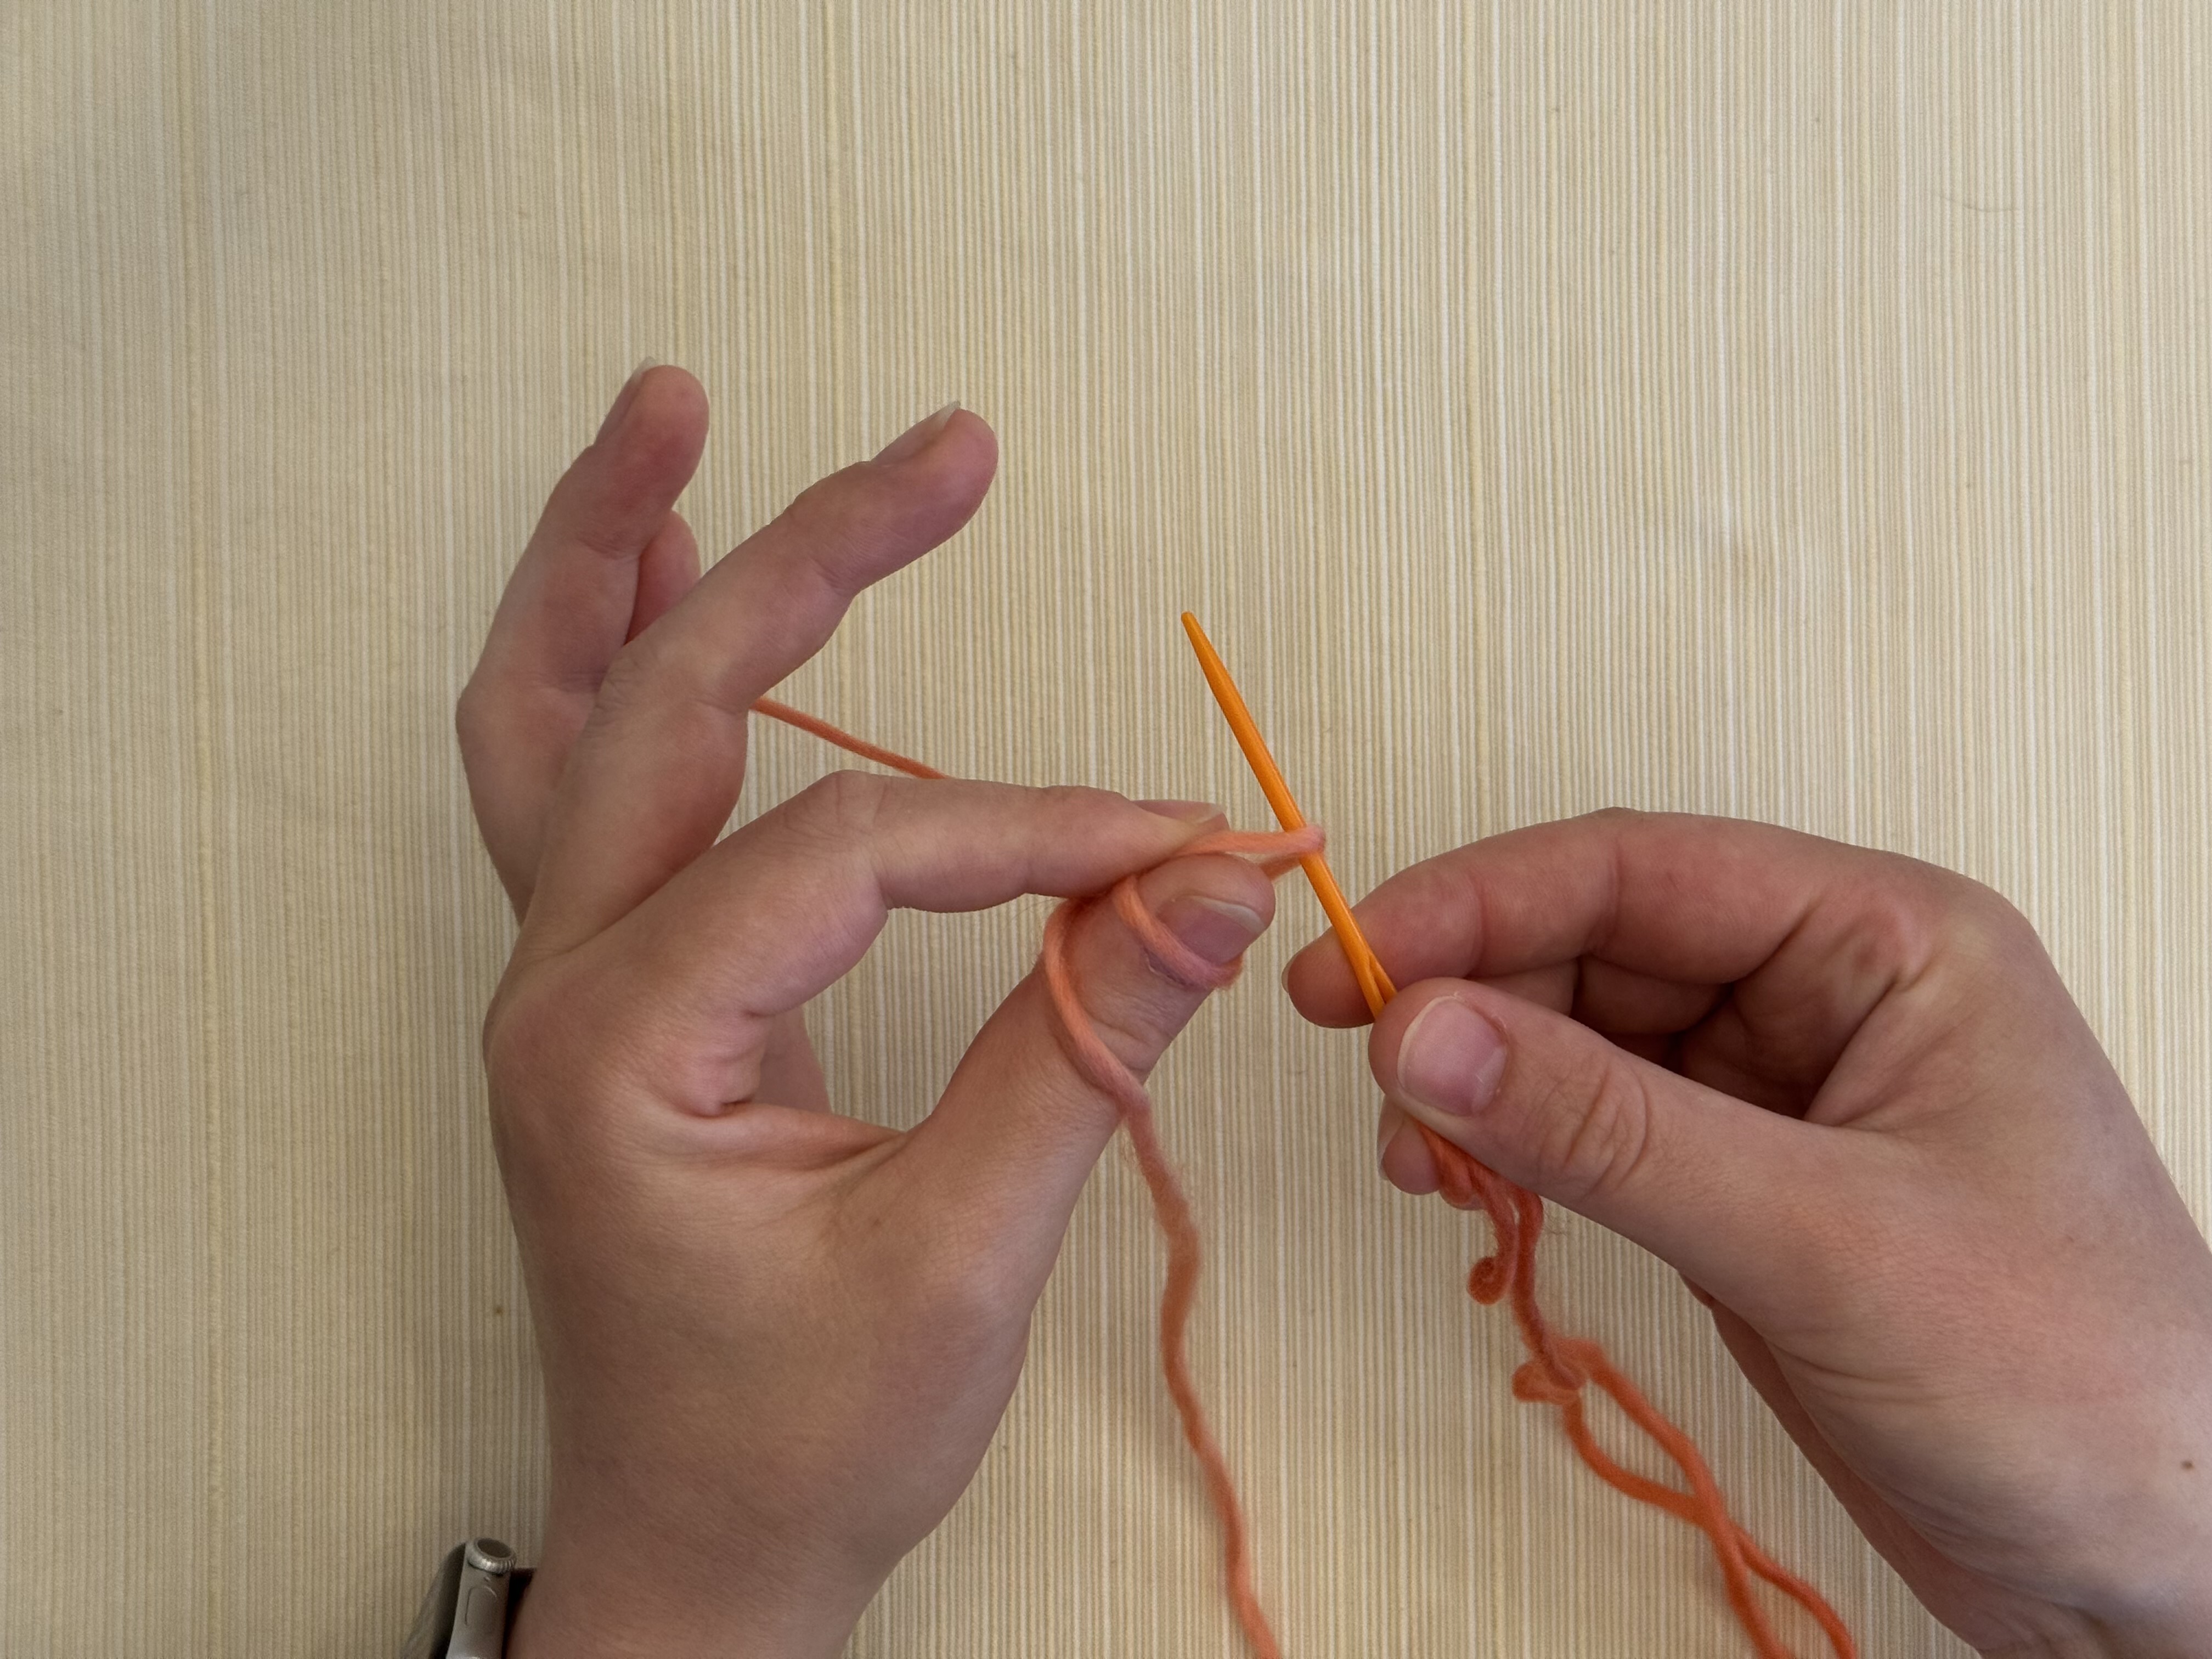
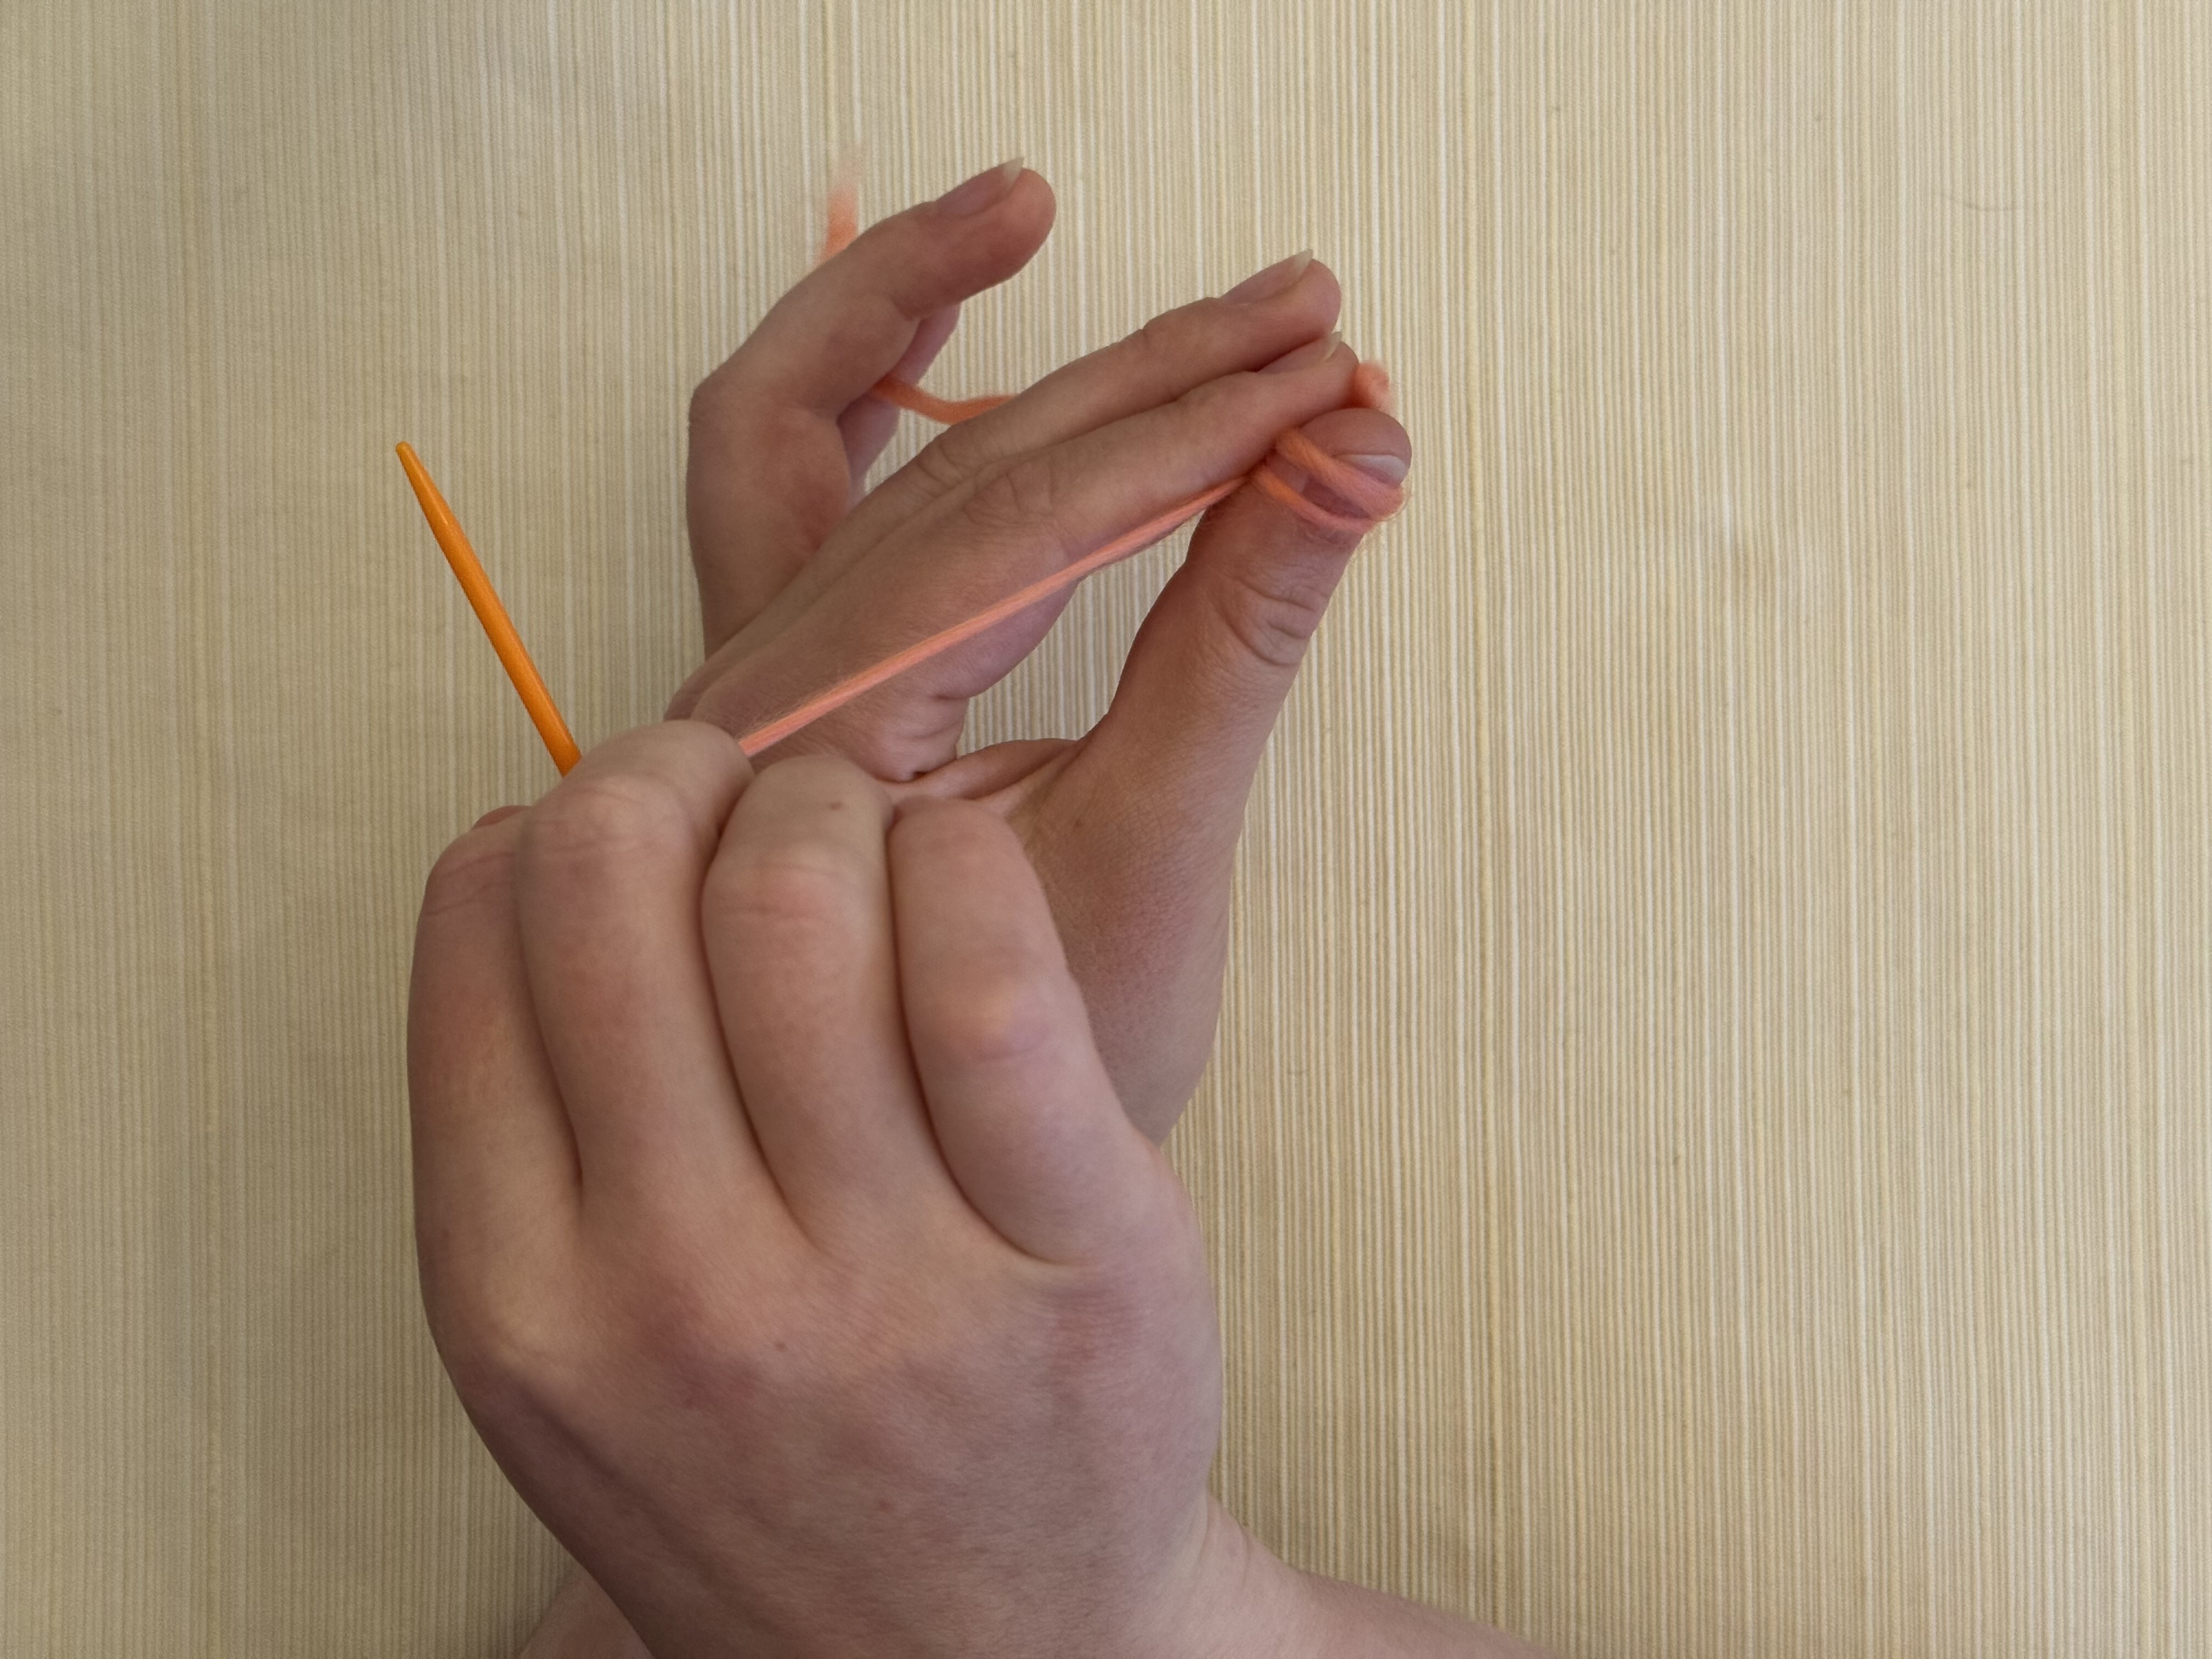
To start threading your needle, take the other end of your yarn and fold it over the needle.
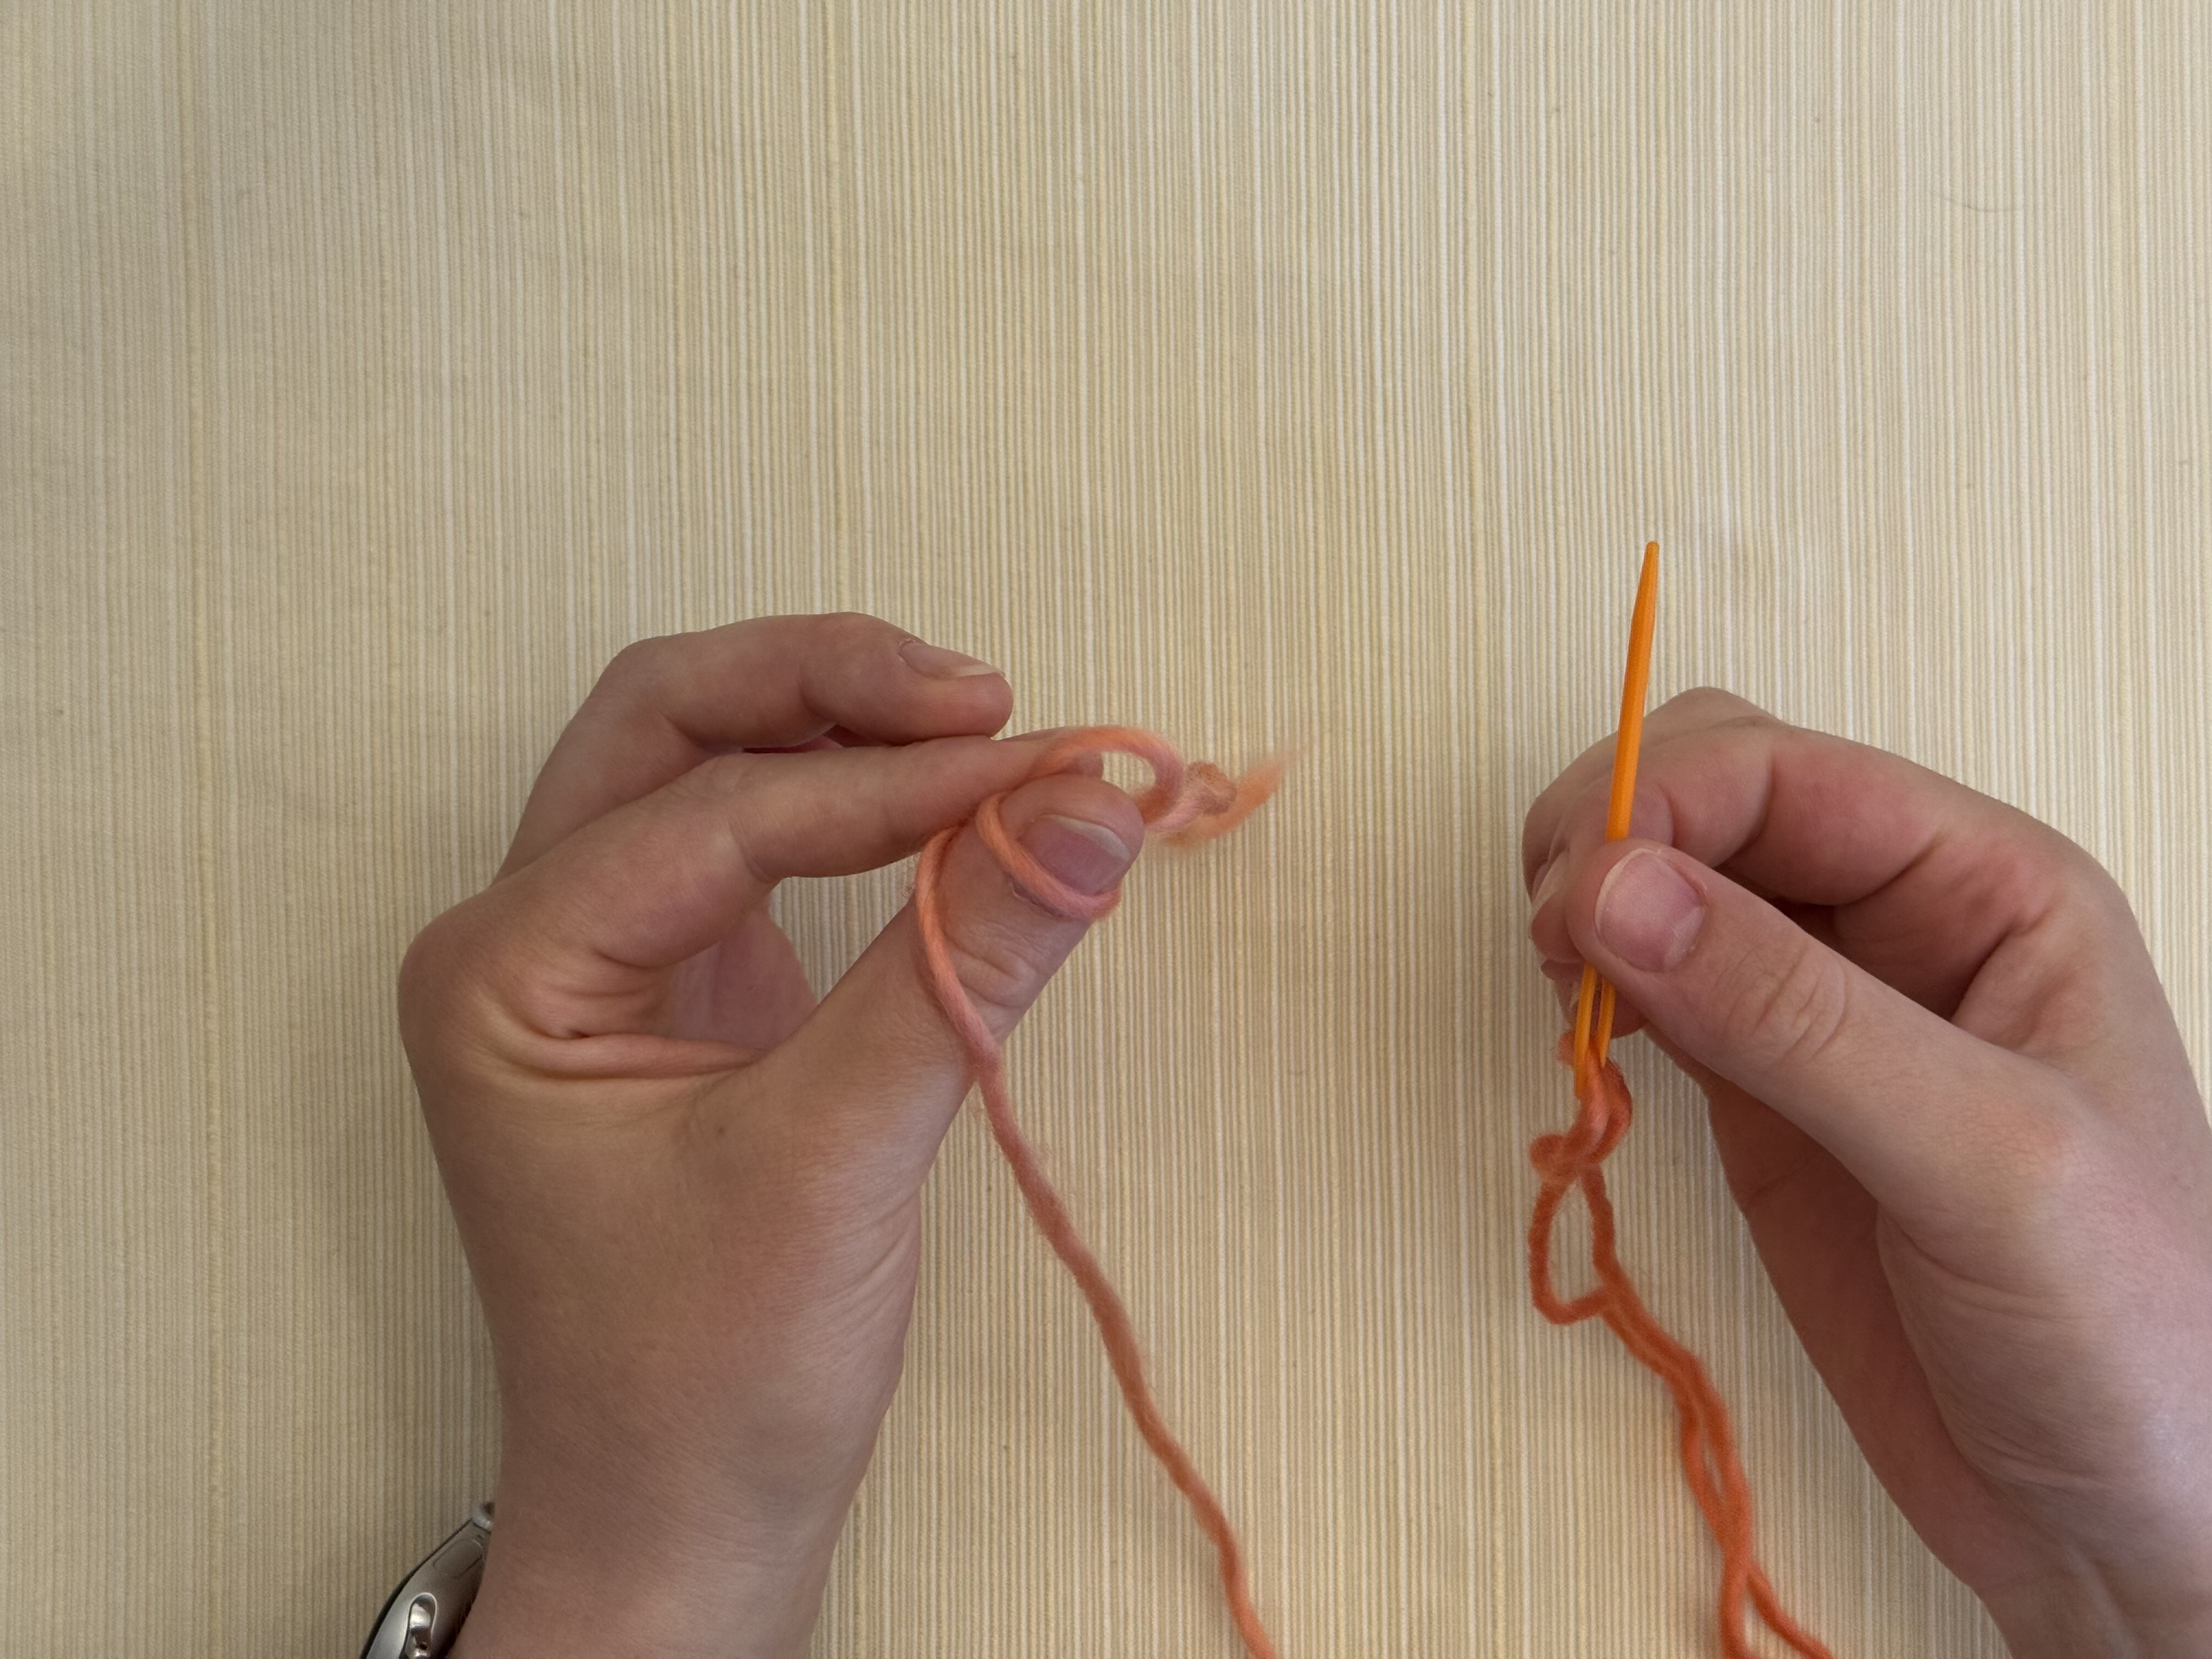
Step 6
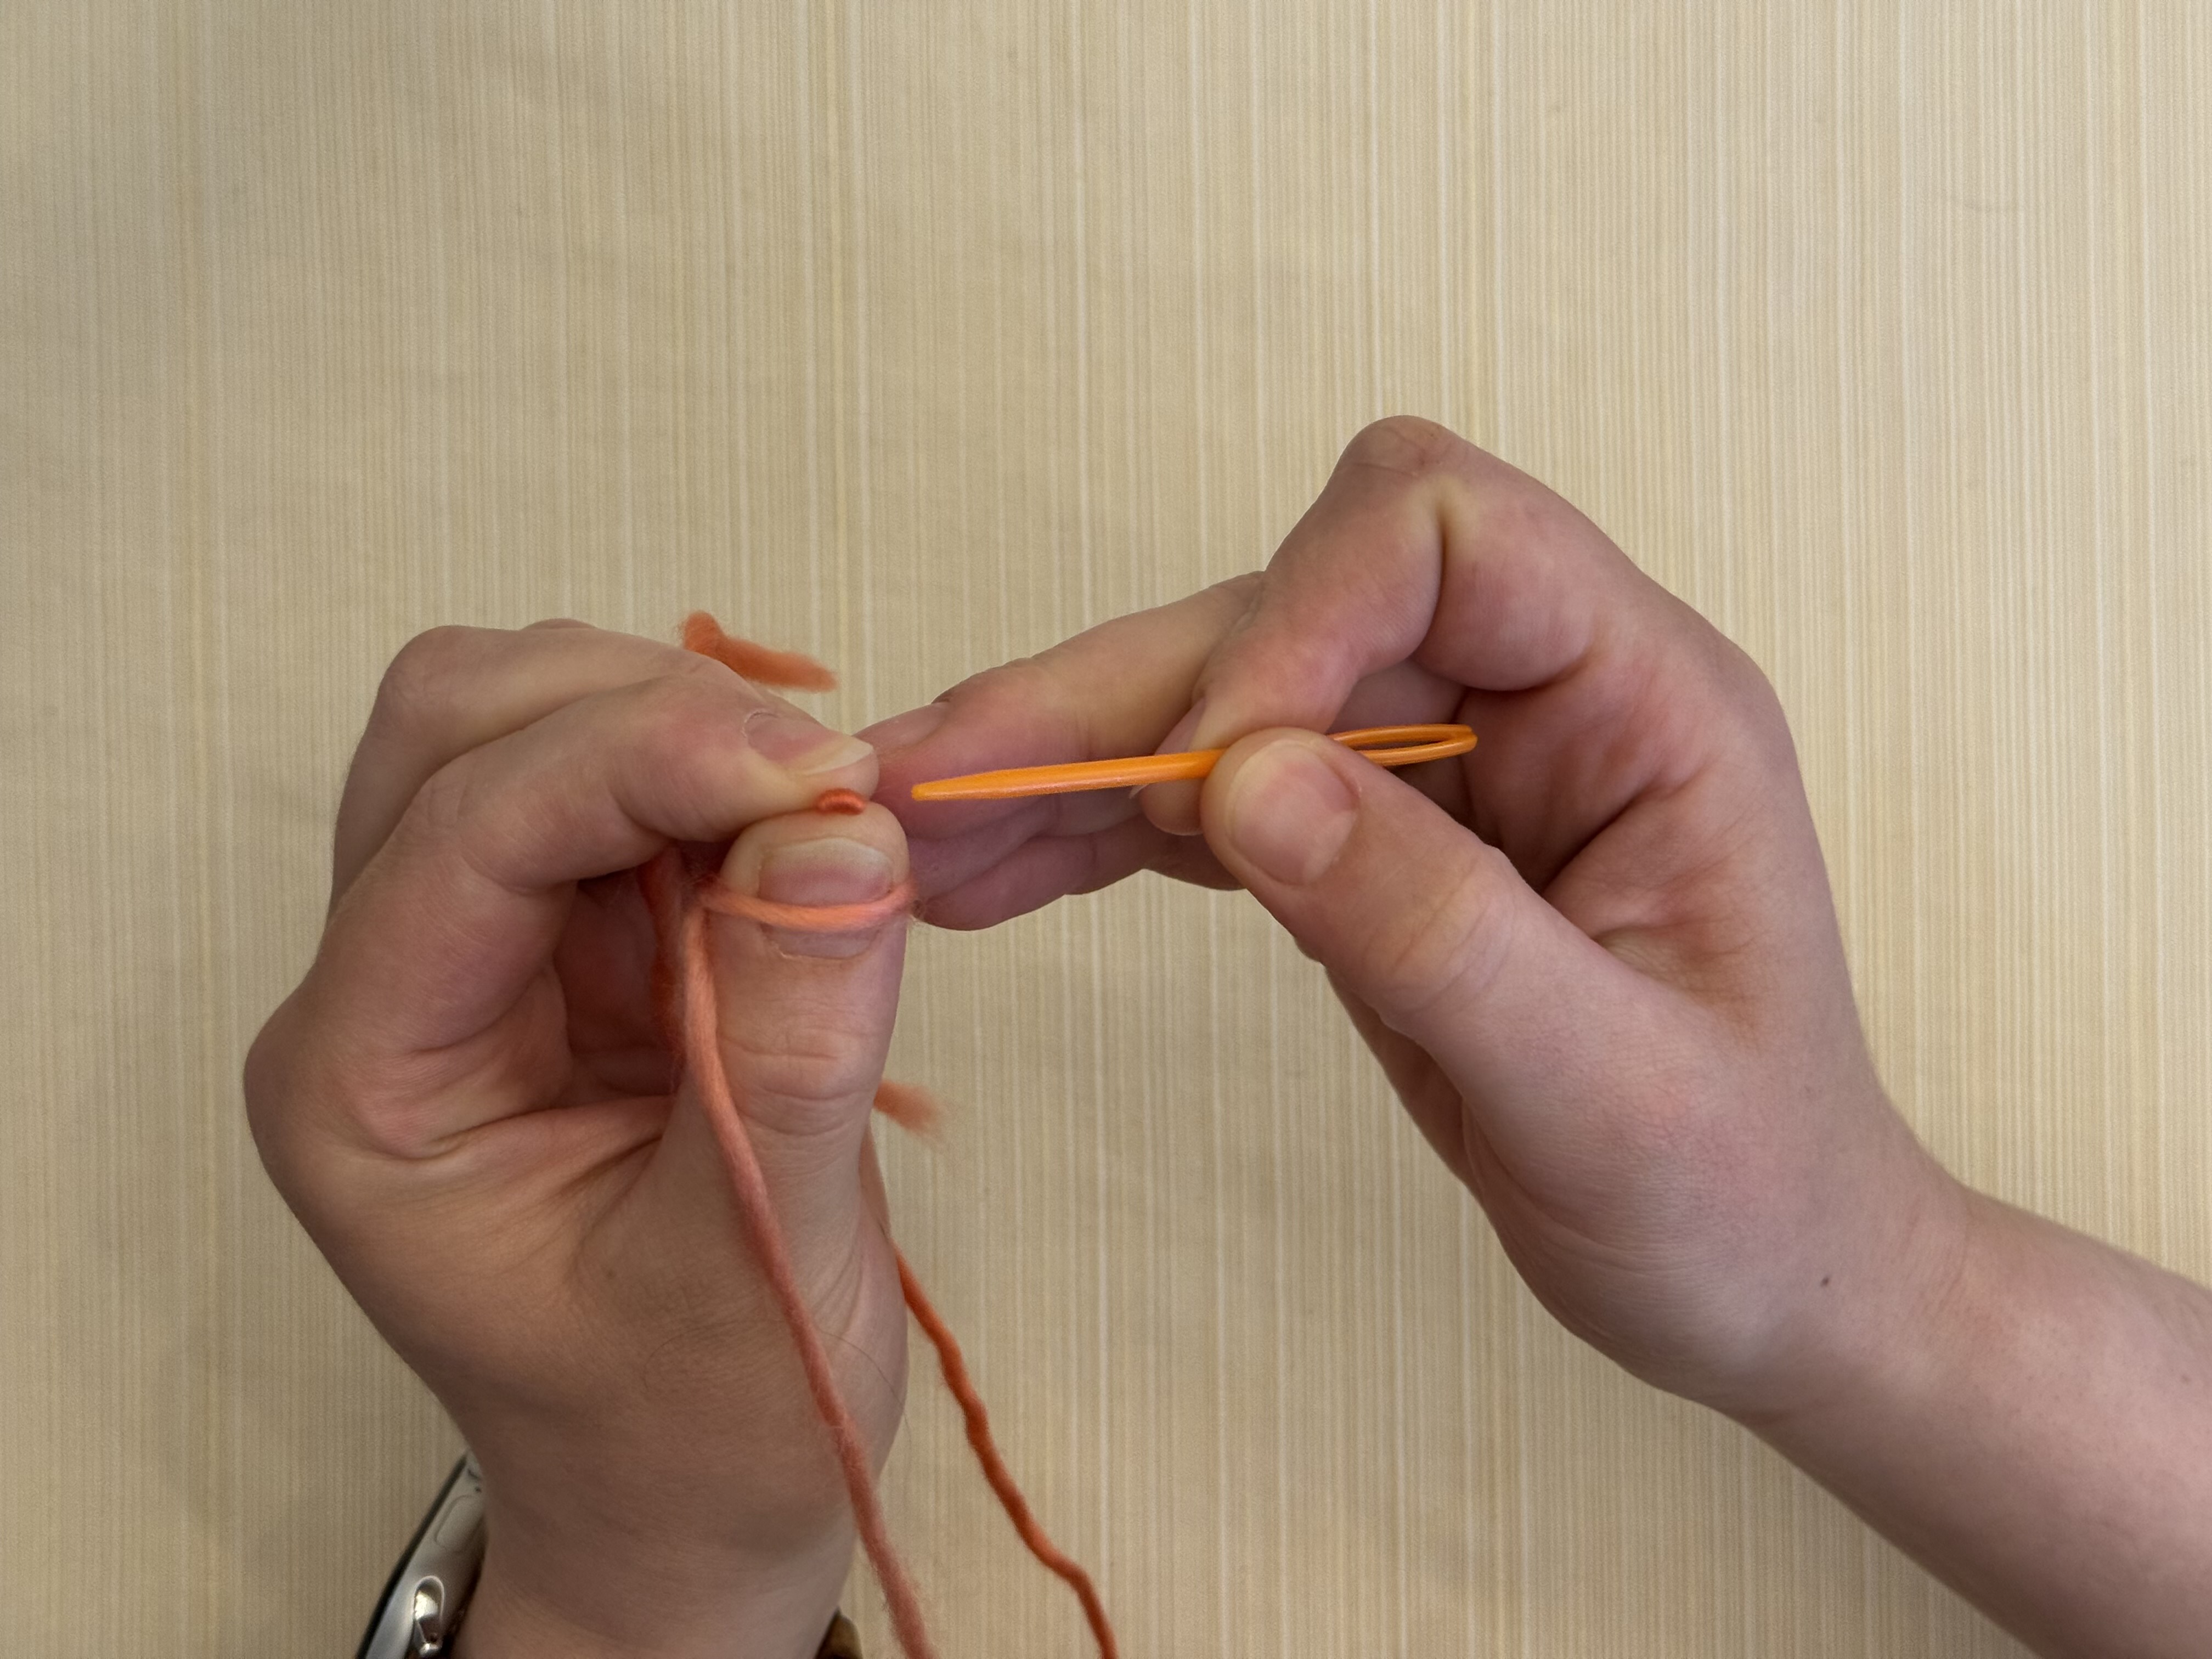
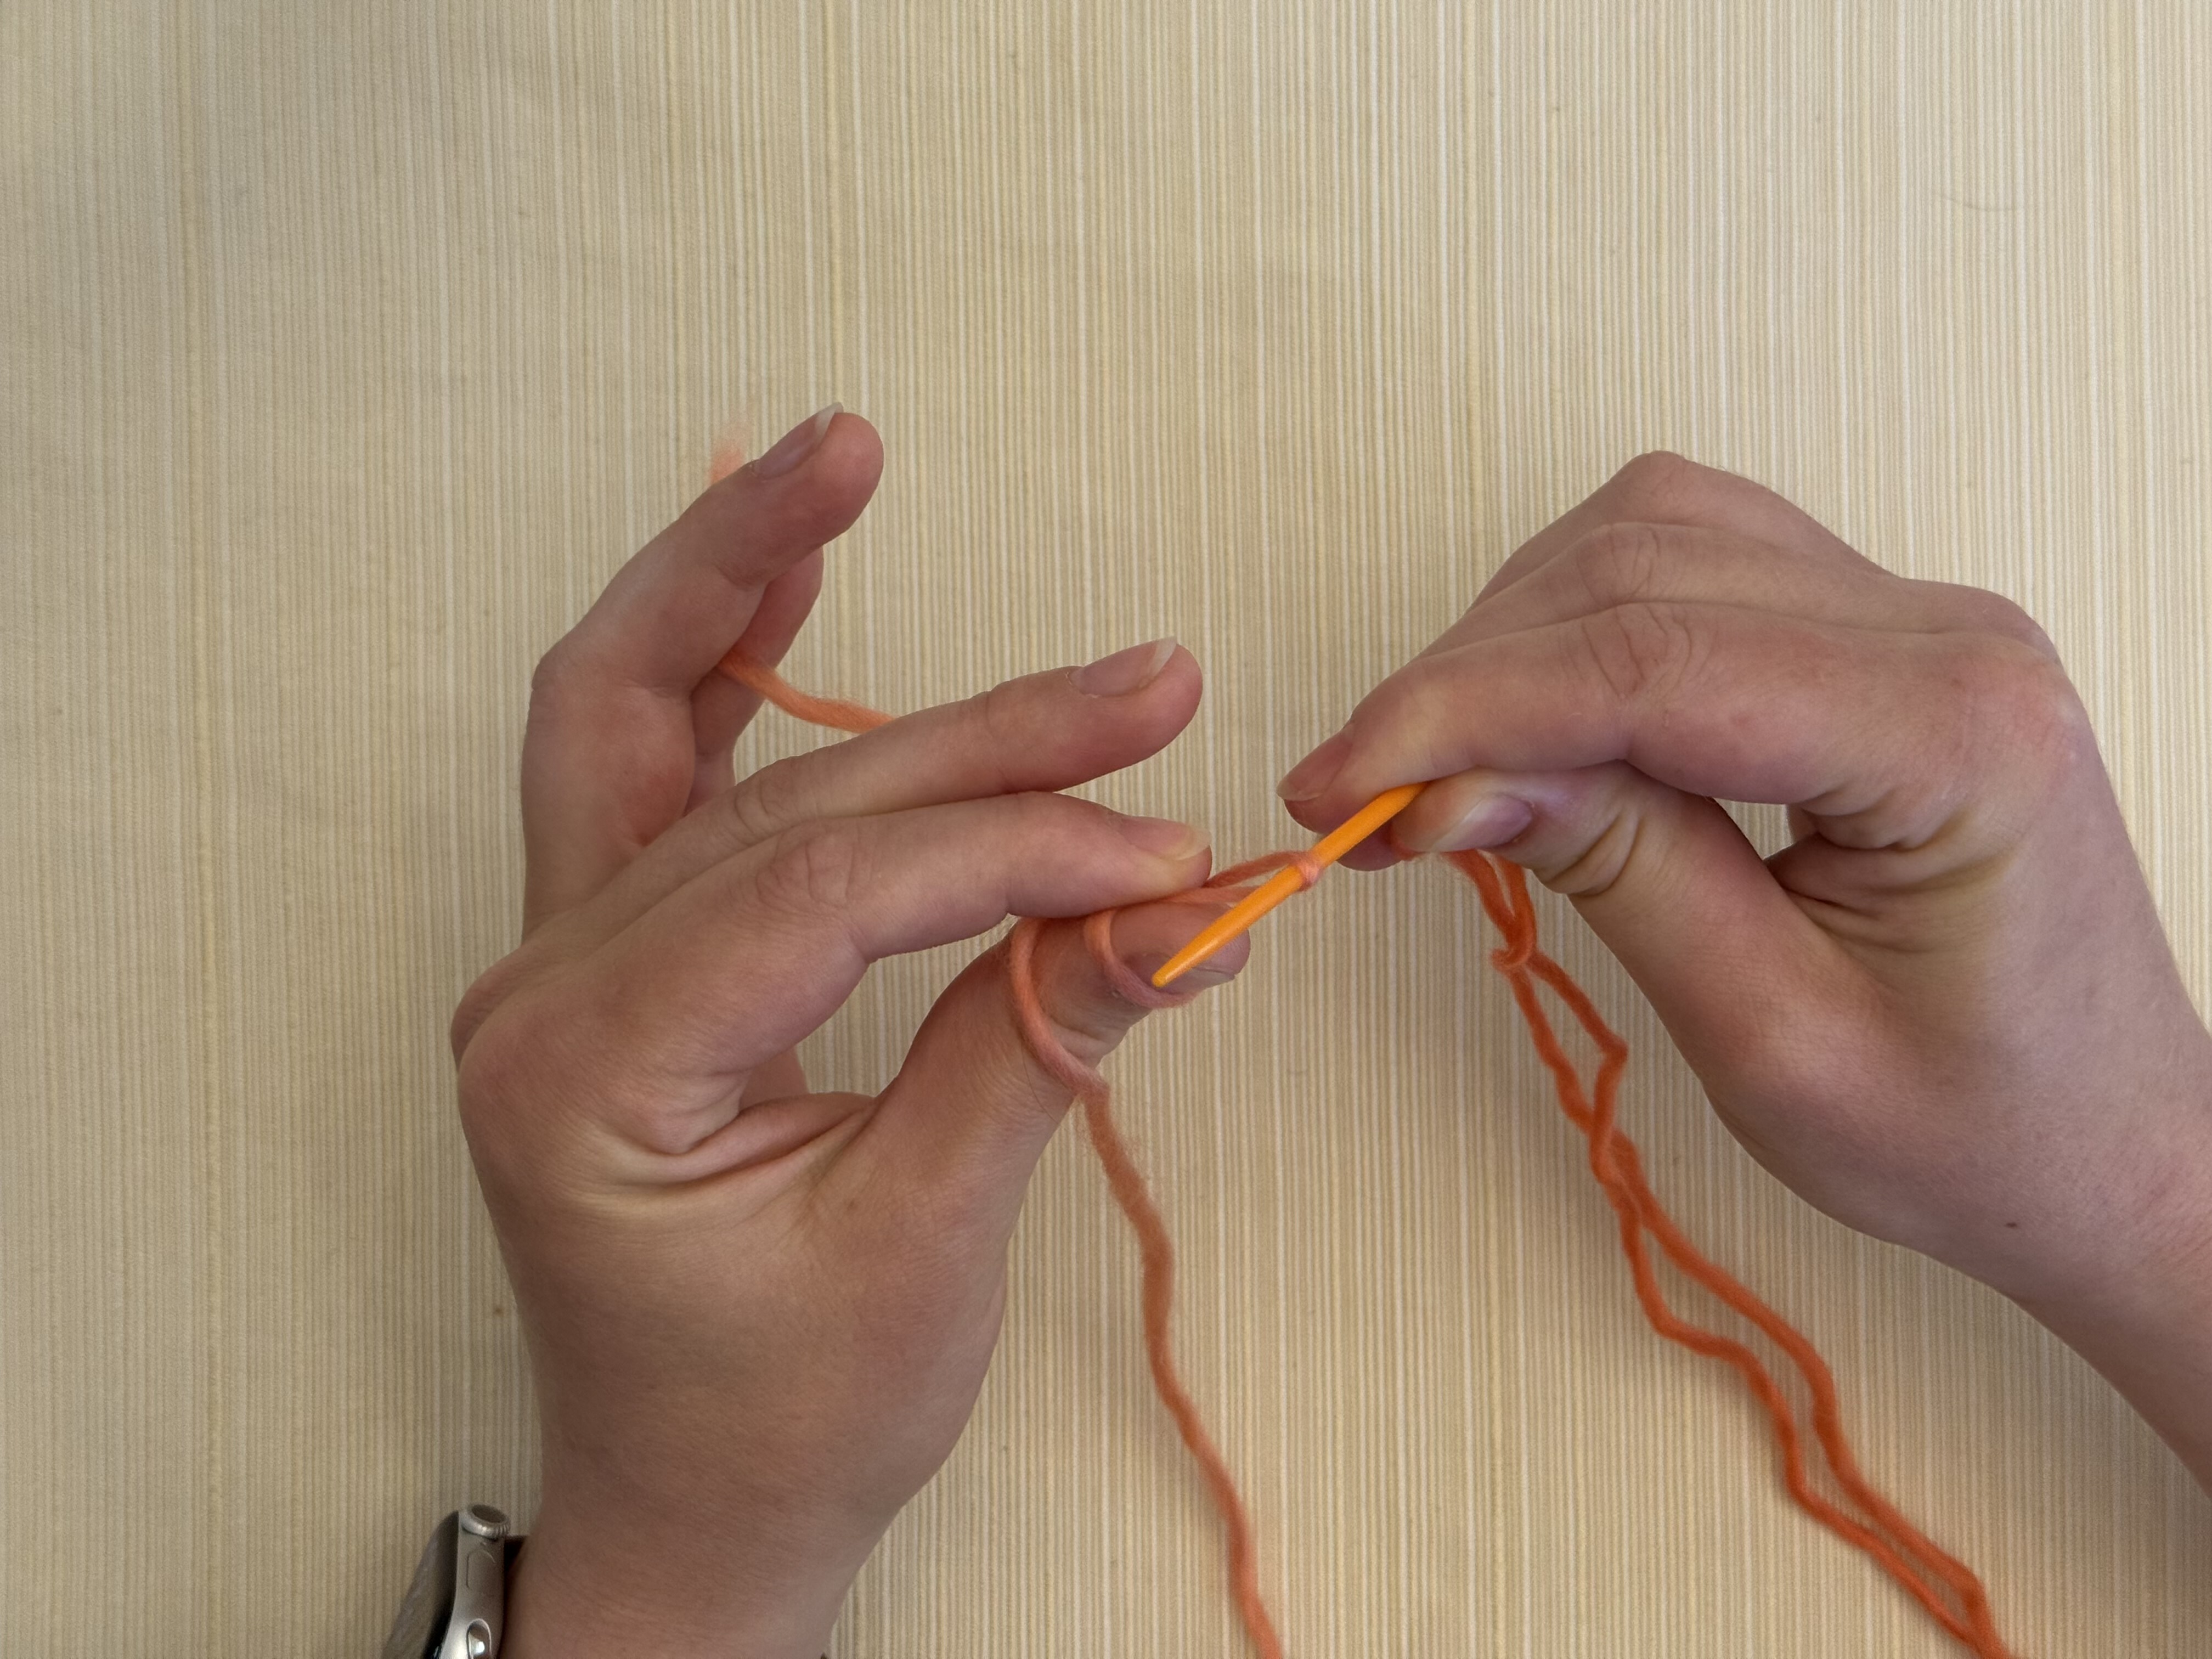
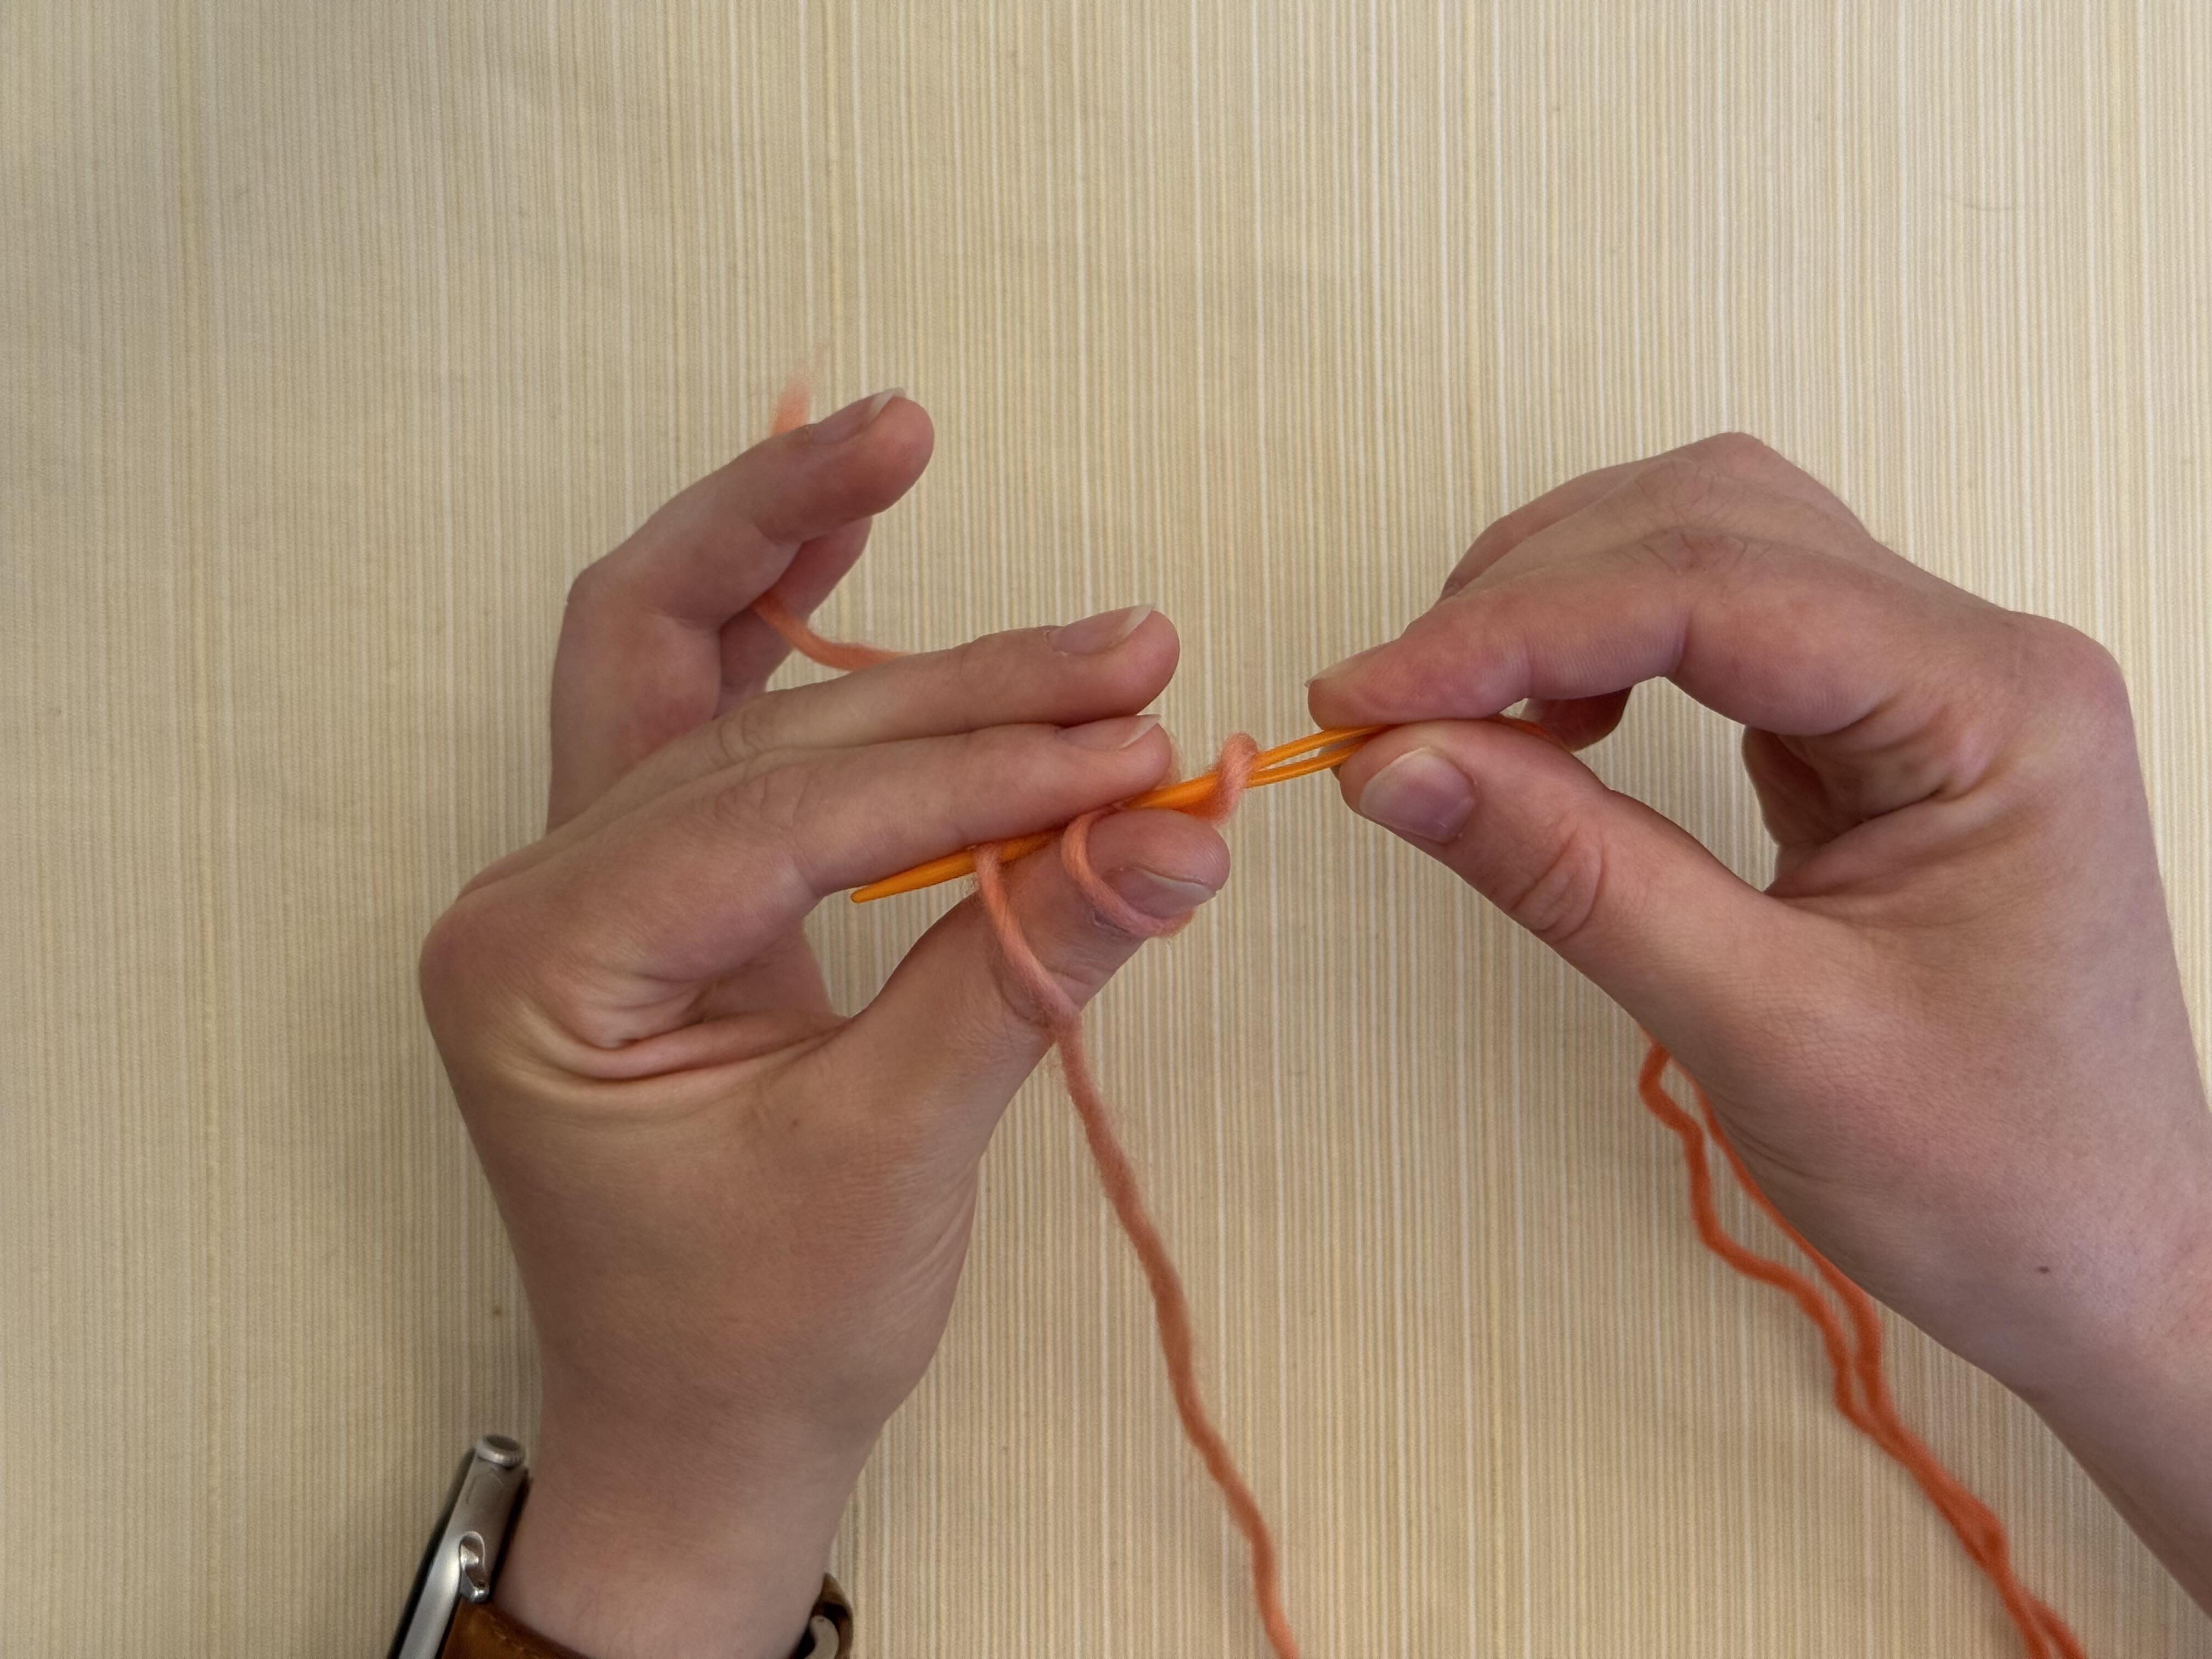
Pull it off the needle while pinching it; you’ll now have a little bump of yarn between your fingers.
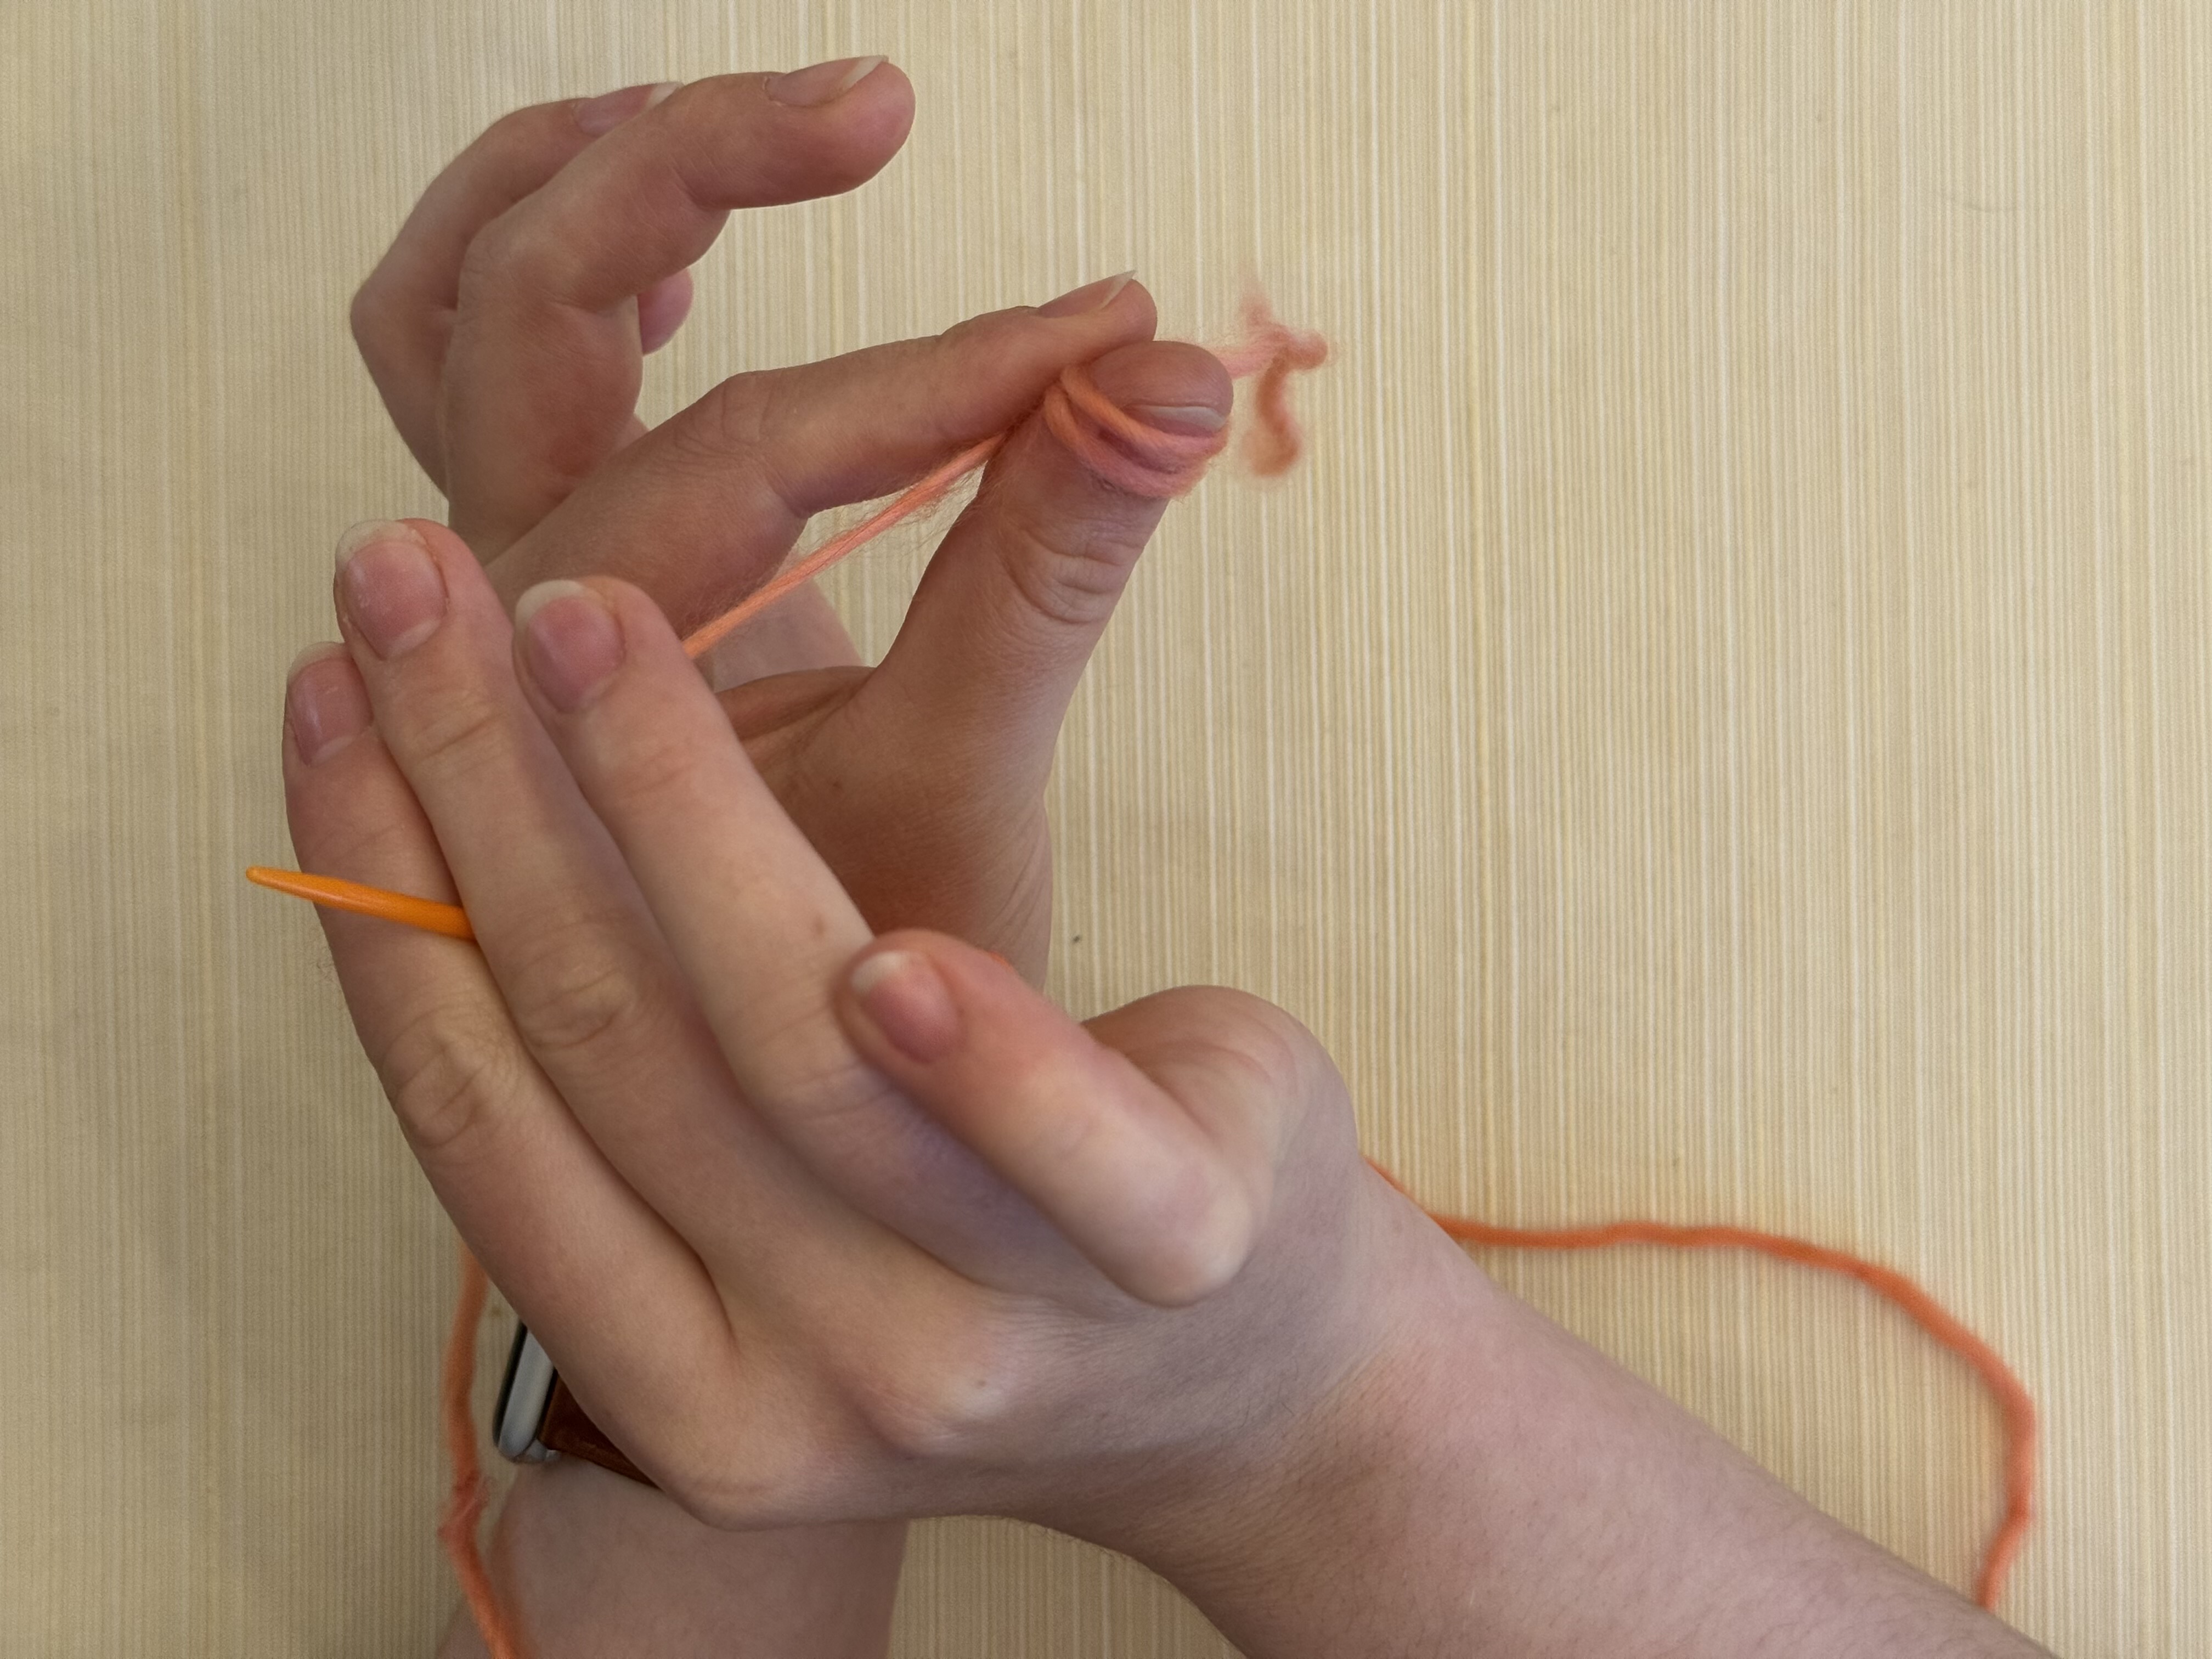
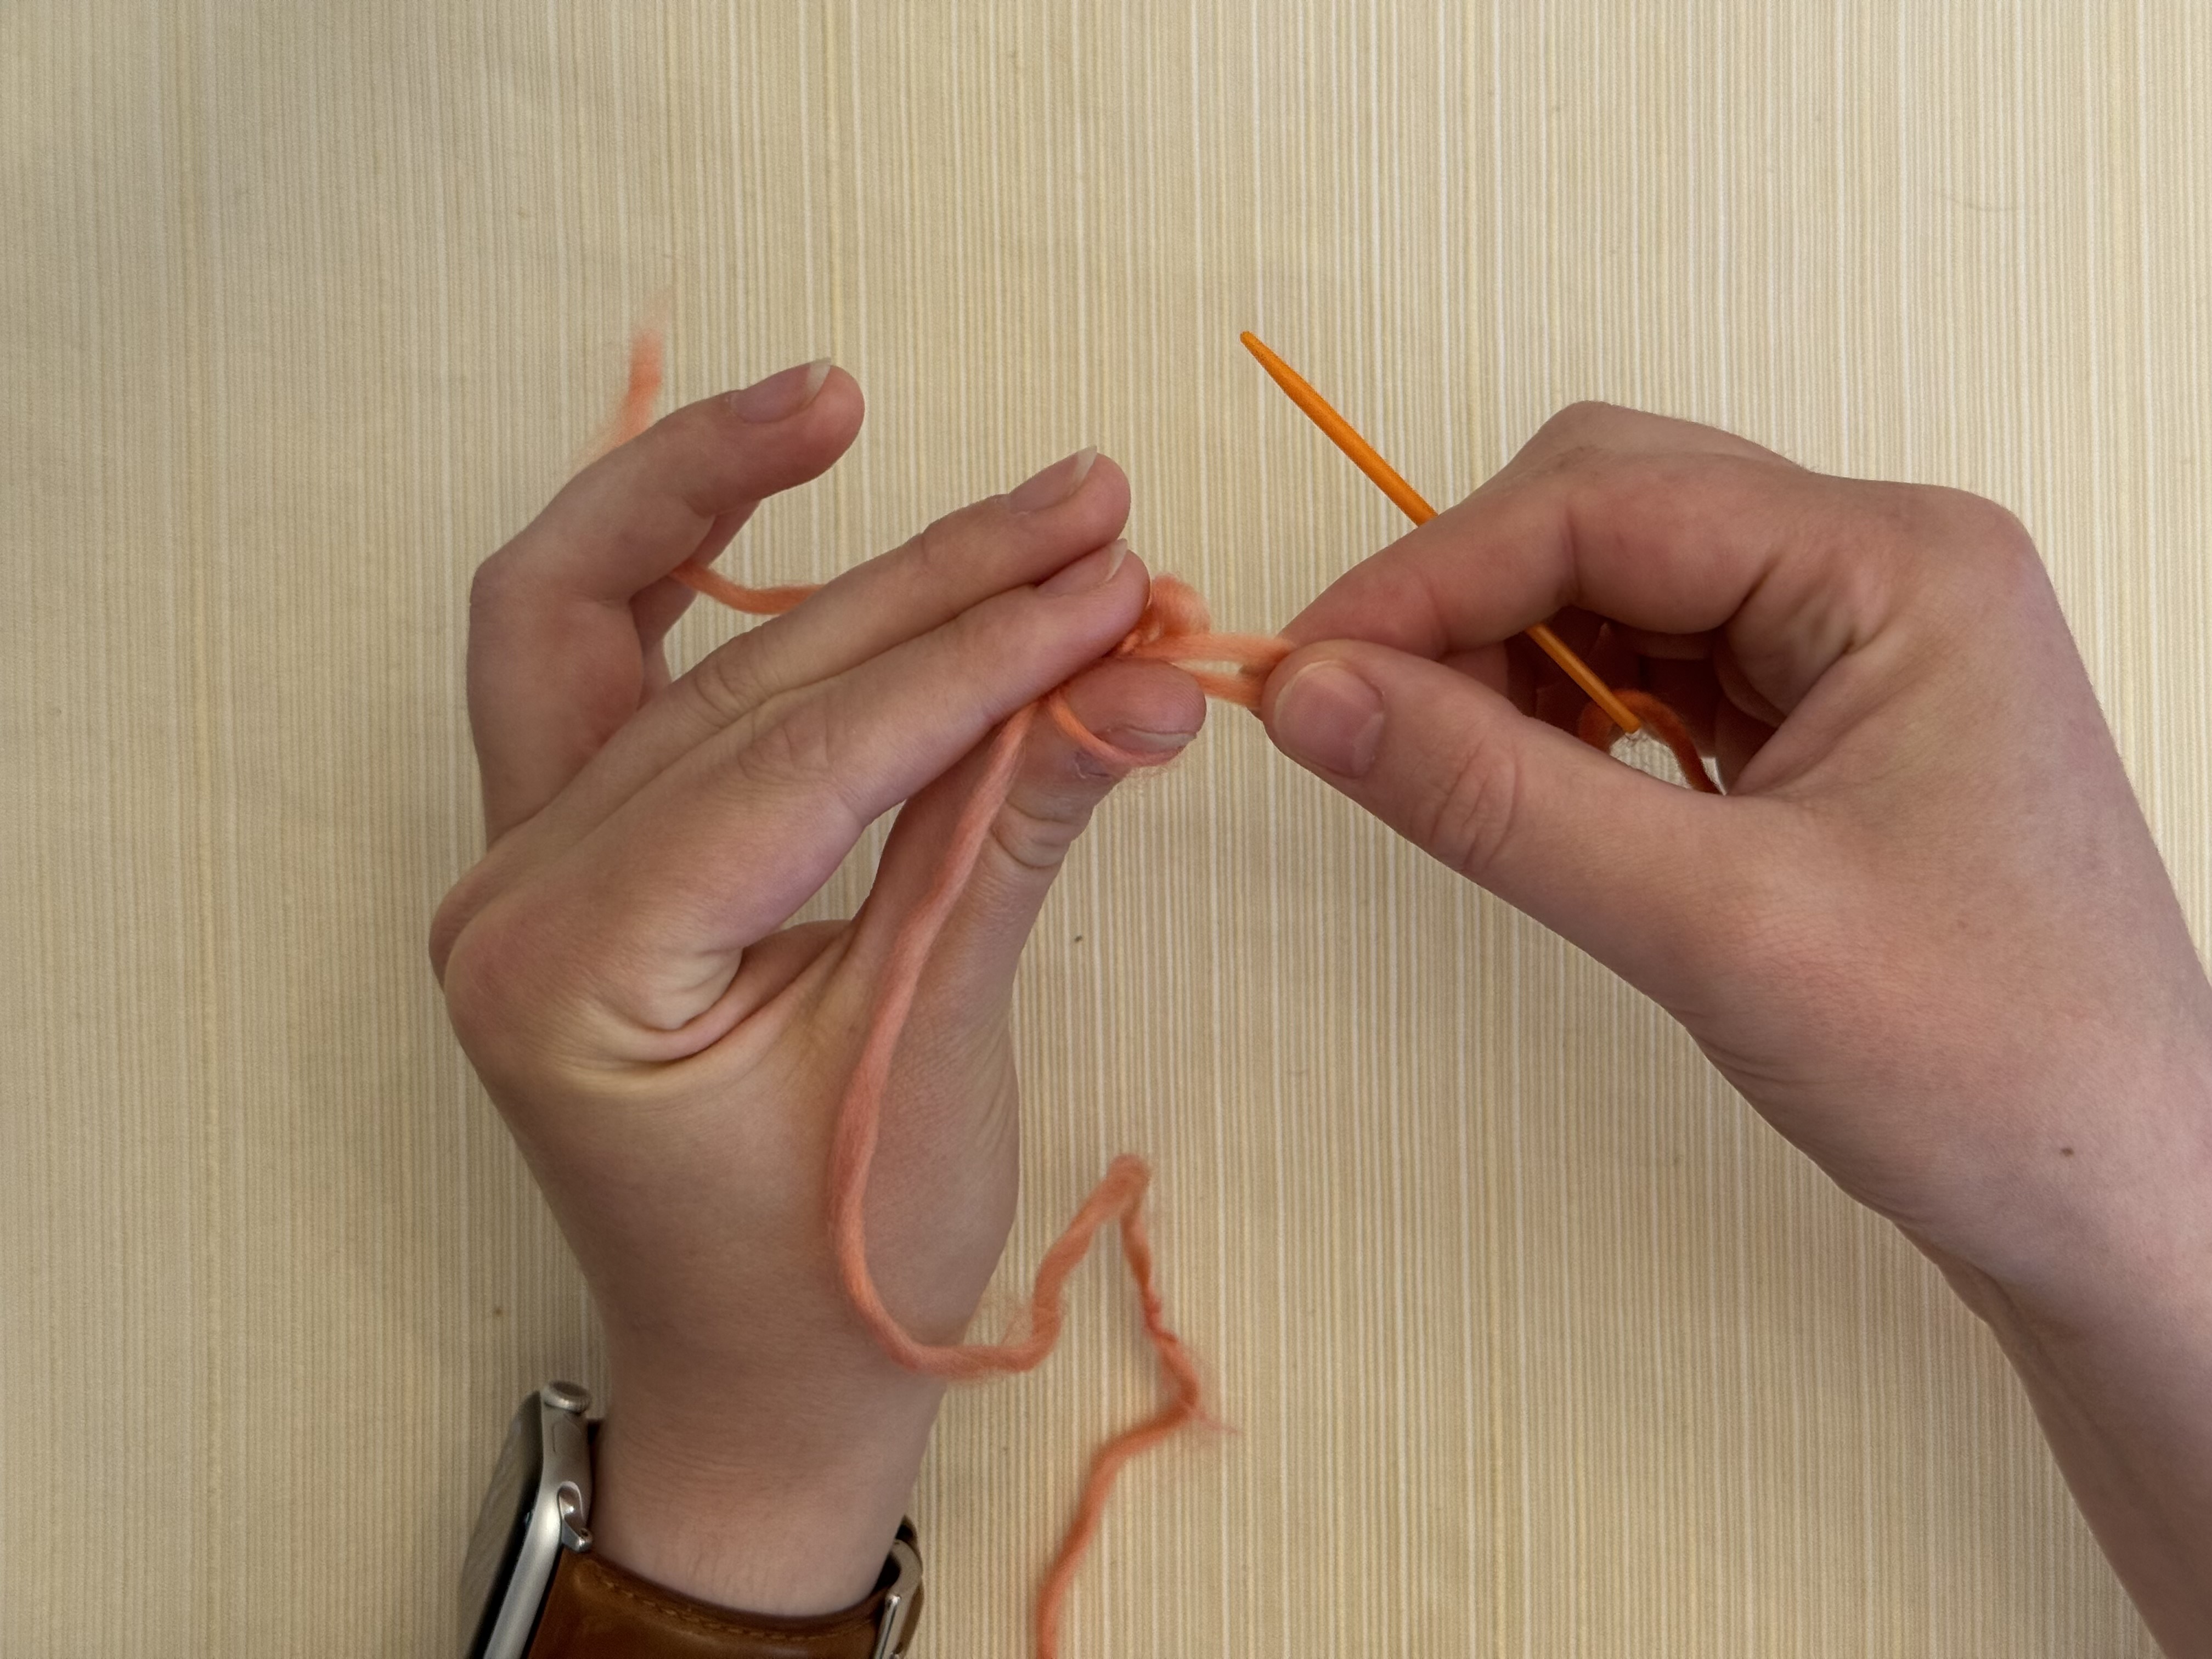
Step 7
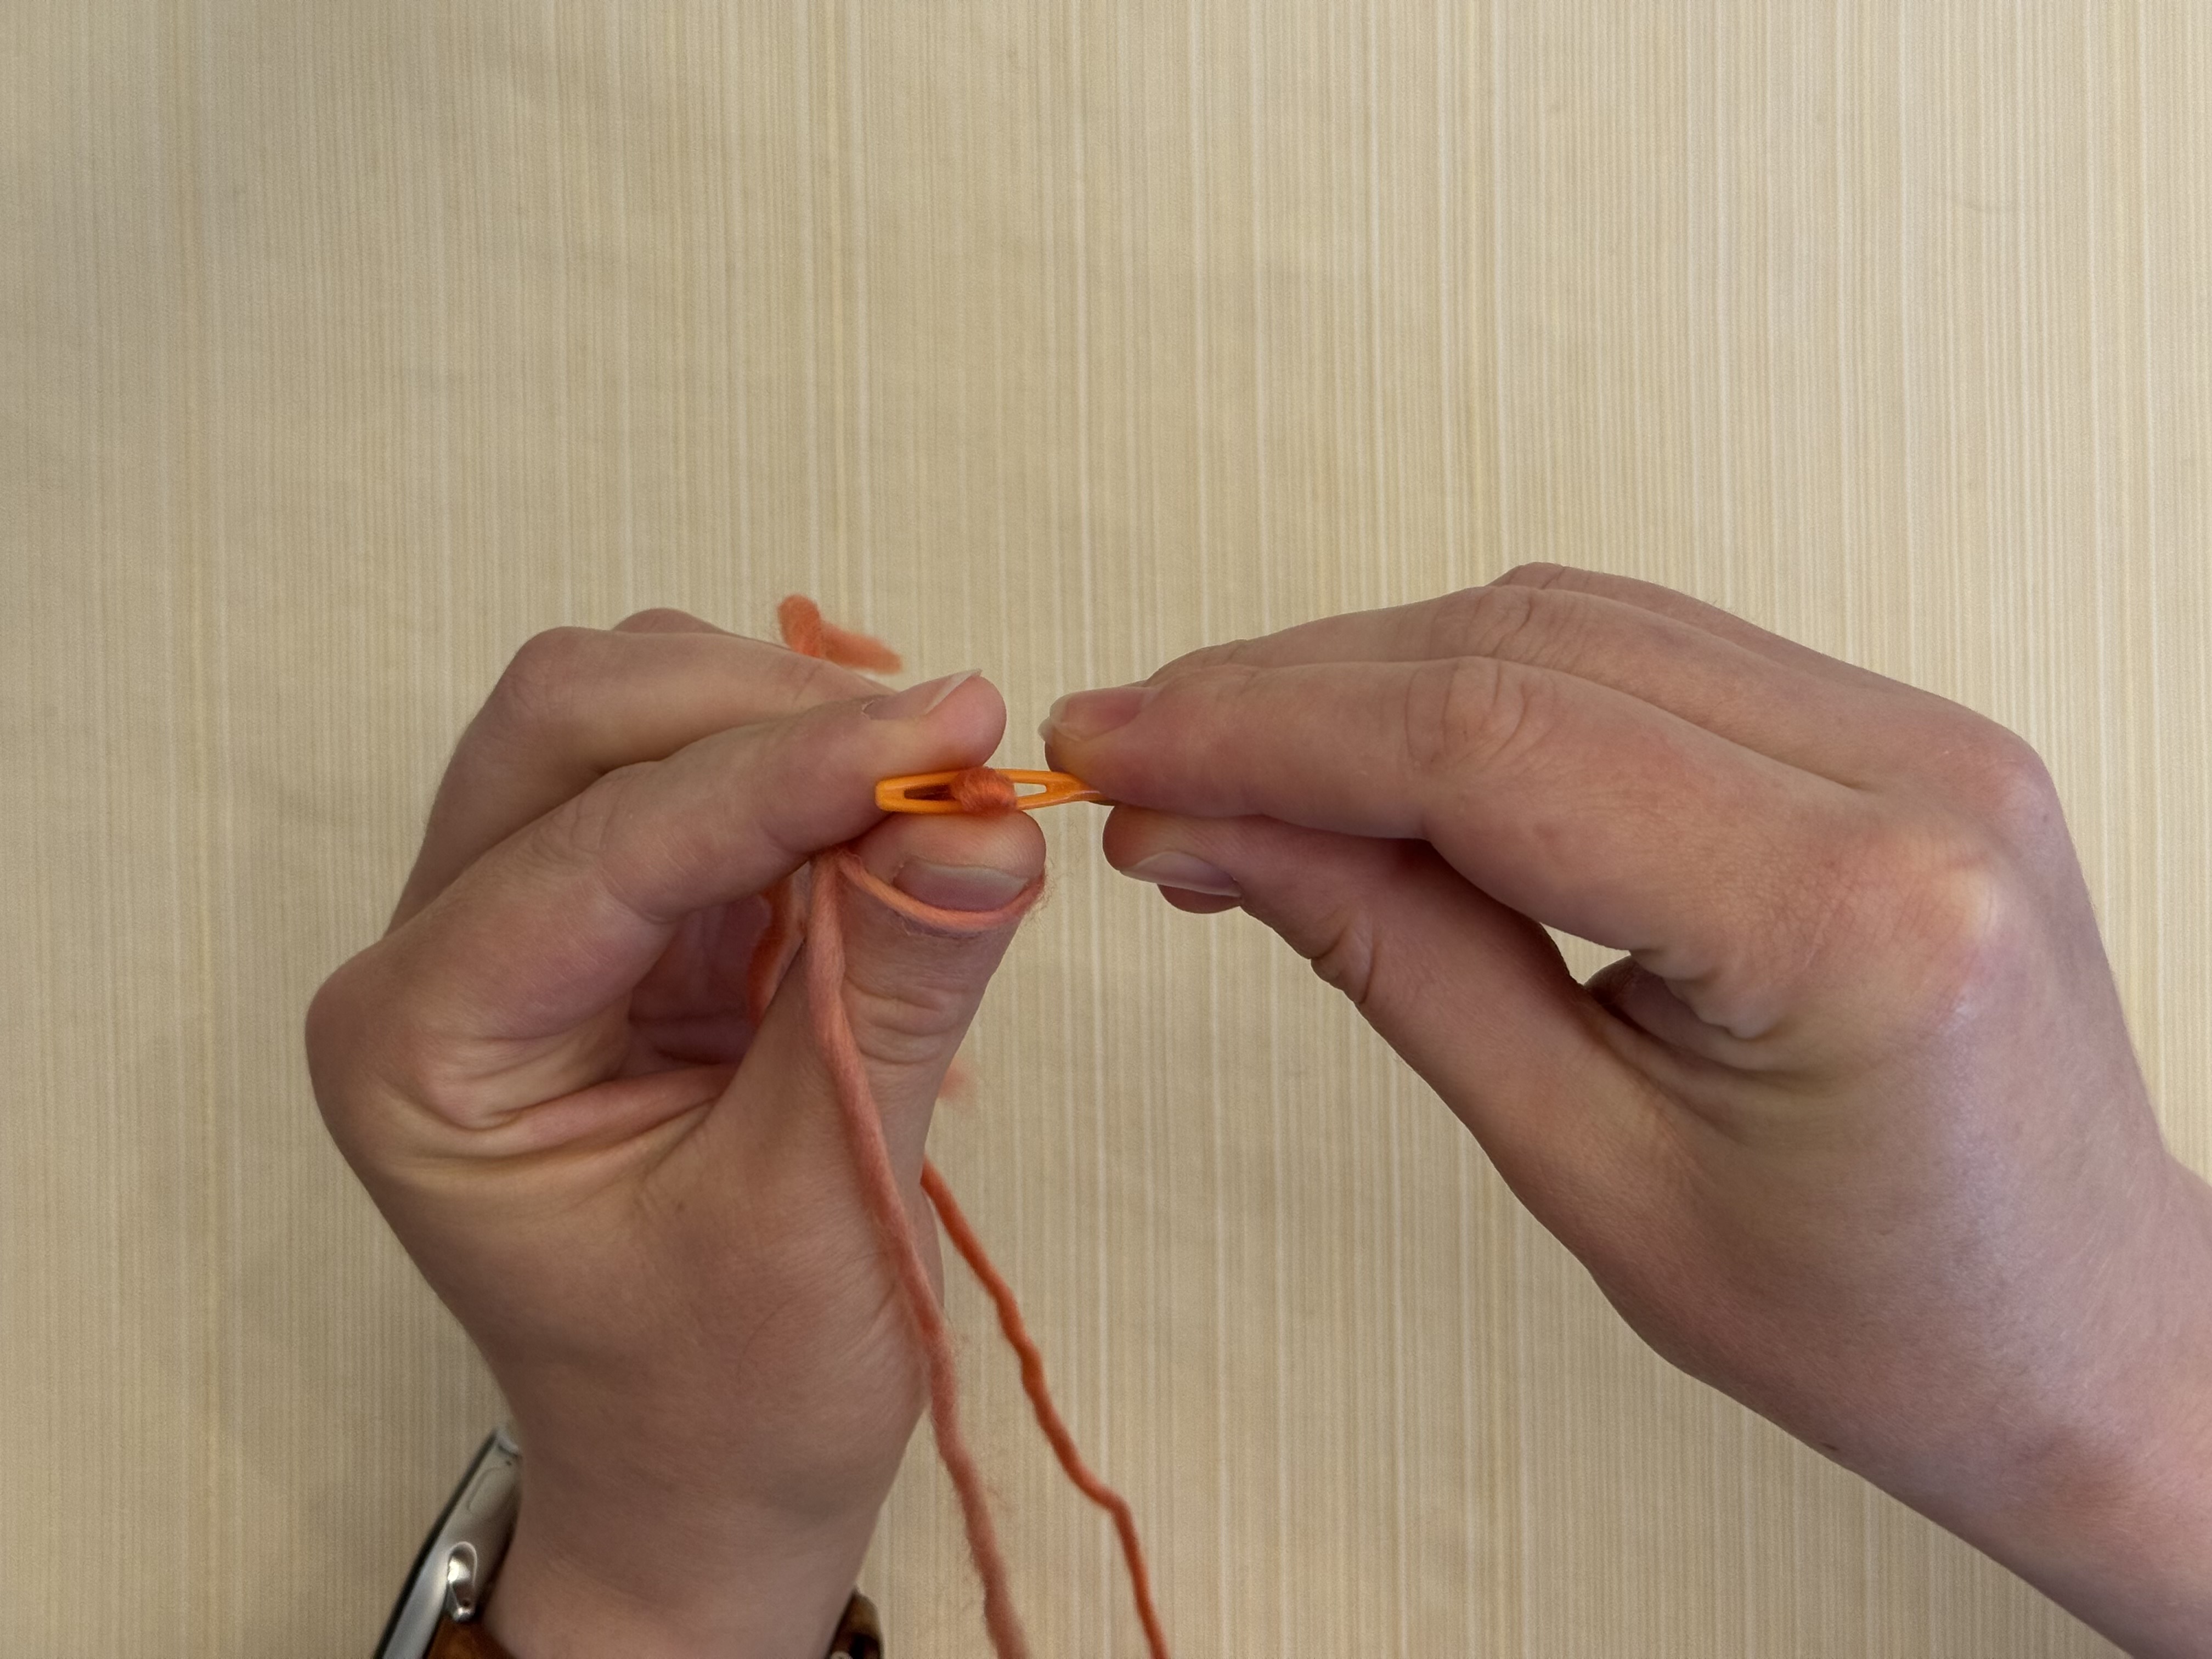
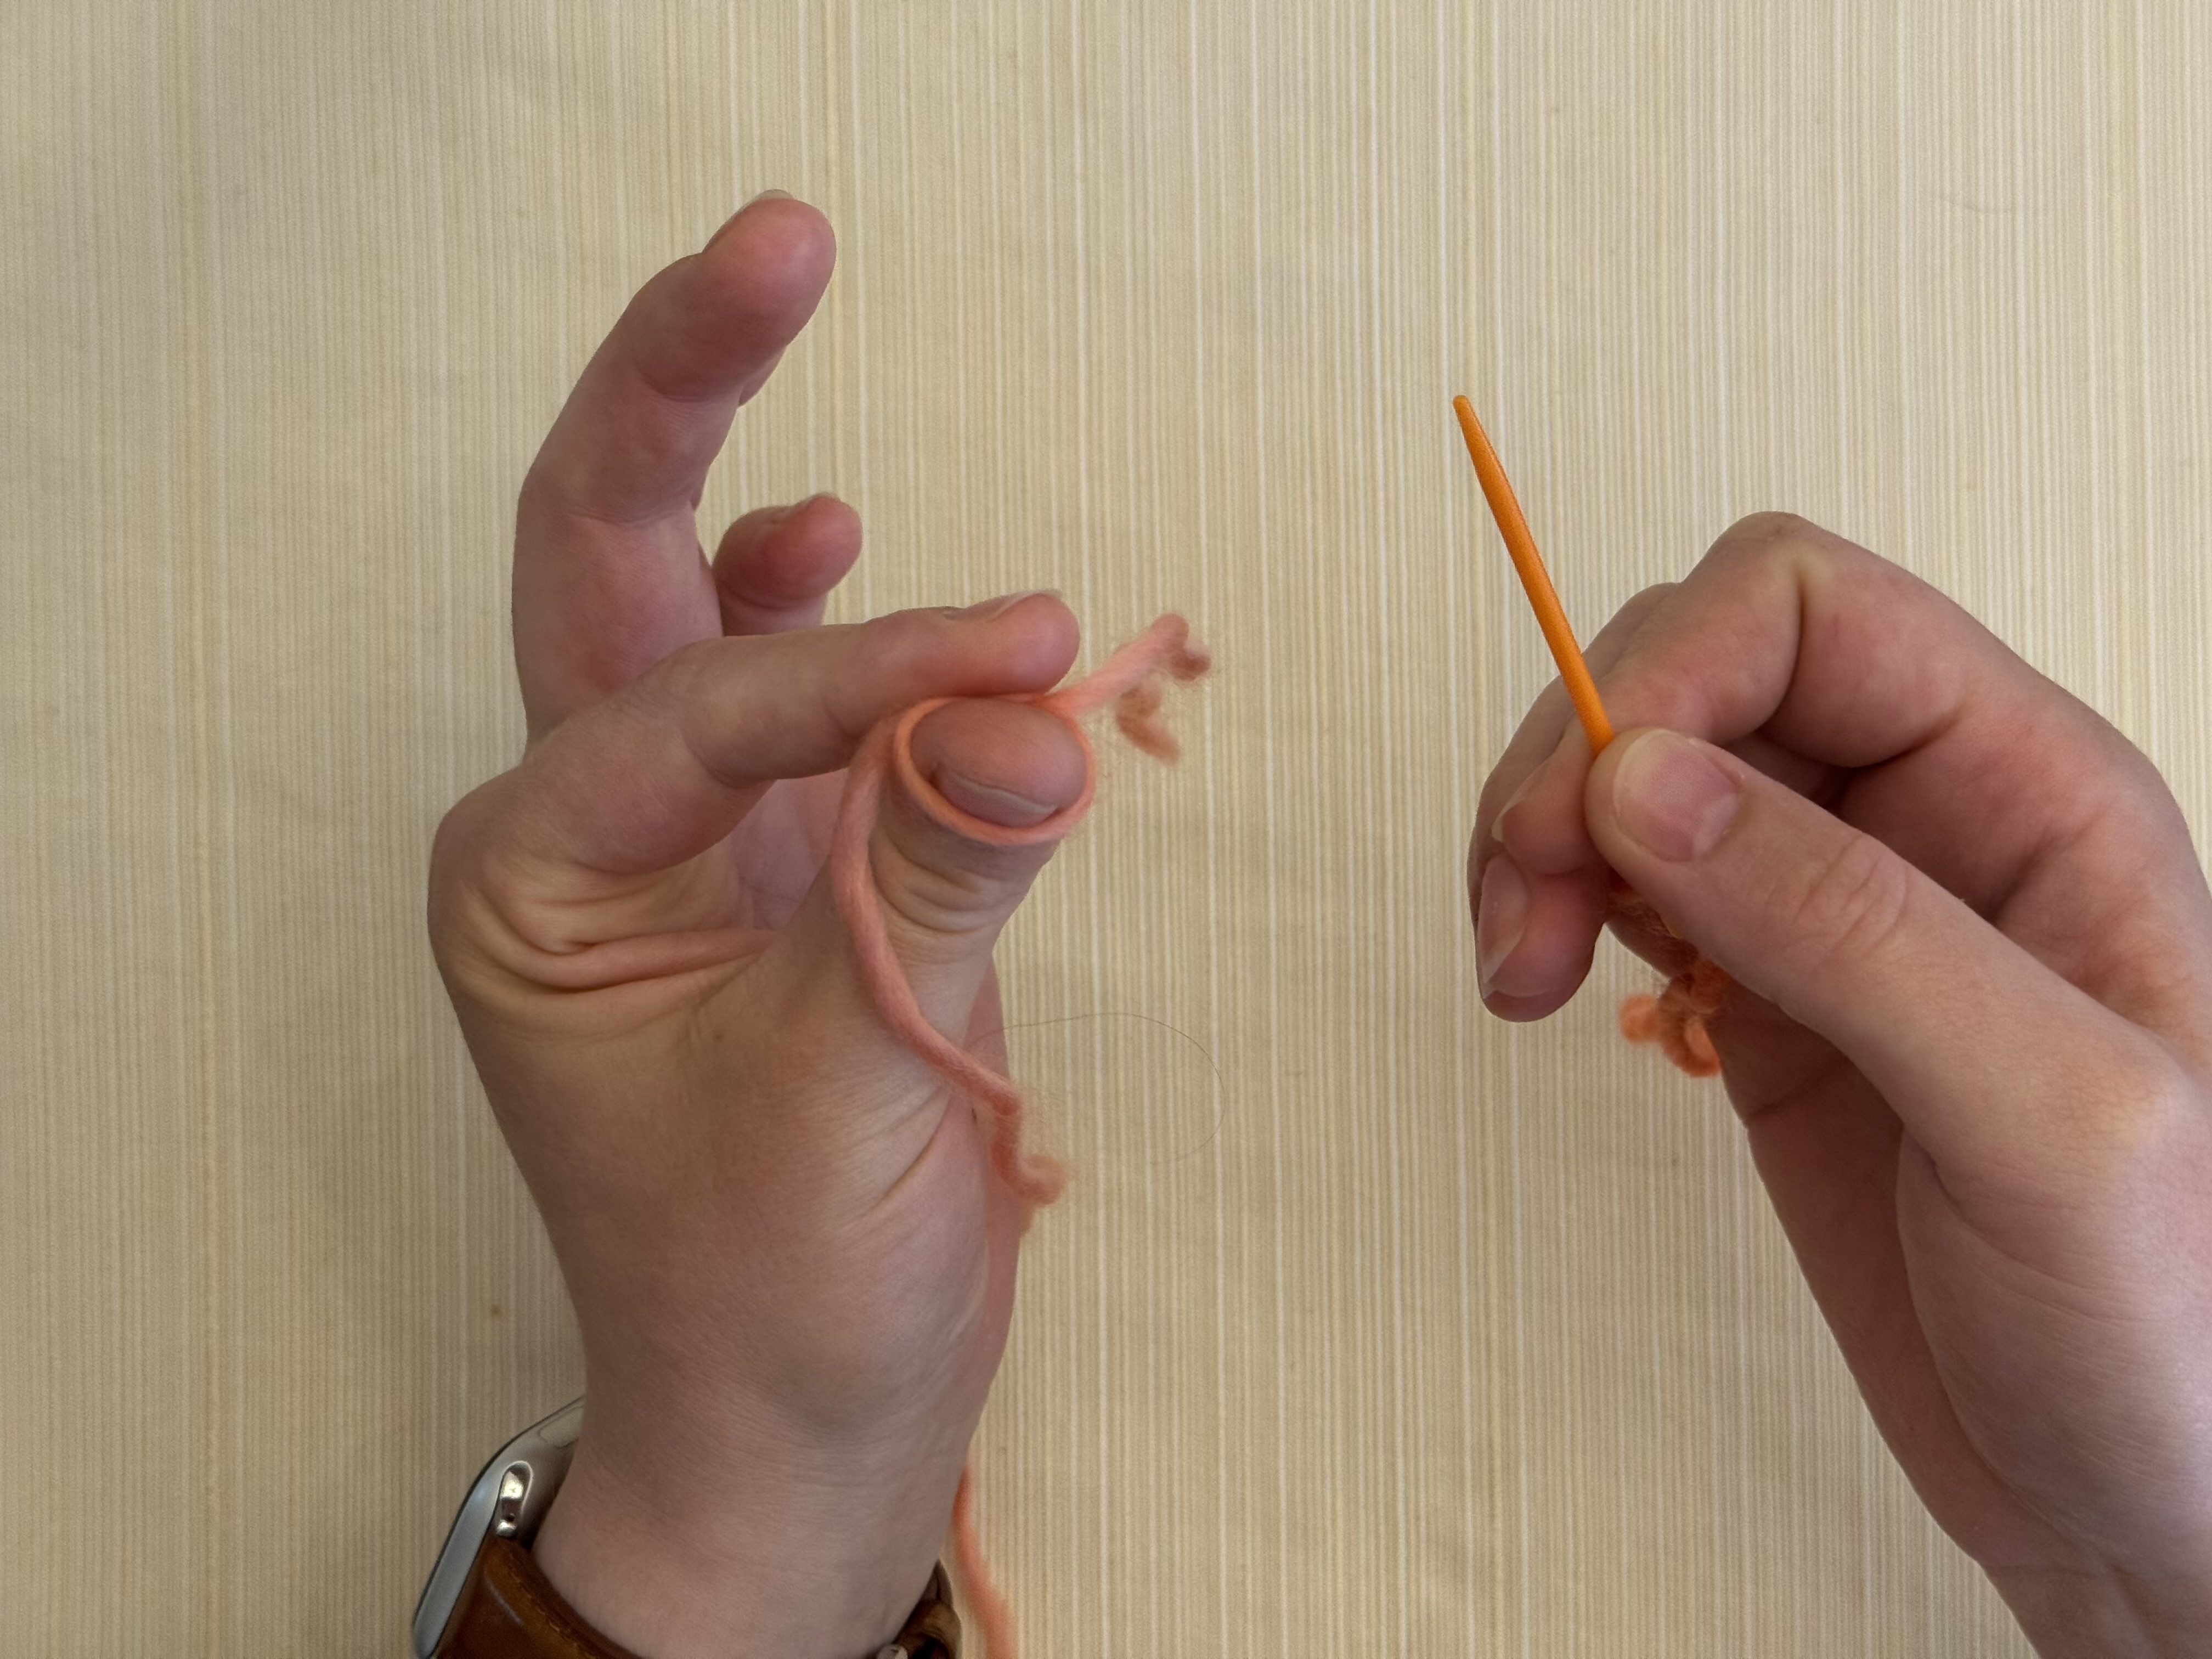
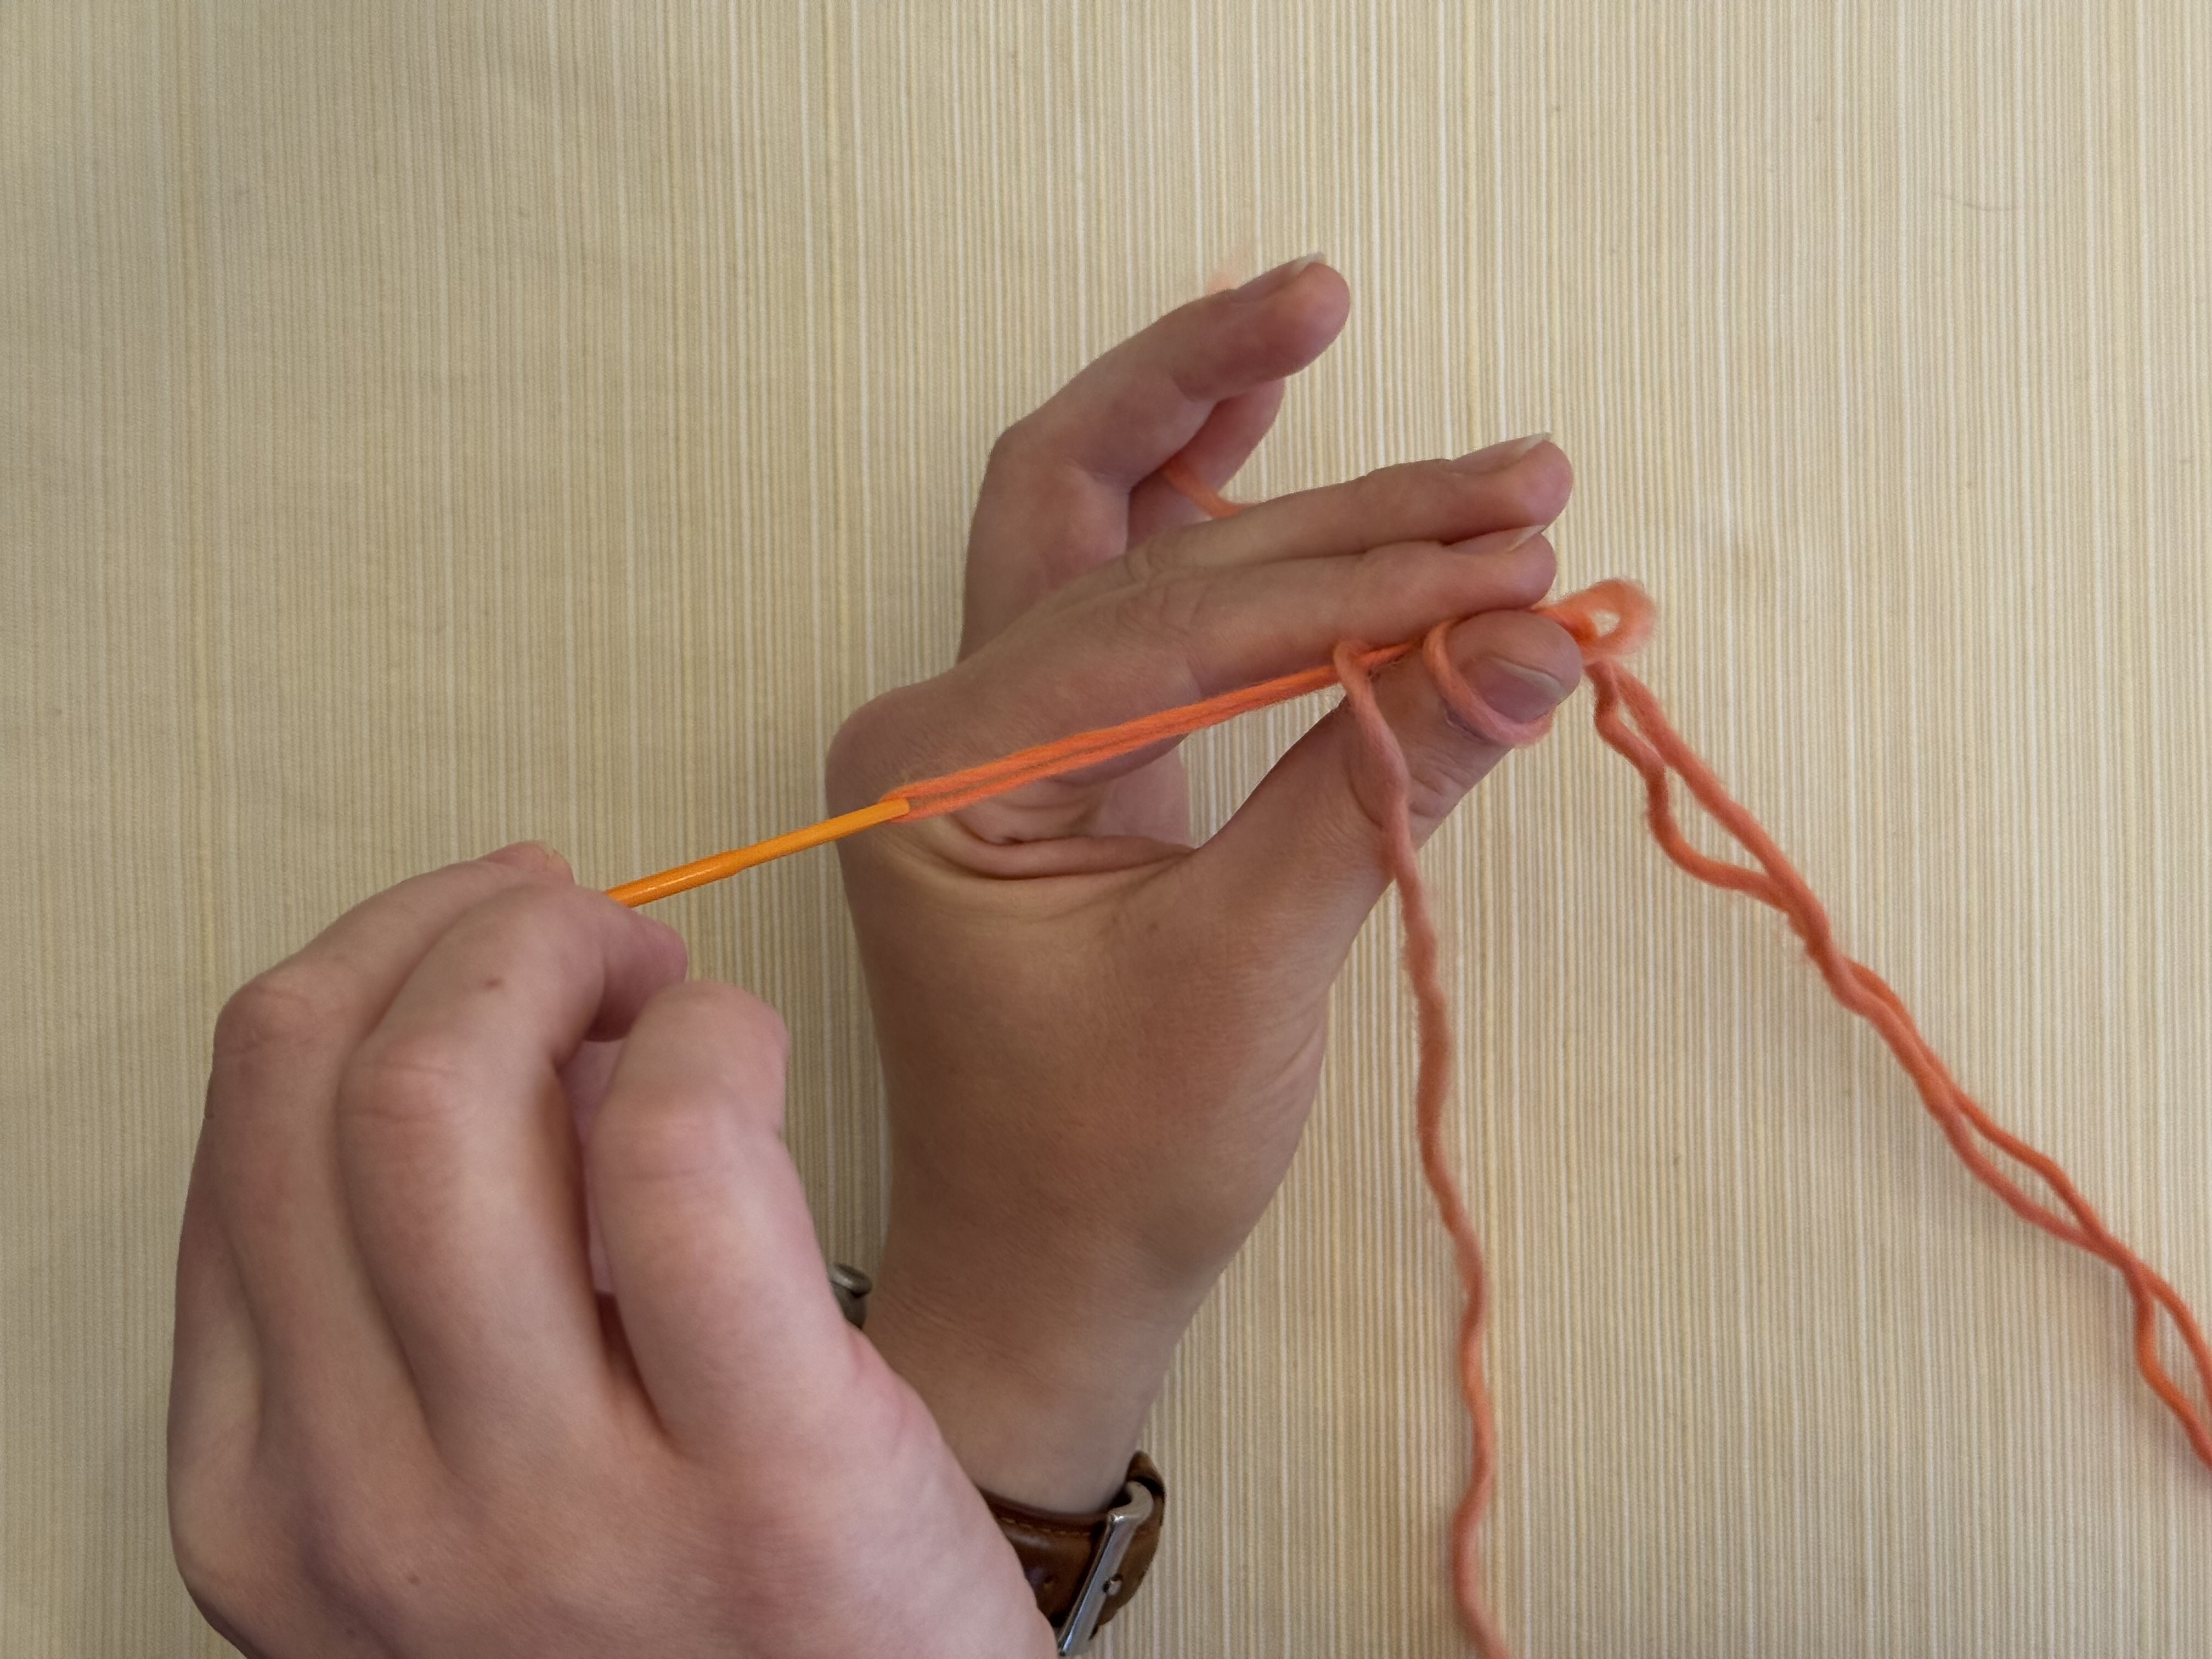
Push this bump through the eye of the needle, then pull your yarn through to thread the needle. Leave a tail of about 12″ or 30cm of yarn.
Step 8
Hold the needle in your right hand. With your left hand, gently pinch the knot between your thumb and index finger.
Step 9
Slide the tip of the needle between the knot and your thumb toward your palm, and under your working yarn. Pinch gently to keep the knot in place while you do this.

Step 10
While still pinching so the knot and loops stay in place, pull the needle through to the left. Slowly pull your working yarn through after it until it forms a loose loop under the loop already on your thumb.
Step 11
The working yarn is now a new loop around your thumb below the previous loop. Gently snug this new loop up, and make sure it stays below the previous loop instead of crossing it.
Step 12
Move the old loop up and off your thumb, towards the back. This will become the rear loop, and is used to create new stitches.
Step 13
Take a moment to check to make sure everything looks the way it should. If it doesn’t, you can easily undo the knots and loops you’ve made so far and try again.
Step 14
Once everything looks how it should, take your needle and push it about halfway through the rear loop, from front to back.
Step 15
With the needle still halfway through the rear loop, turn it to the left. The rear loop will now be twisted under the needle.
Step 16
Slide the tip of the needle between your thumb and the thumb loop, and between your thumb and the working yarn. Pinch gently with your left hand to keep the loops in place while you do this.
Step 17
While still pinching so the knot and loops stay in place, pull the needle through to the left. Slowly pull your working yarn through after it until it forms a loose loop under the loop already on your thumb.
Step 18
The working yarn is now a new loop around your thumb below the previous loop. Gently snug this new loop up, and make sure it stays below the previous loop instead of crossing it.
Step 19
Move the old loop up and off your thumb, towards the back. You’ve just created your first stitch!
Step 20
Repeat Steps 14 through 19 several more times, until you have a chain about the width of your hand.
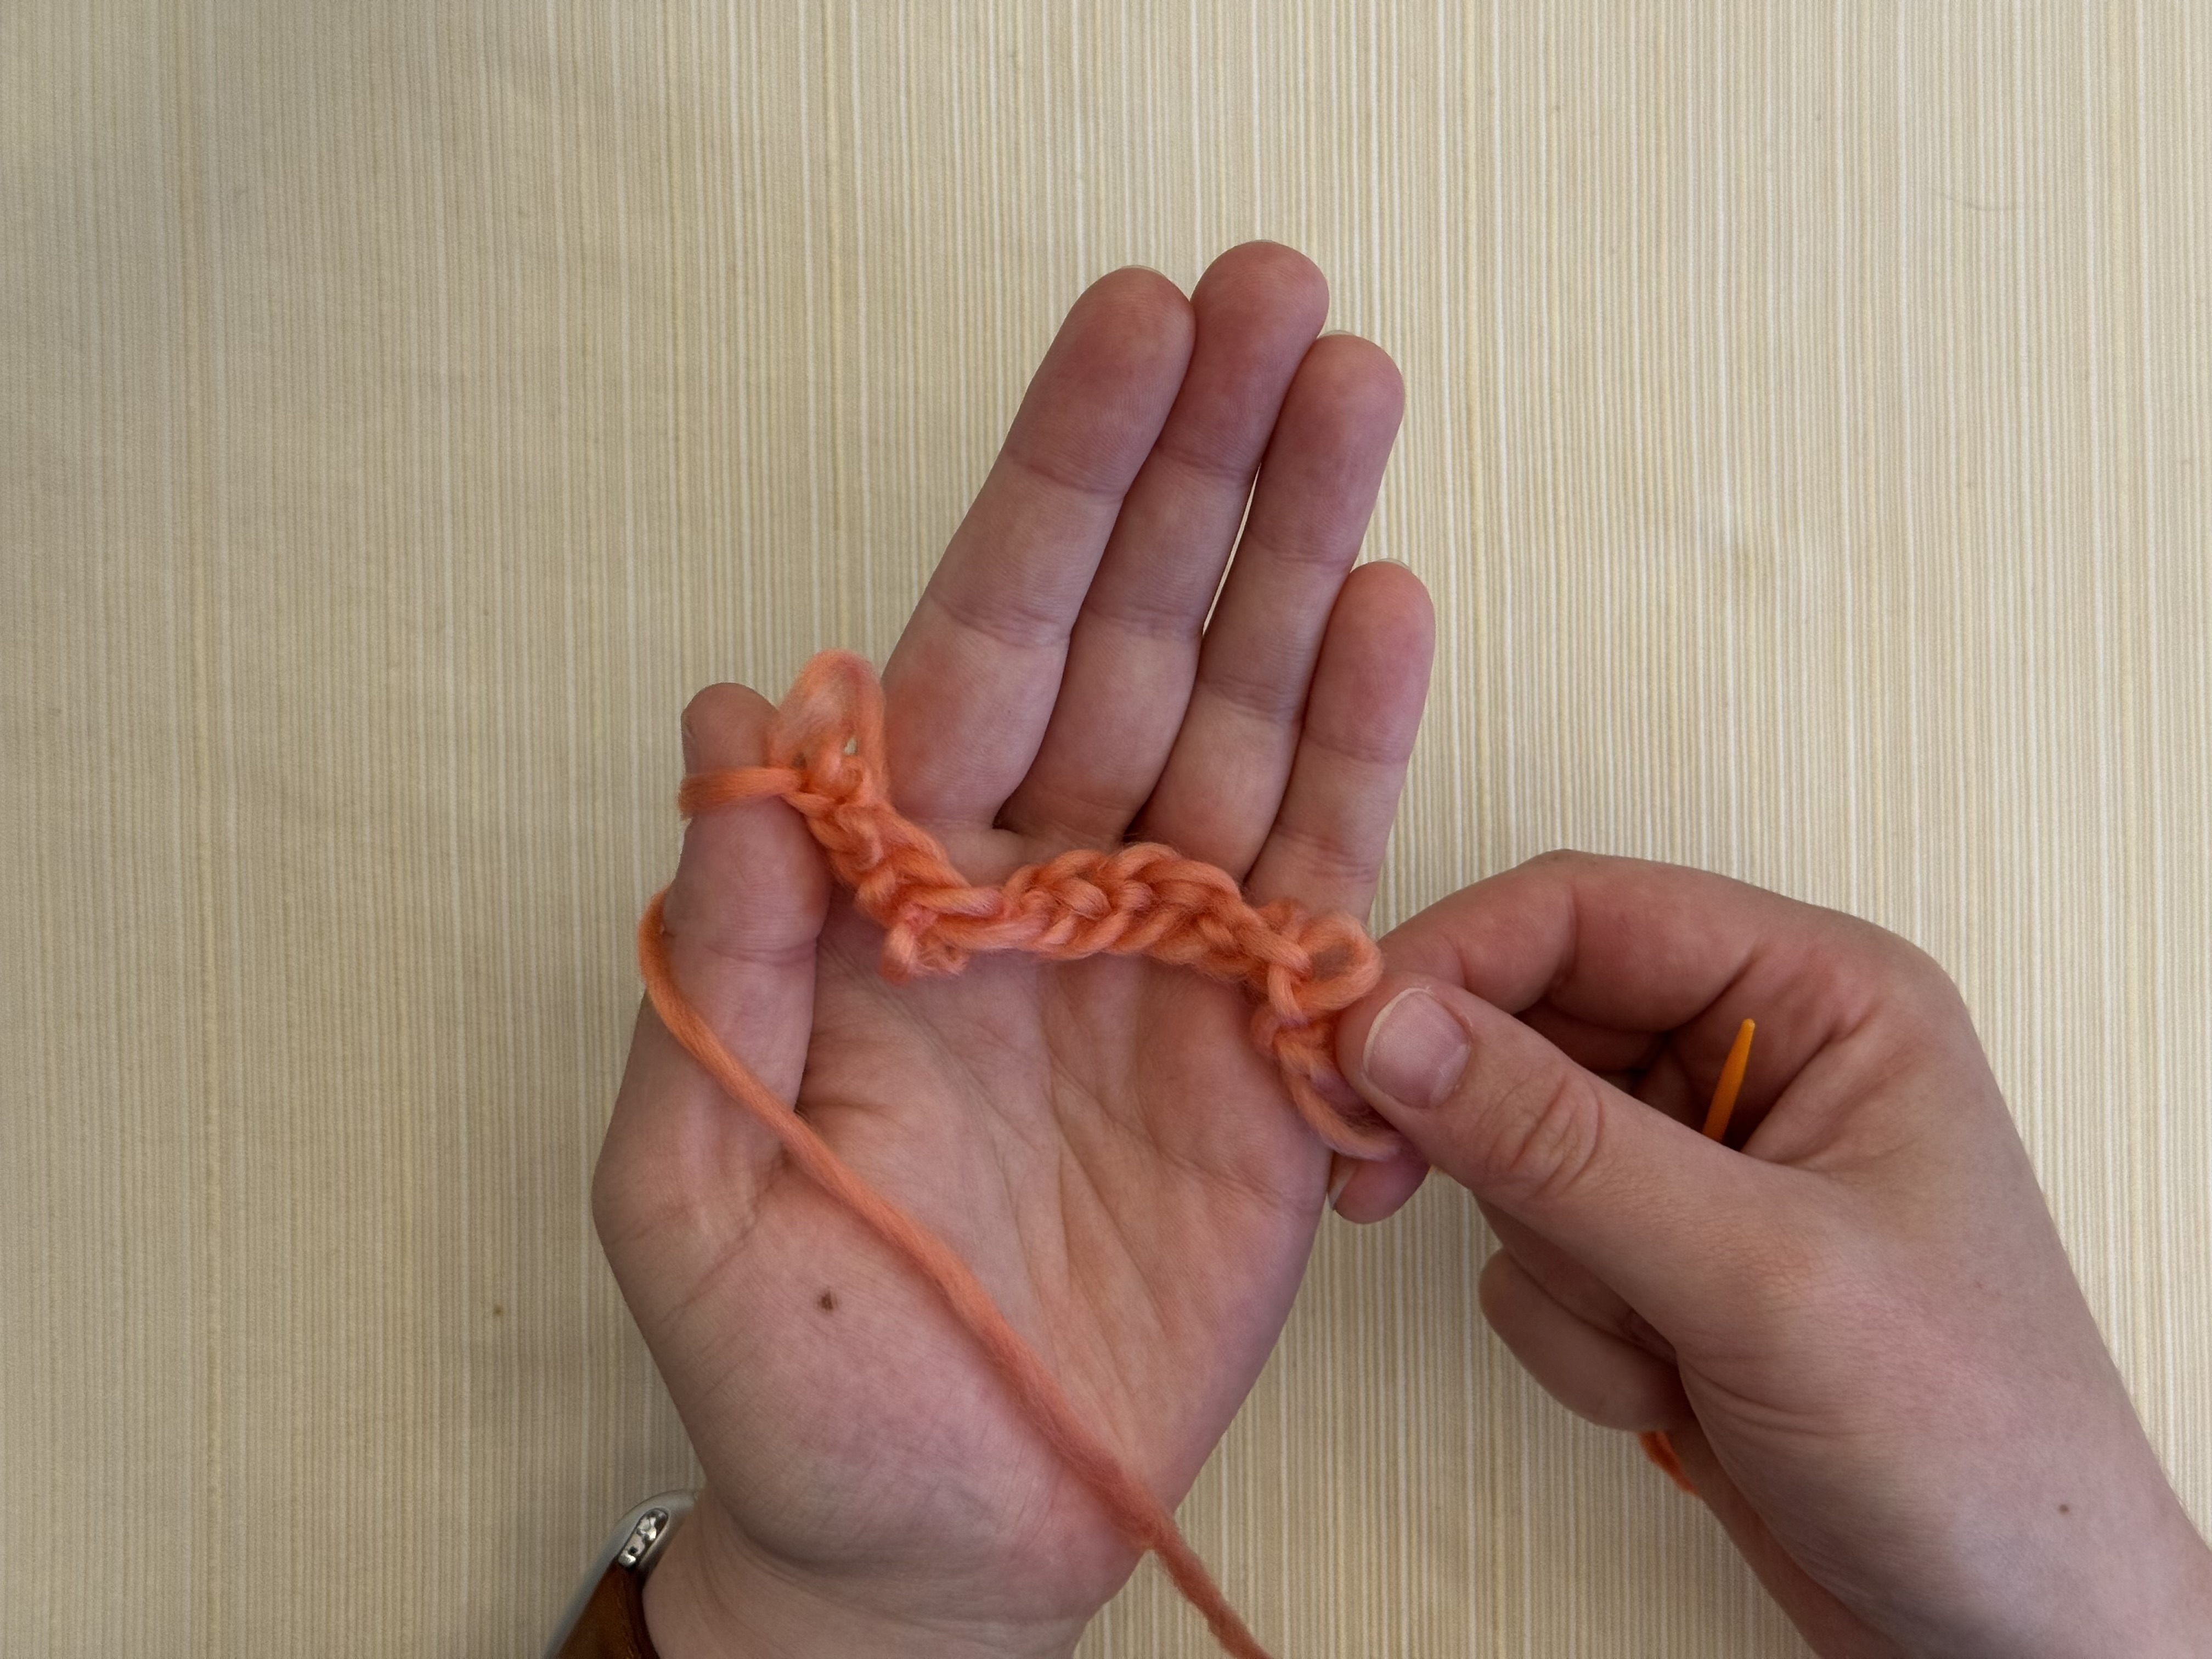
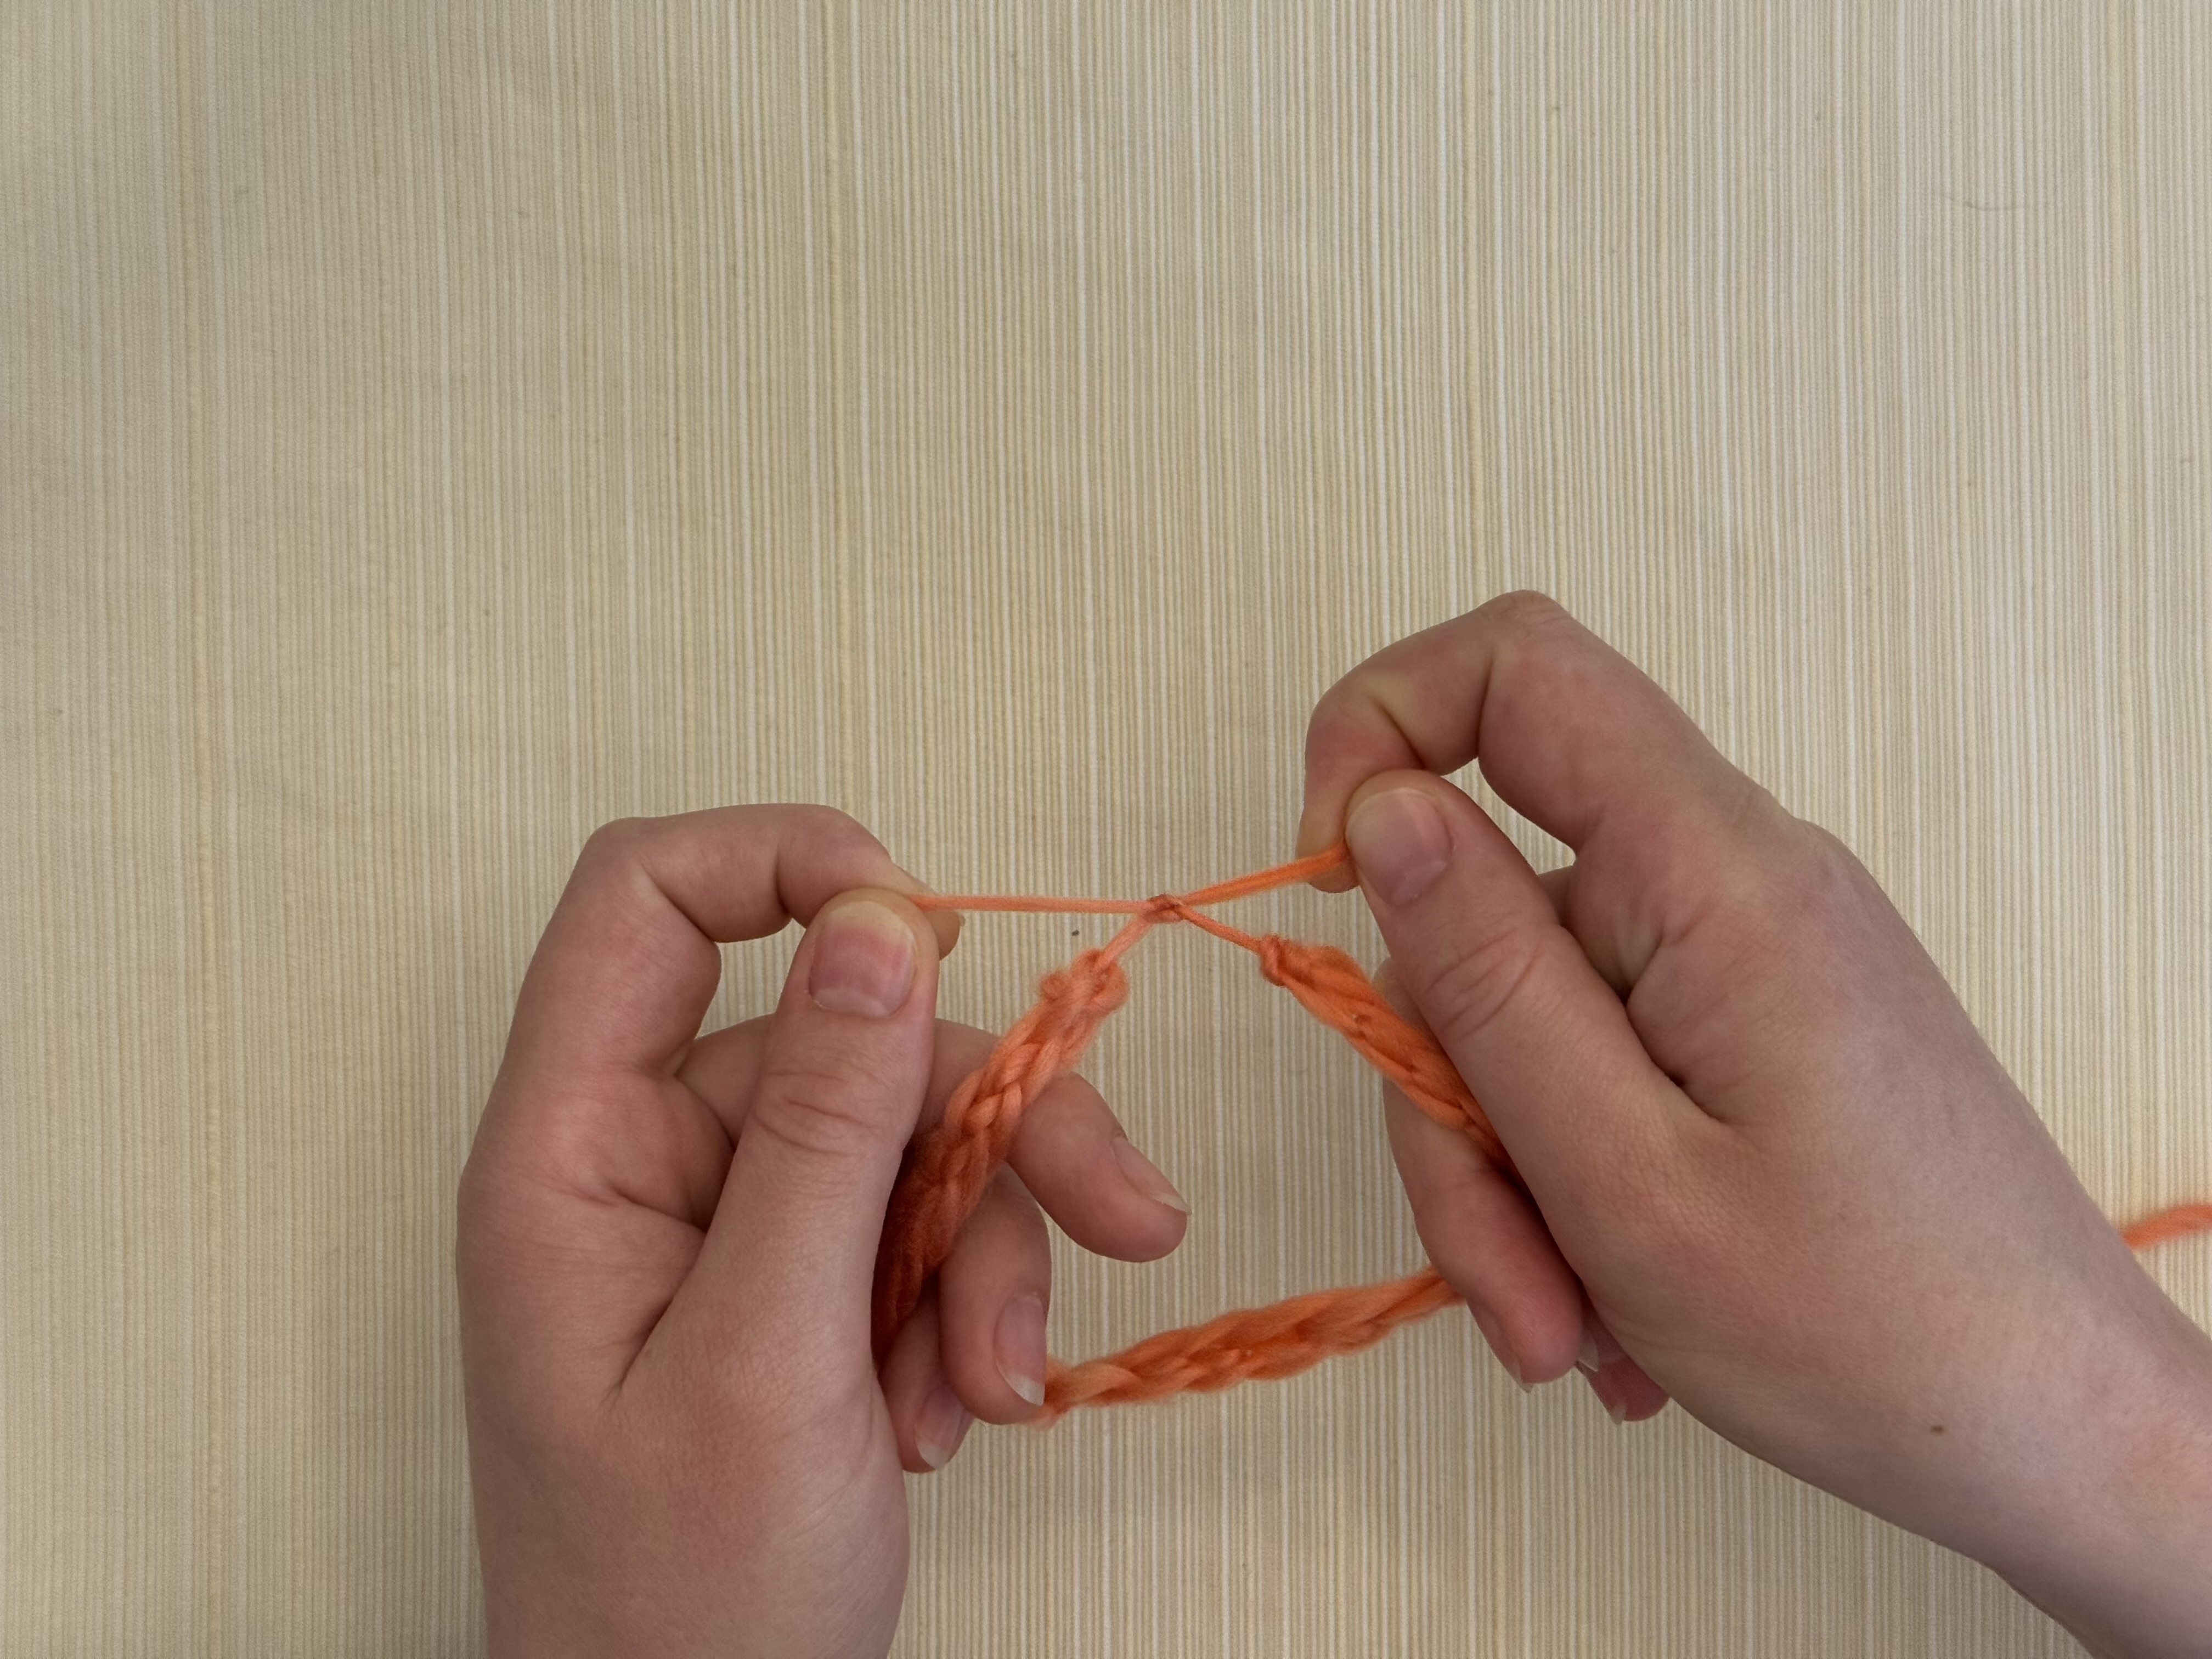
Step 21
The chain will probably look a little messy and lumpy. Don’t worry, we’re going to fix that right now. Hold it on both ends with your hands.
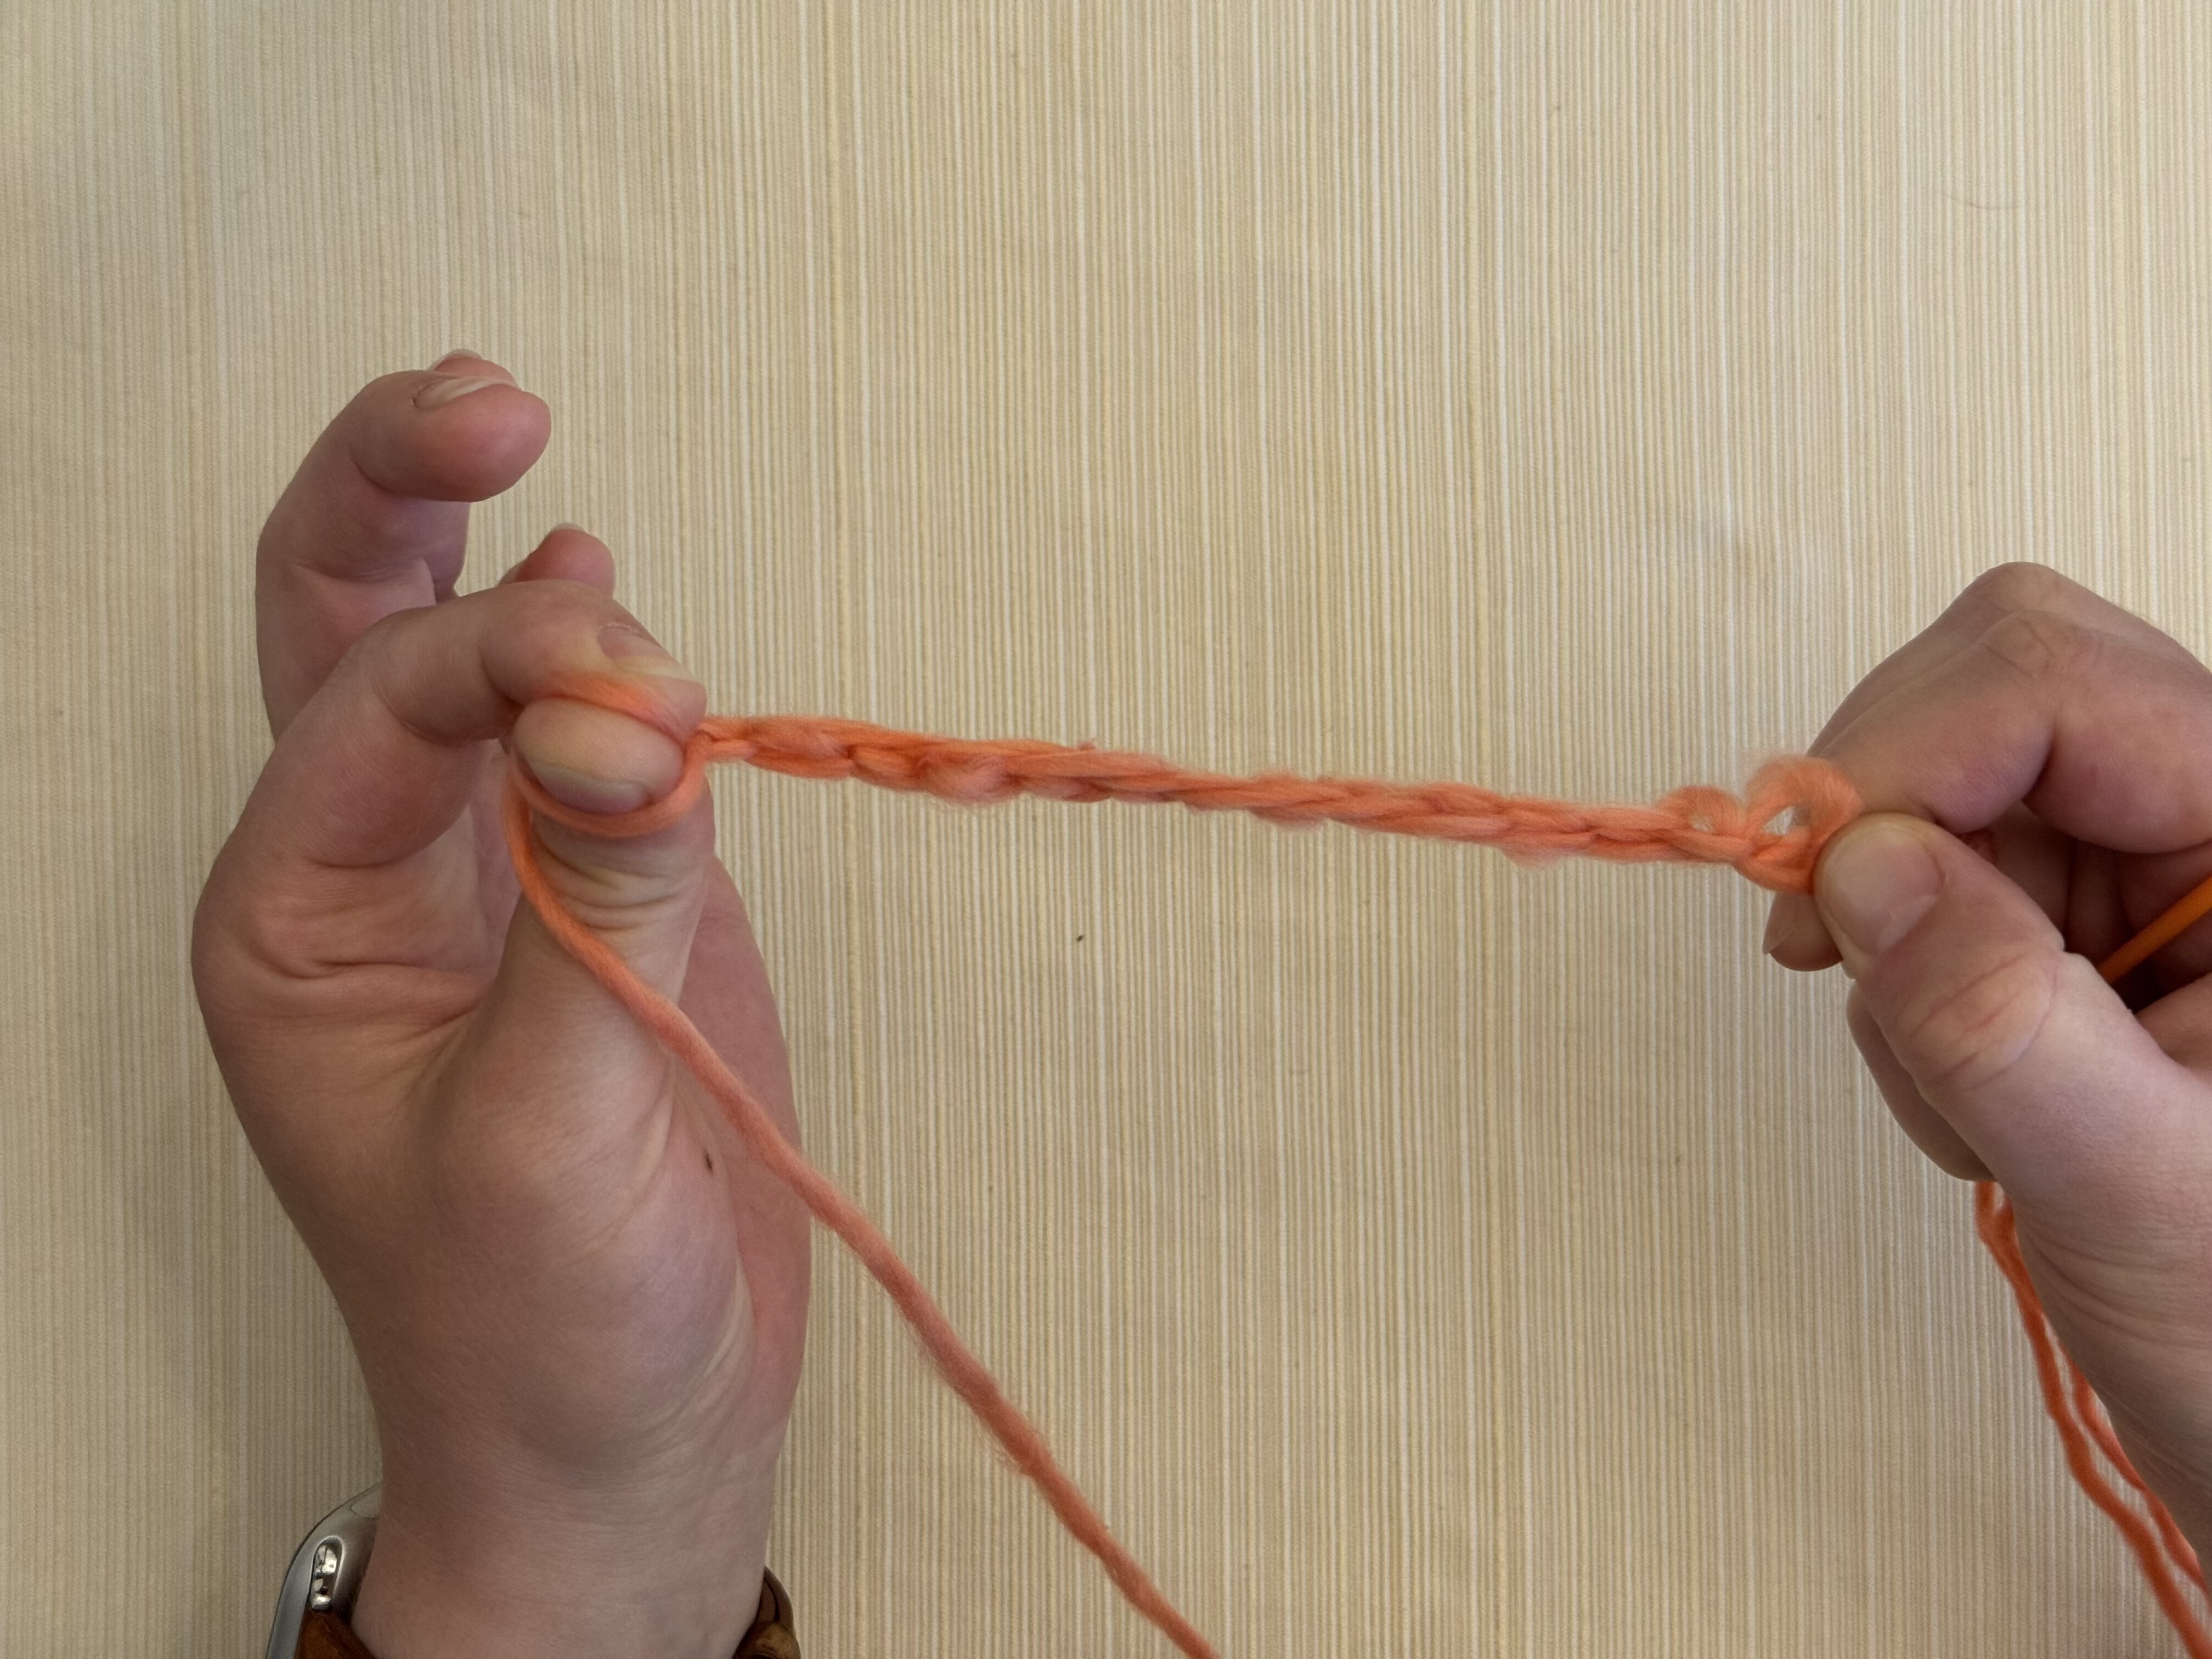
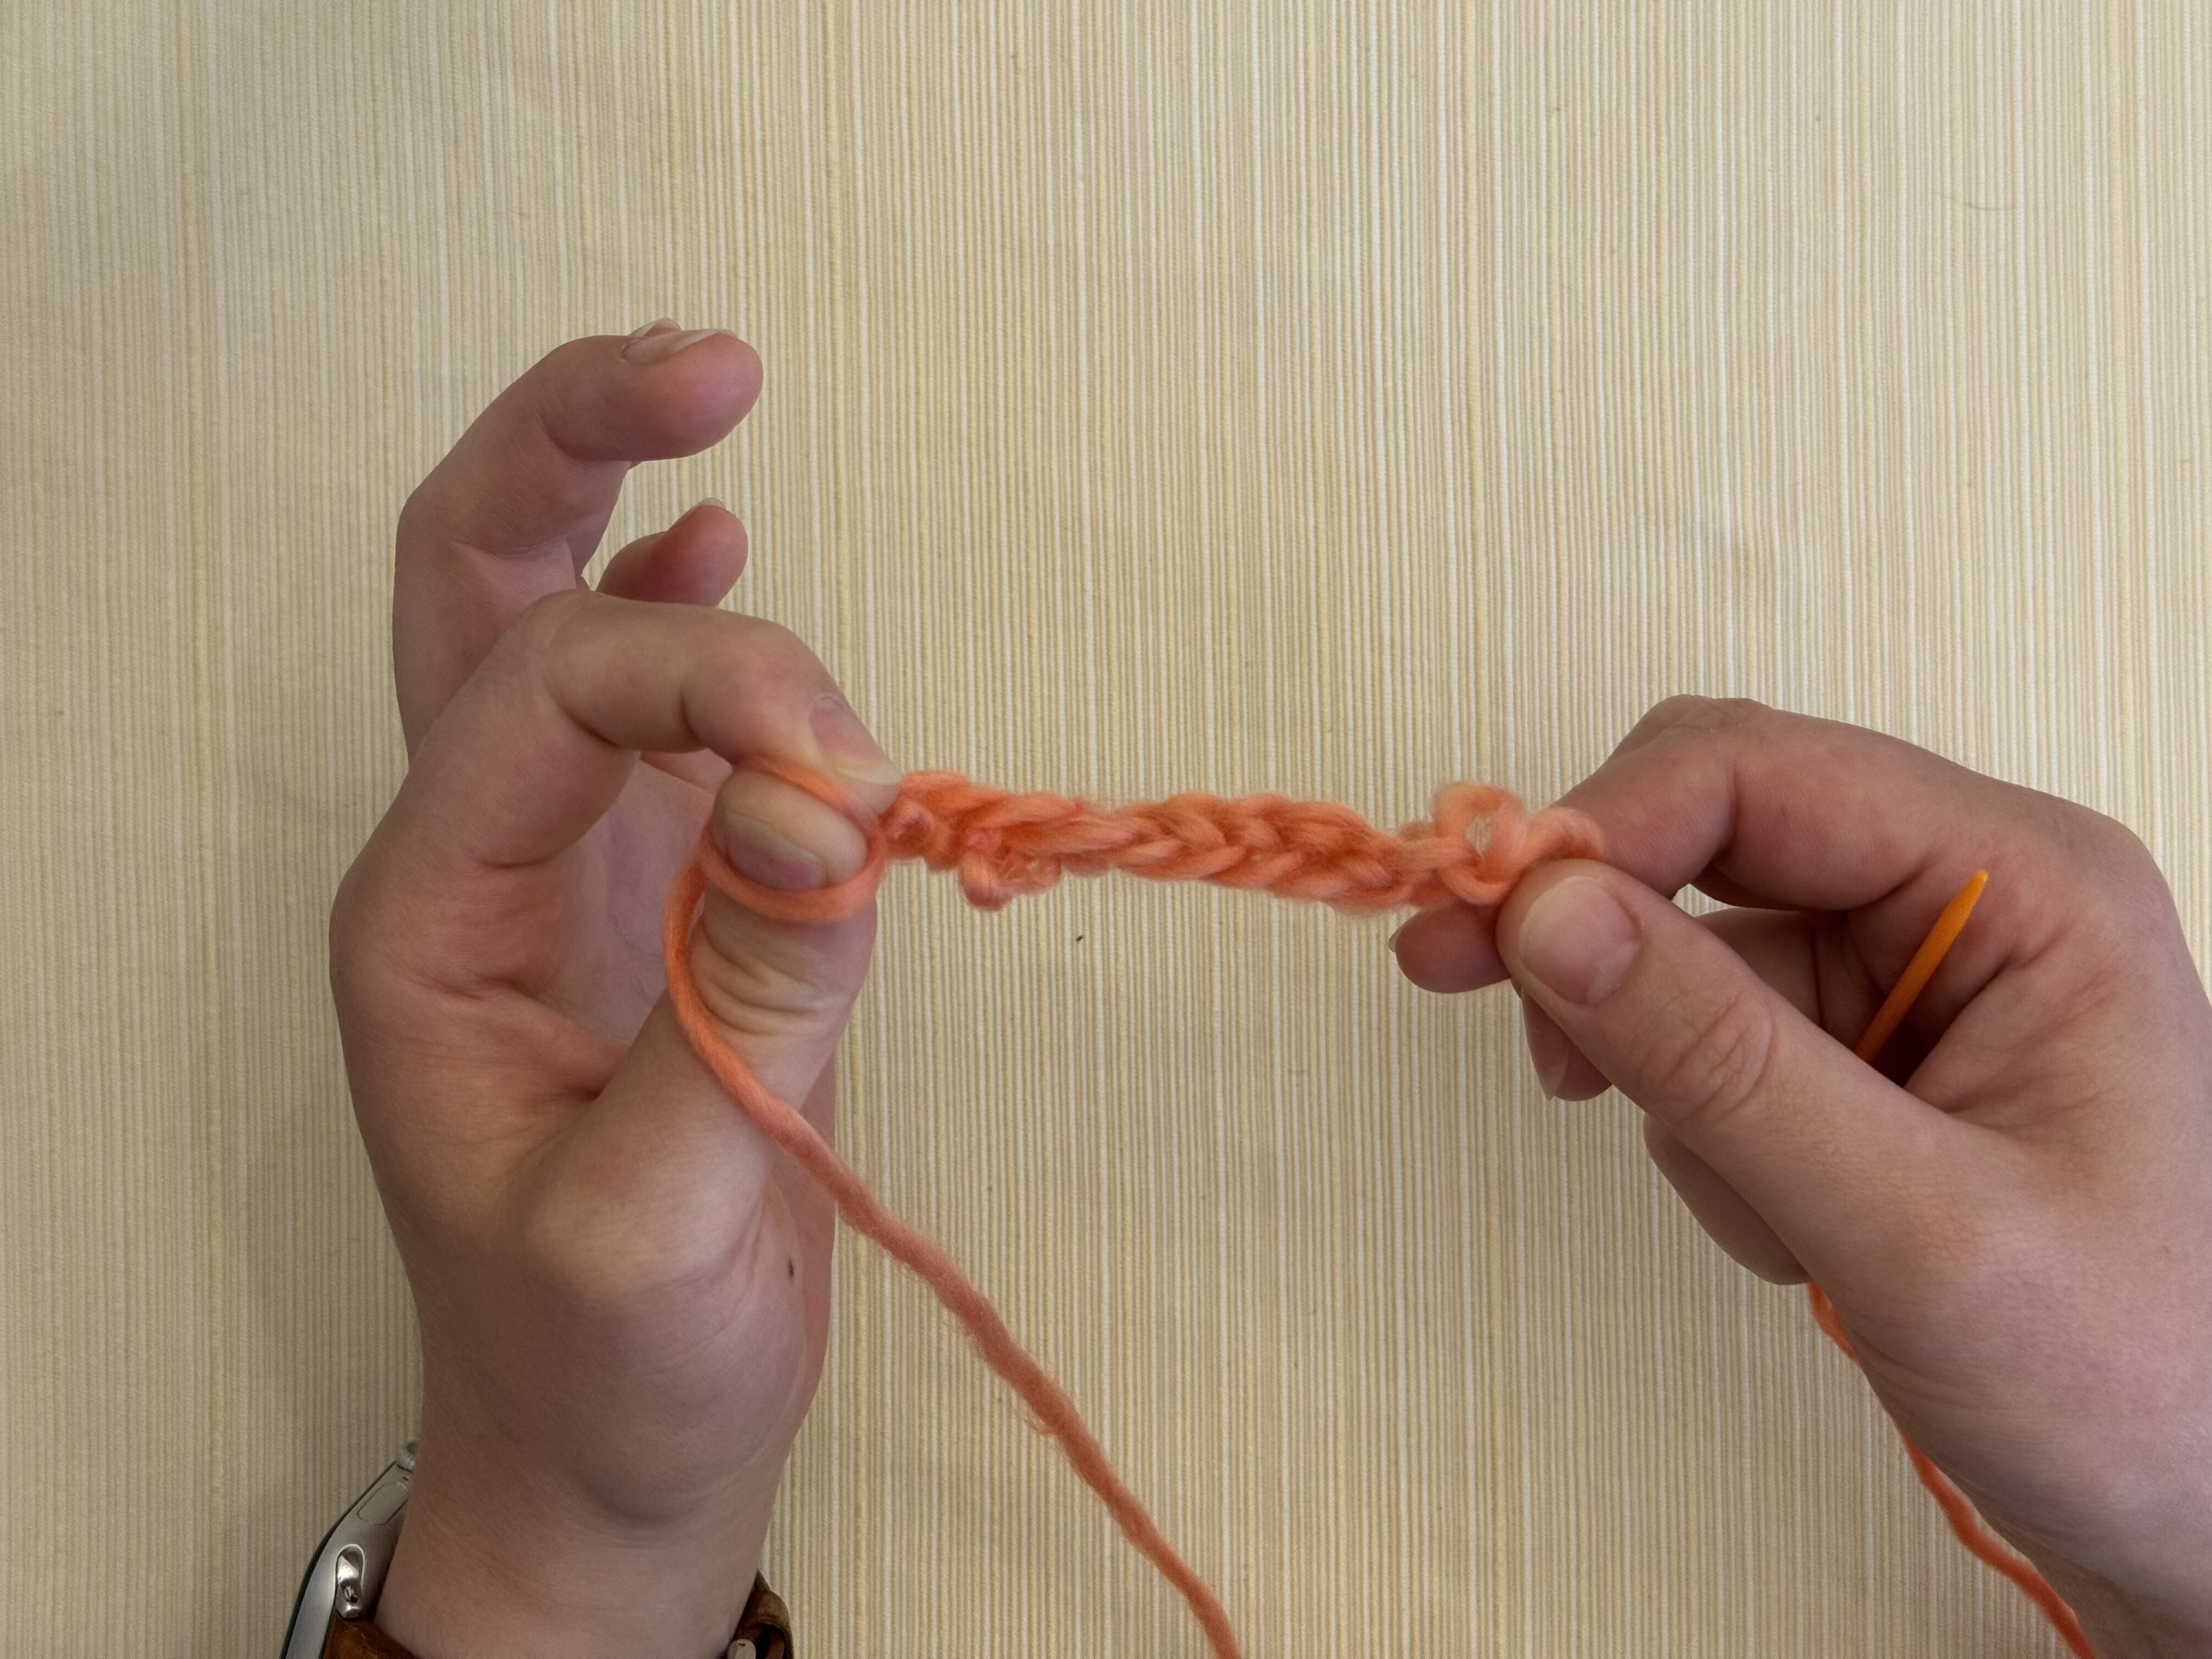
Step 22
Give it a few gentle tugs to even out the stitches.
Step 23
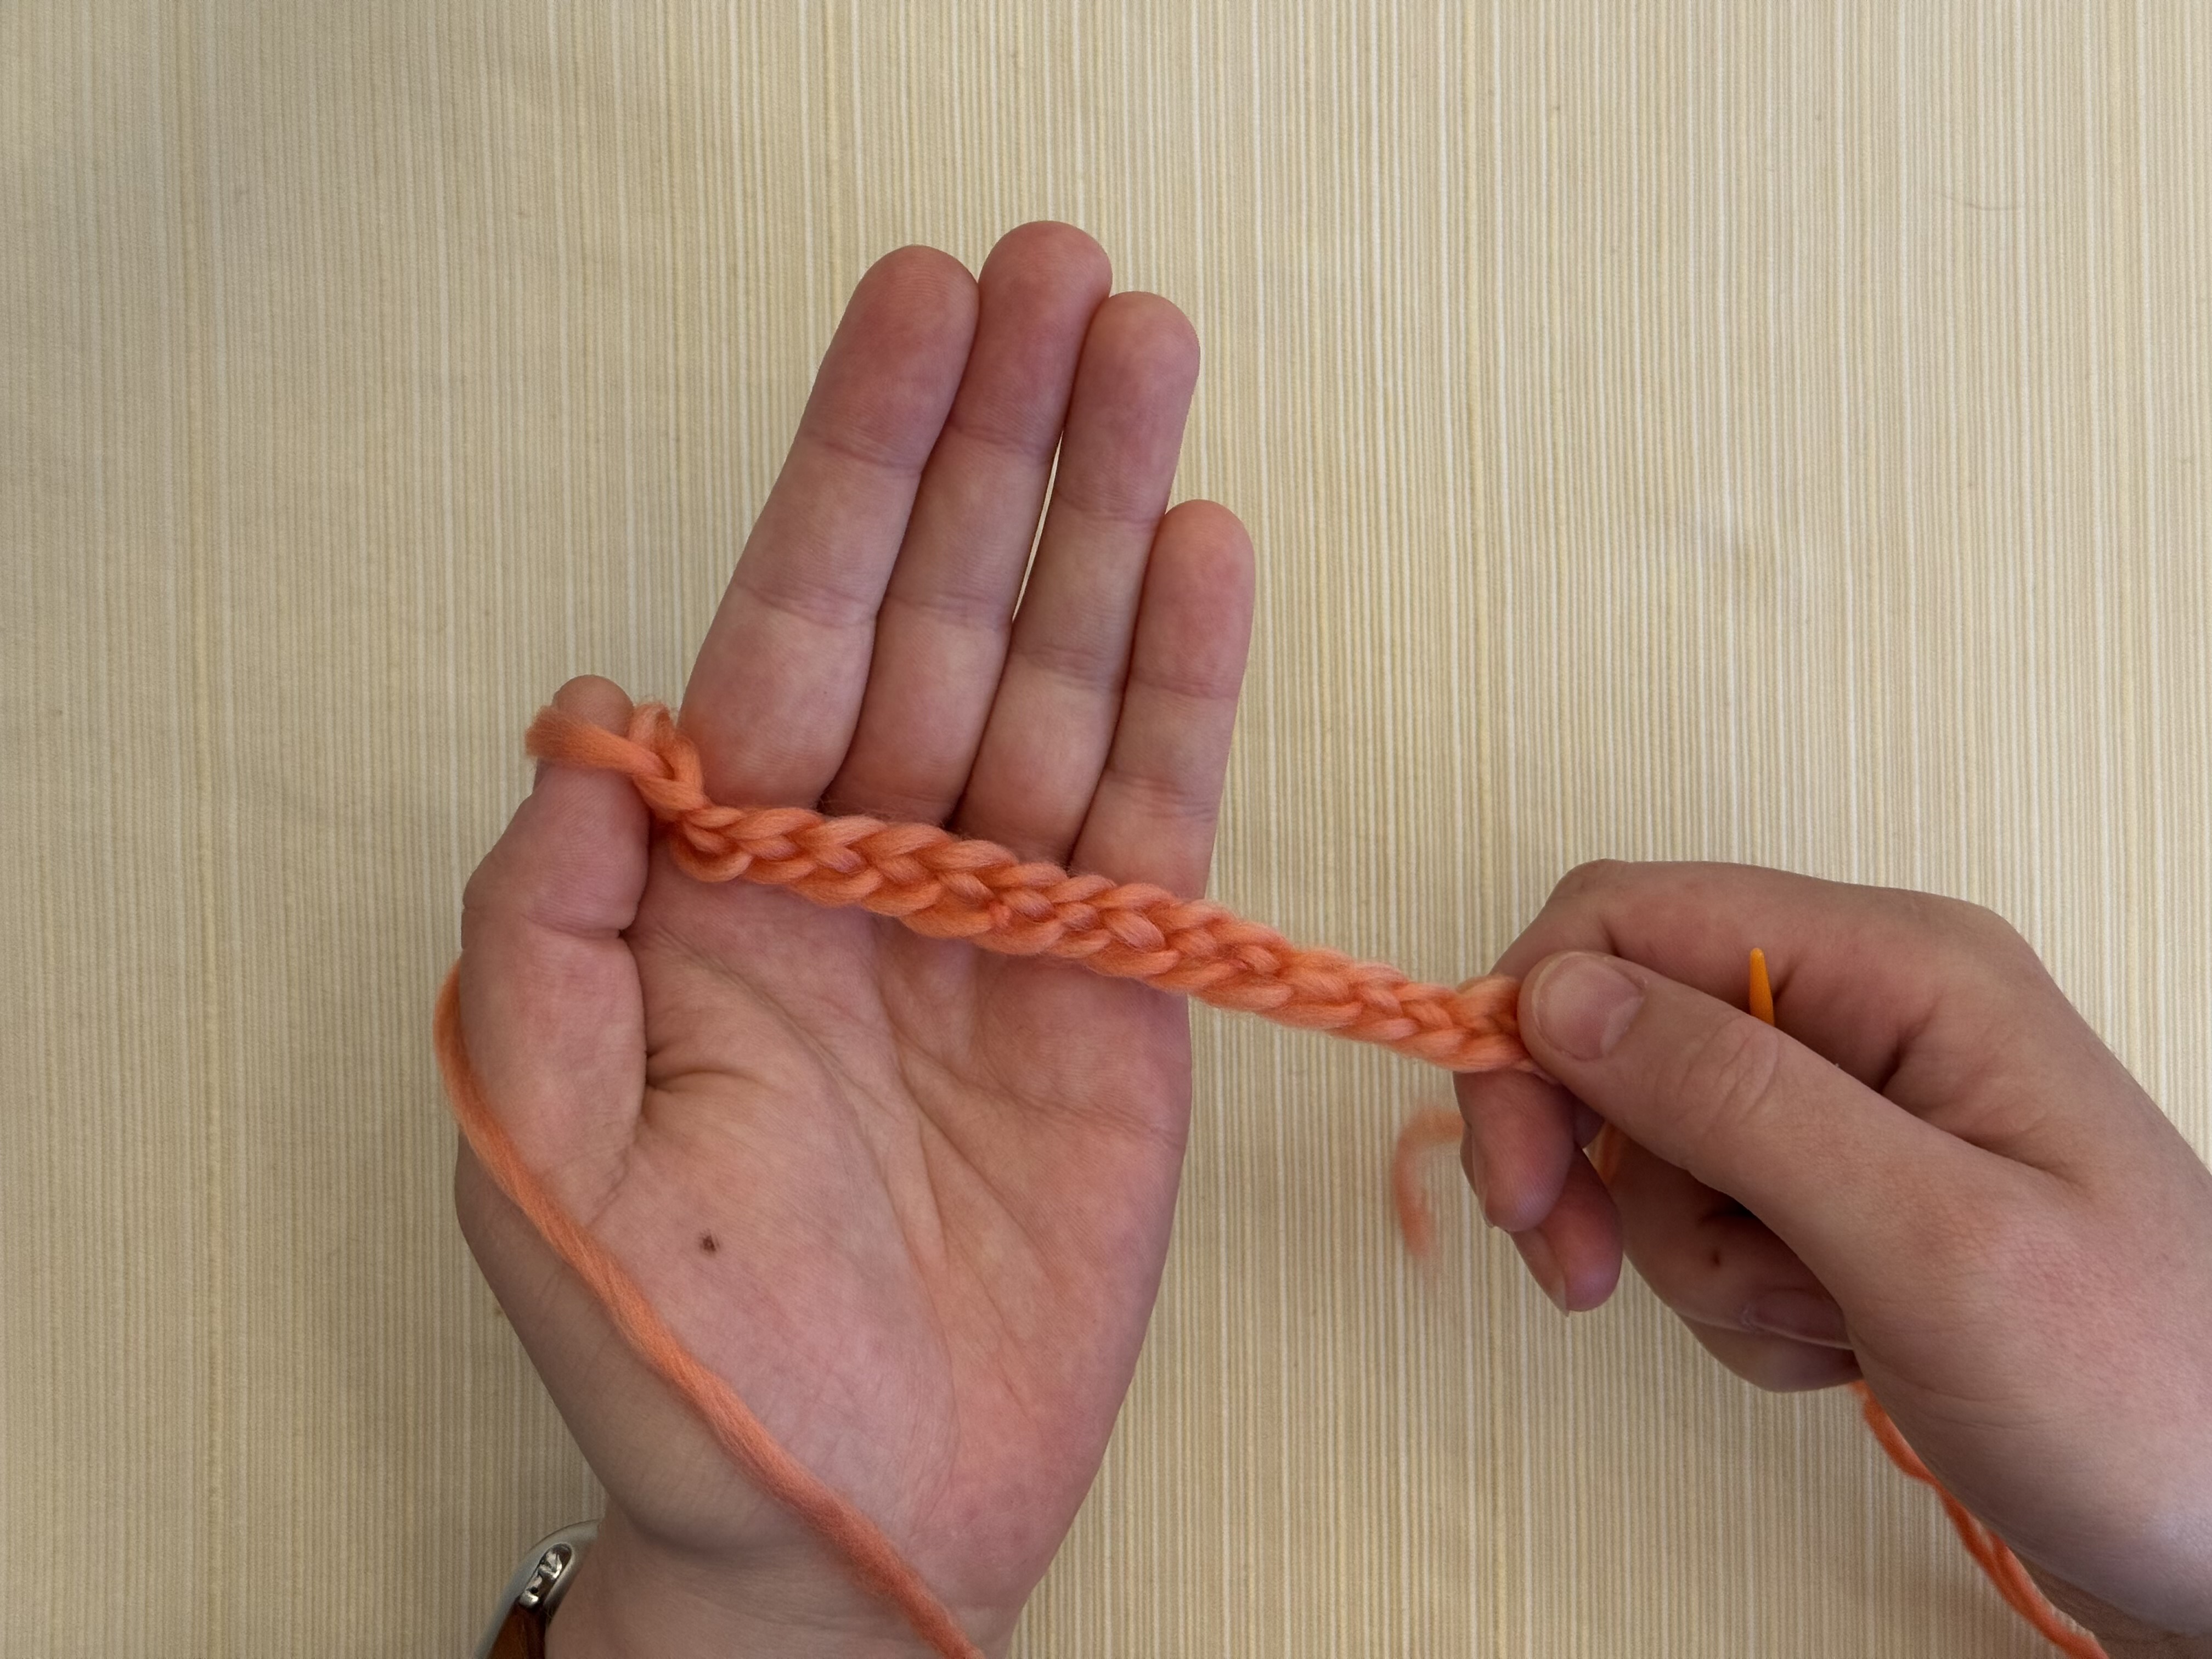
Now that the chain is tidy, you’ll have a better idea of how long it is.
Step 24
Repeat steps 14 through 19 to create more stitches, and gently tug the chain after every couple of stitches. Keep going until the chain is long enough to loosely fit around your wrist.
Step 25
Take off any loops on your thumb.
Step 26
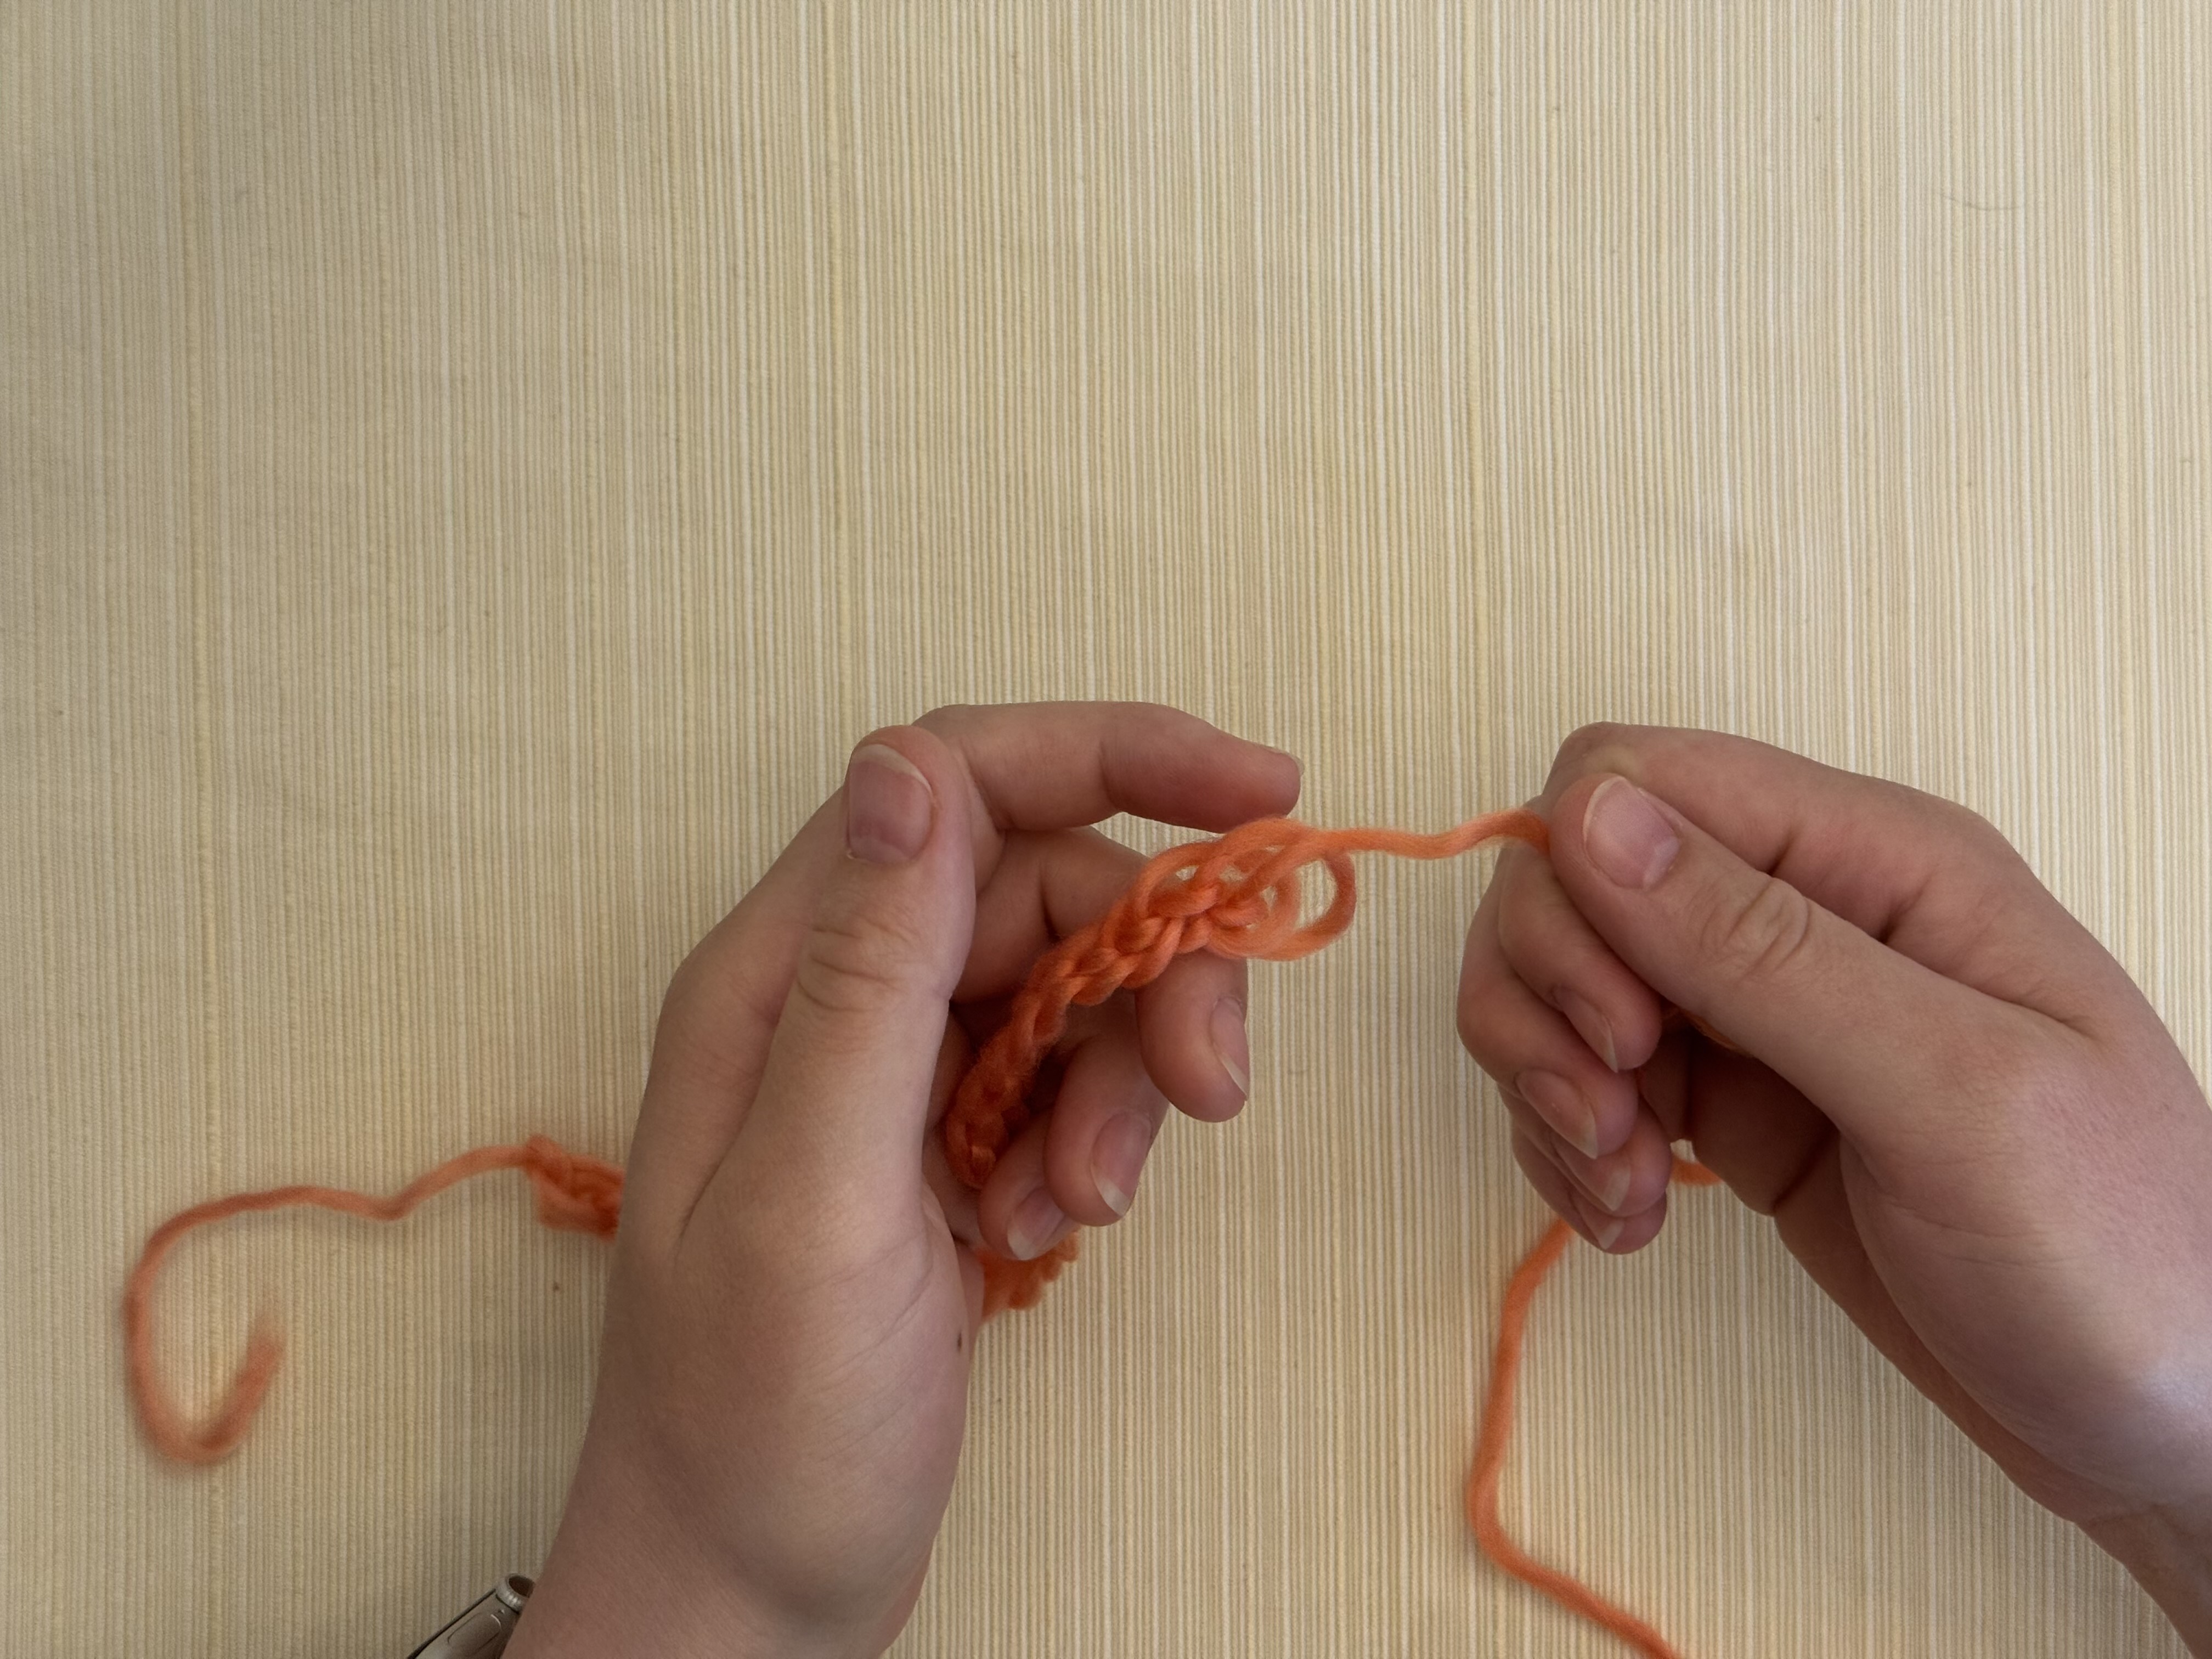
One end at a time, gently pull on the yarn on both ends of the chain to tighten those stitches into secure knots.
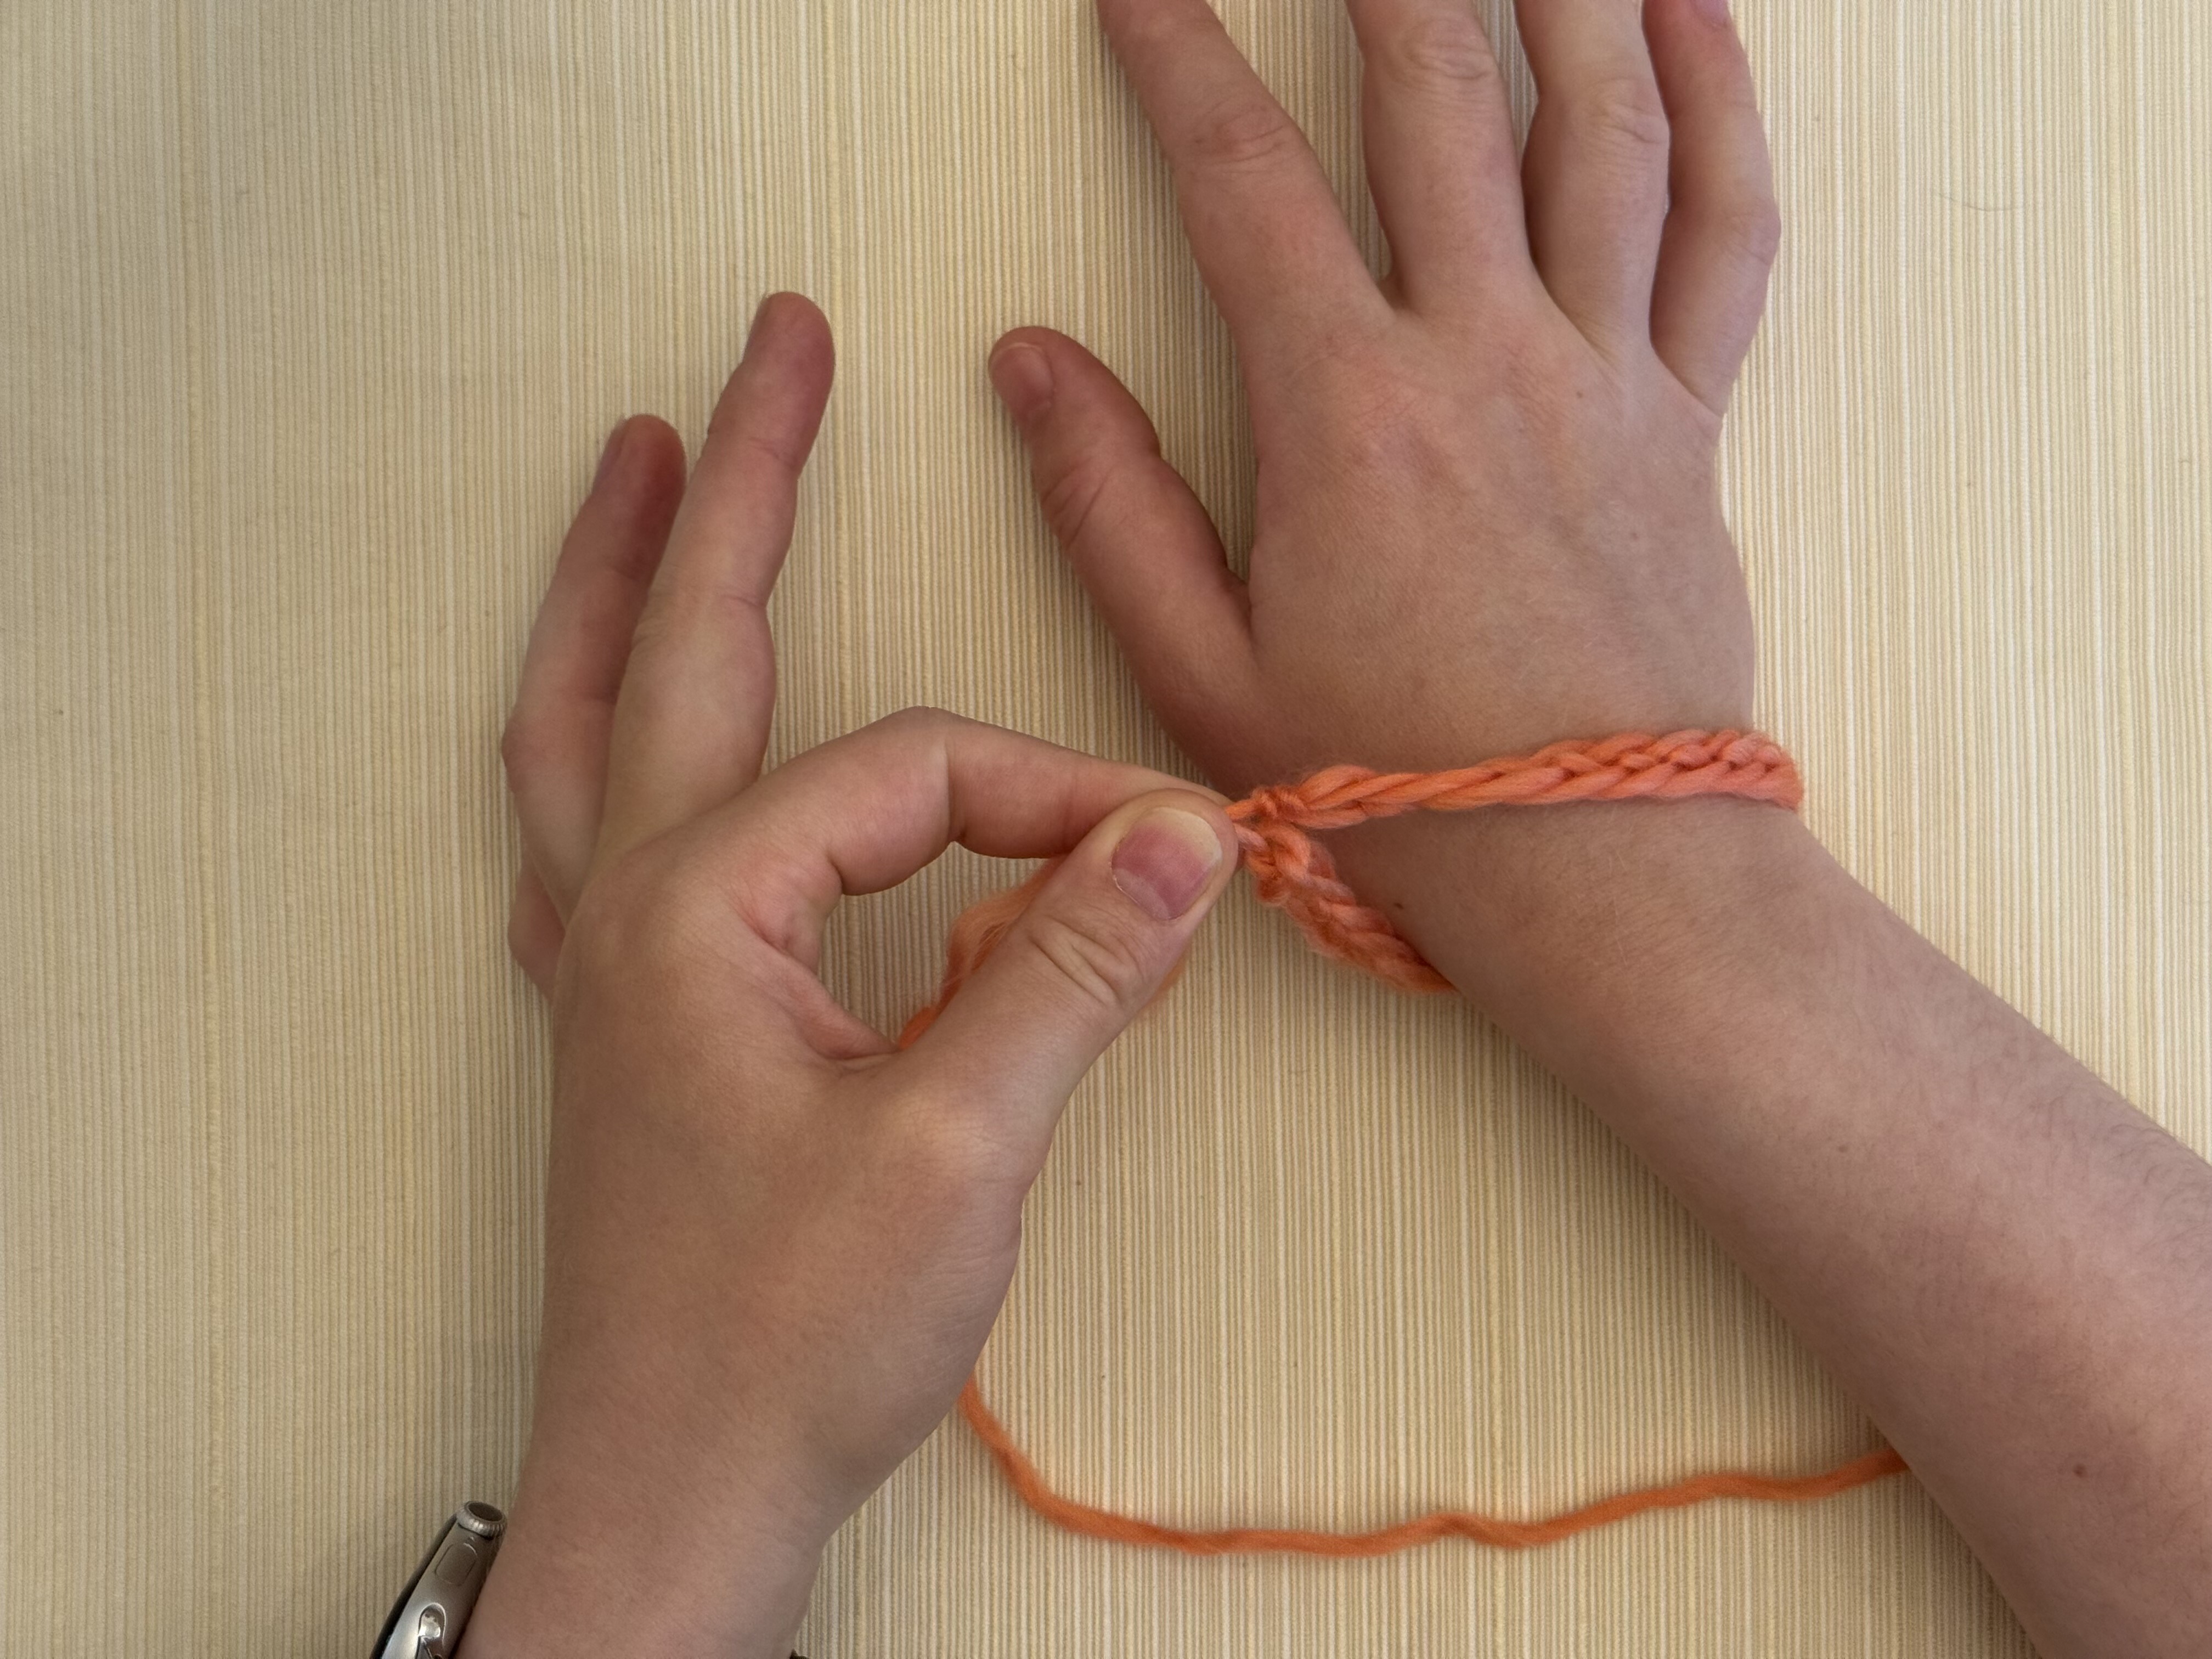
Step 27
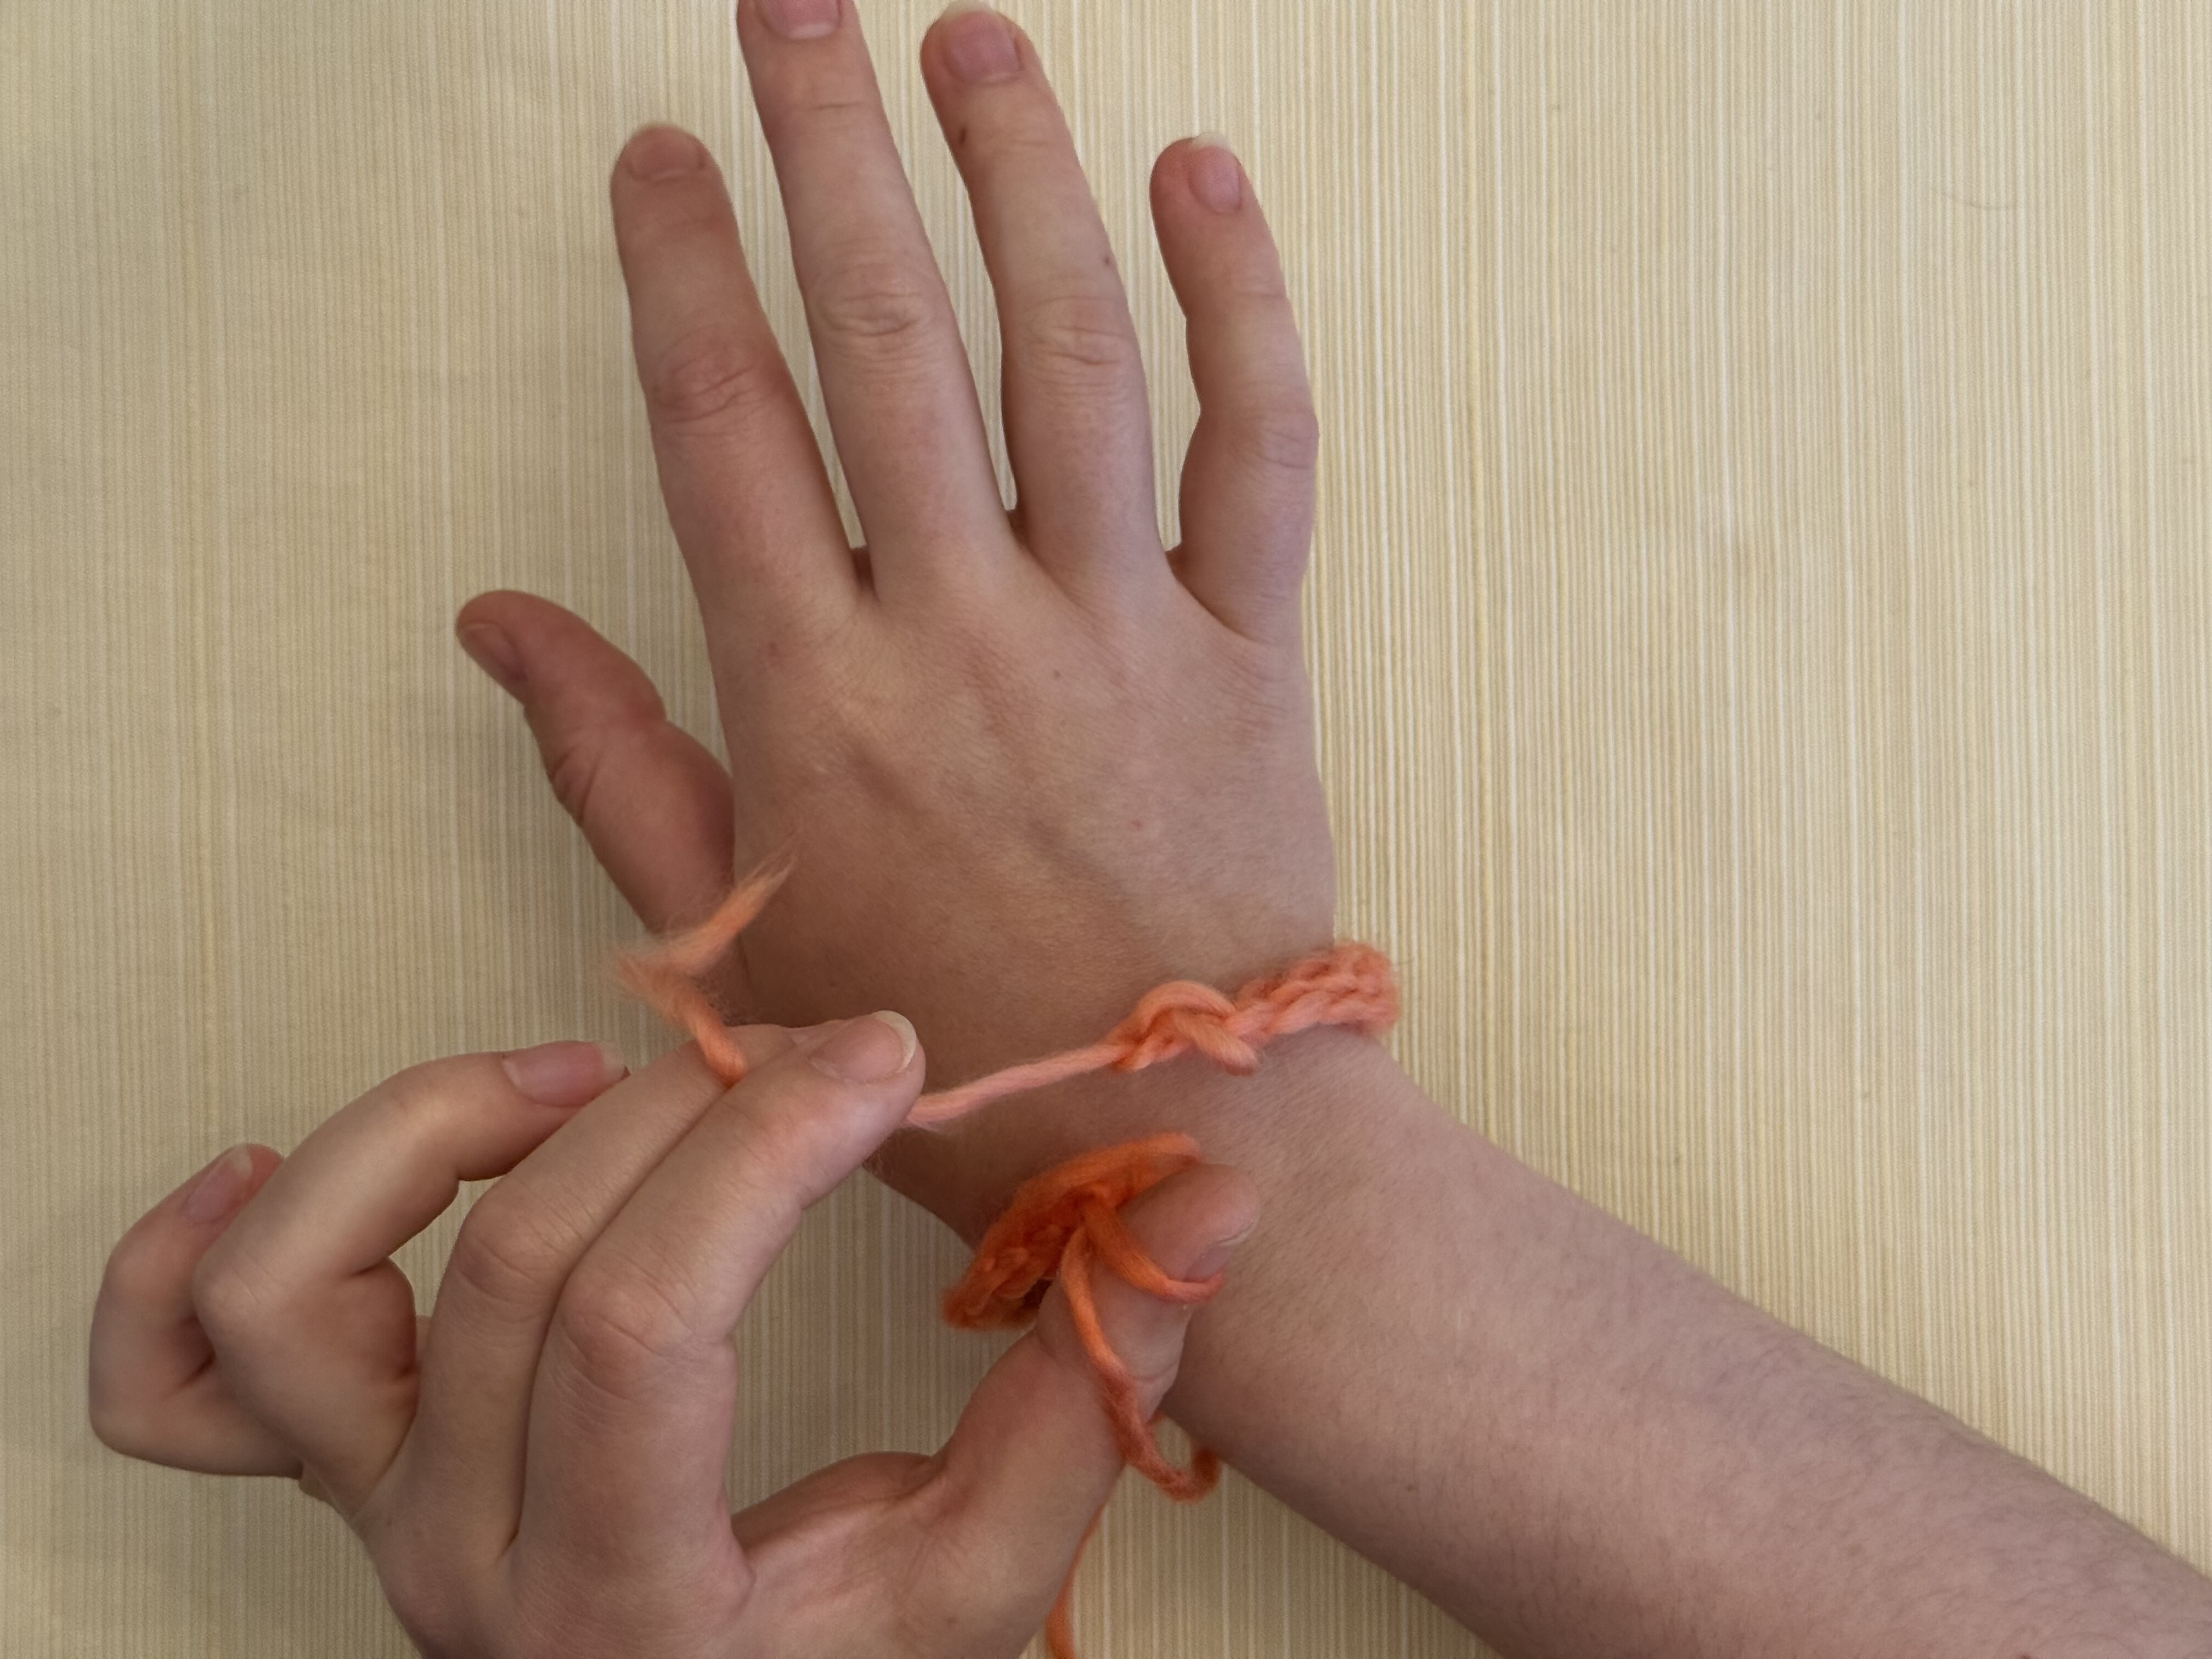
Loop the chain around your wrist, and pinch the yarn where you want to tie the ends together.
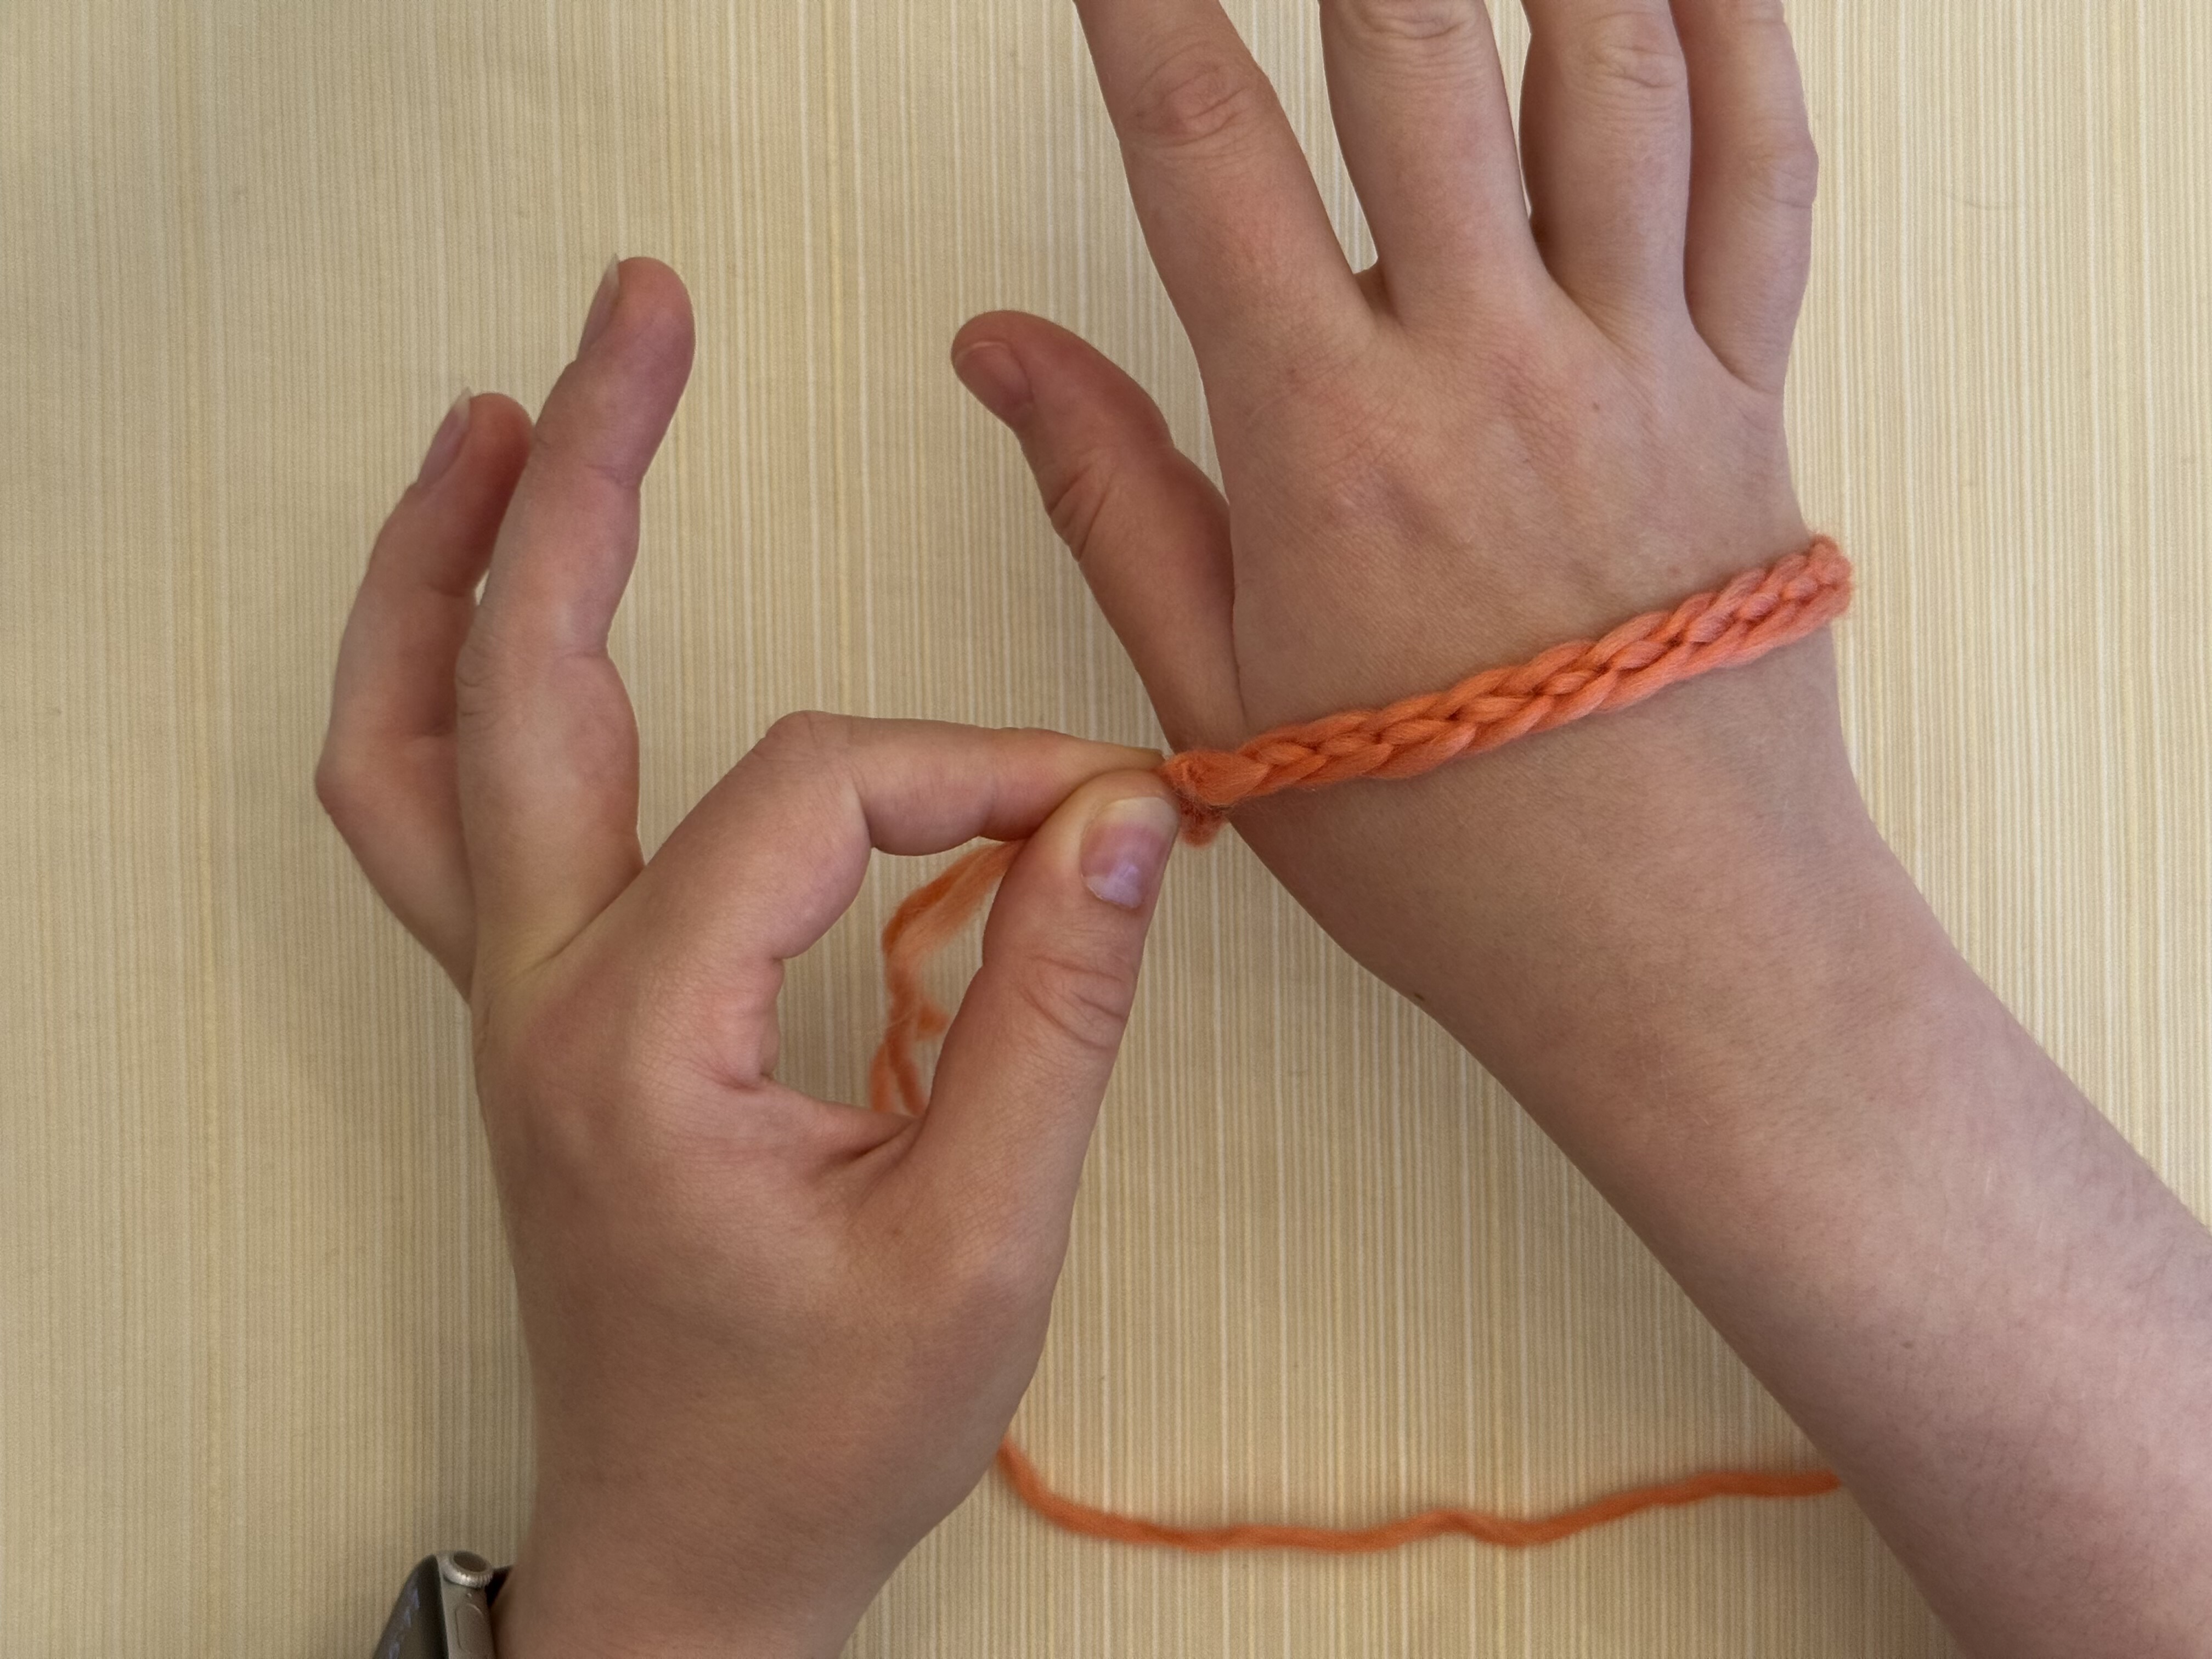
Step 28
Slide the loop over your hand to make sure it’s loose enough to fit over your hand after it’s been tied.
Step 29
Tie the yarn ends together where you were pinching them. This may be easier with someone to help you.
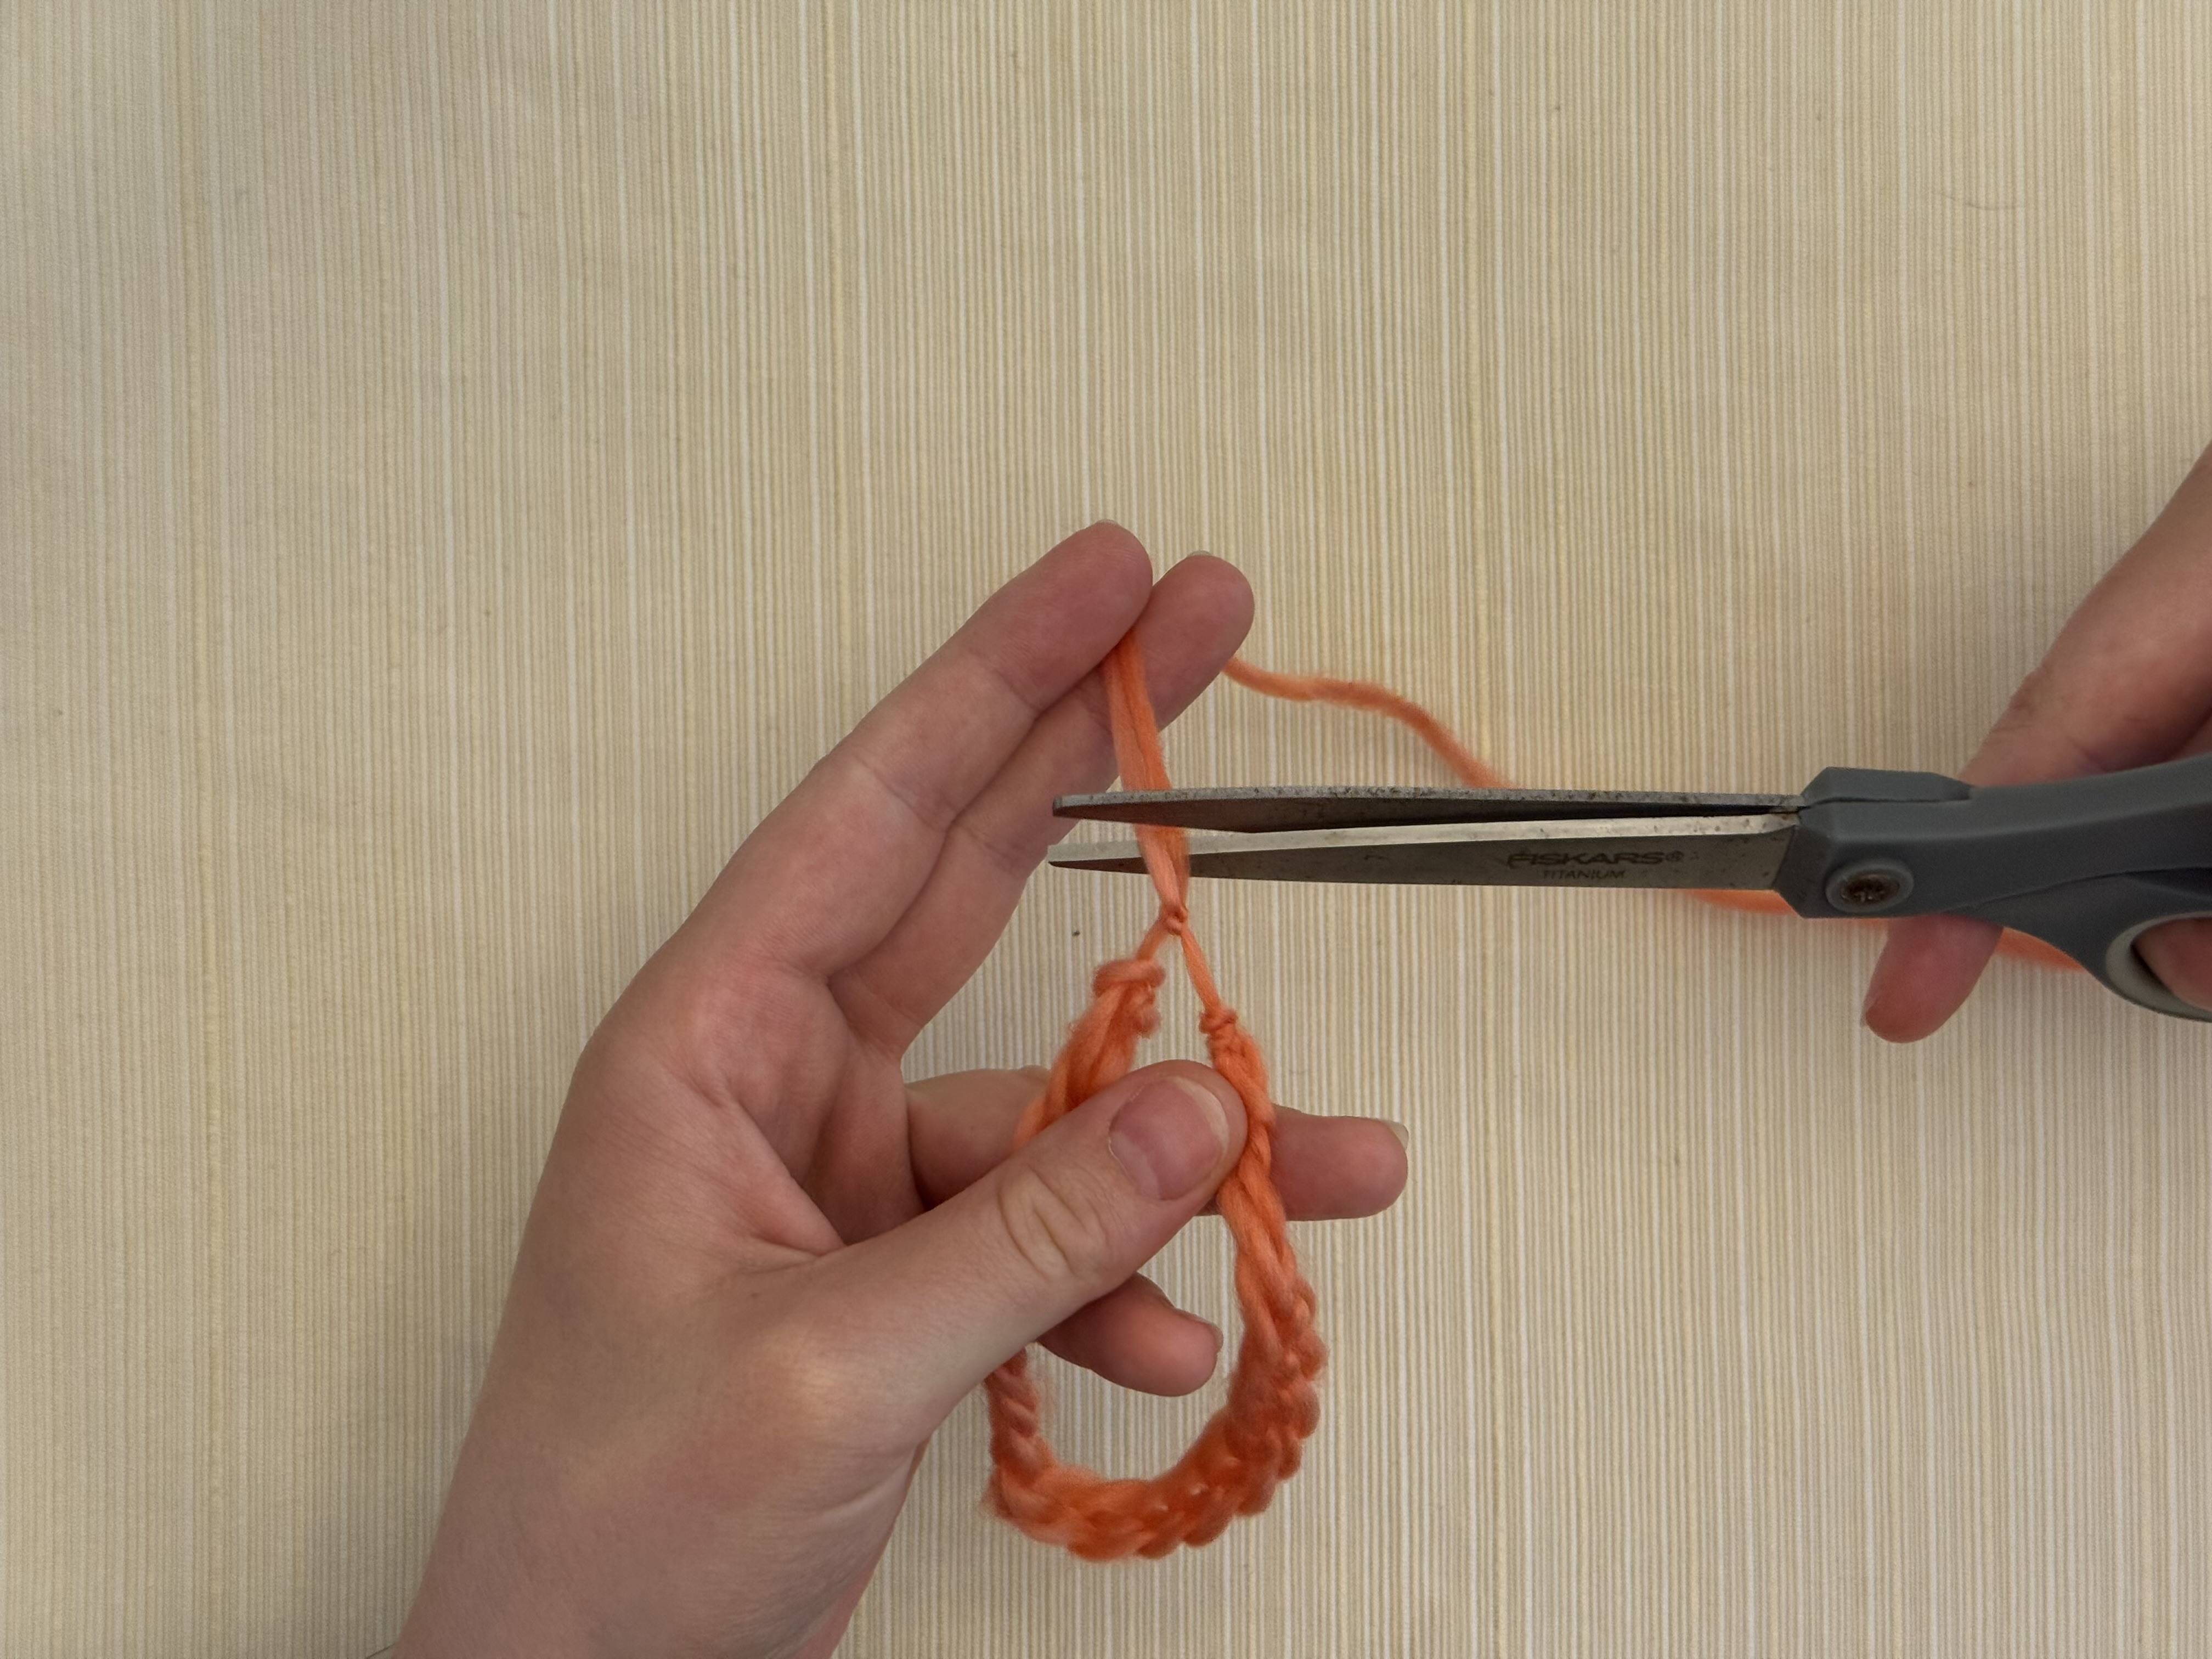
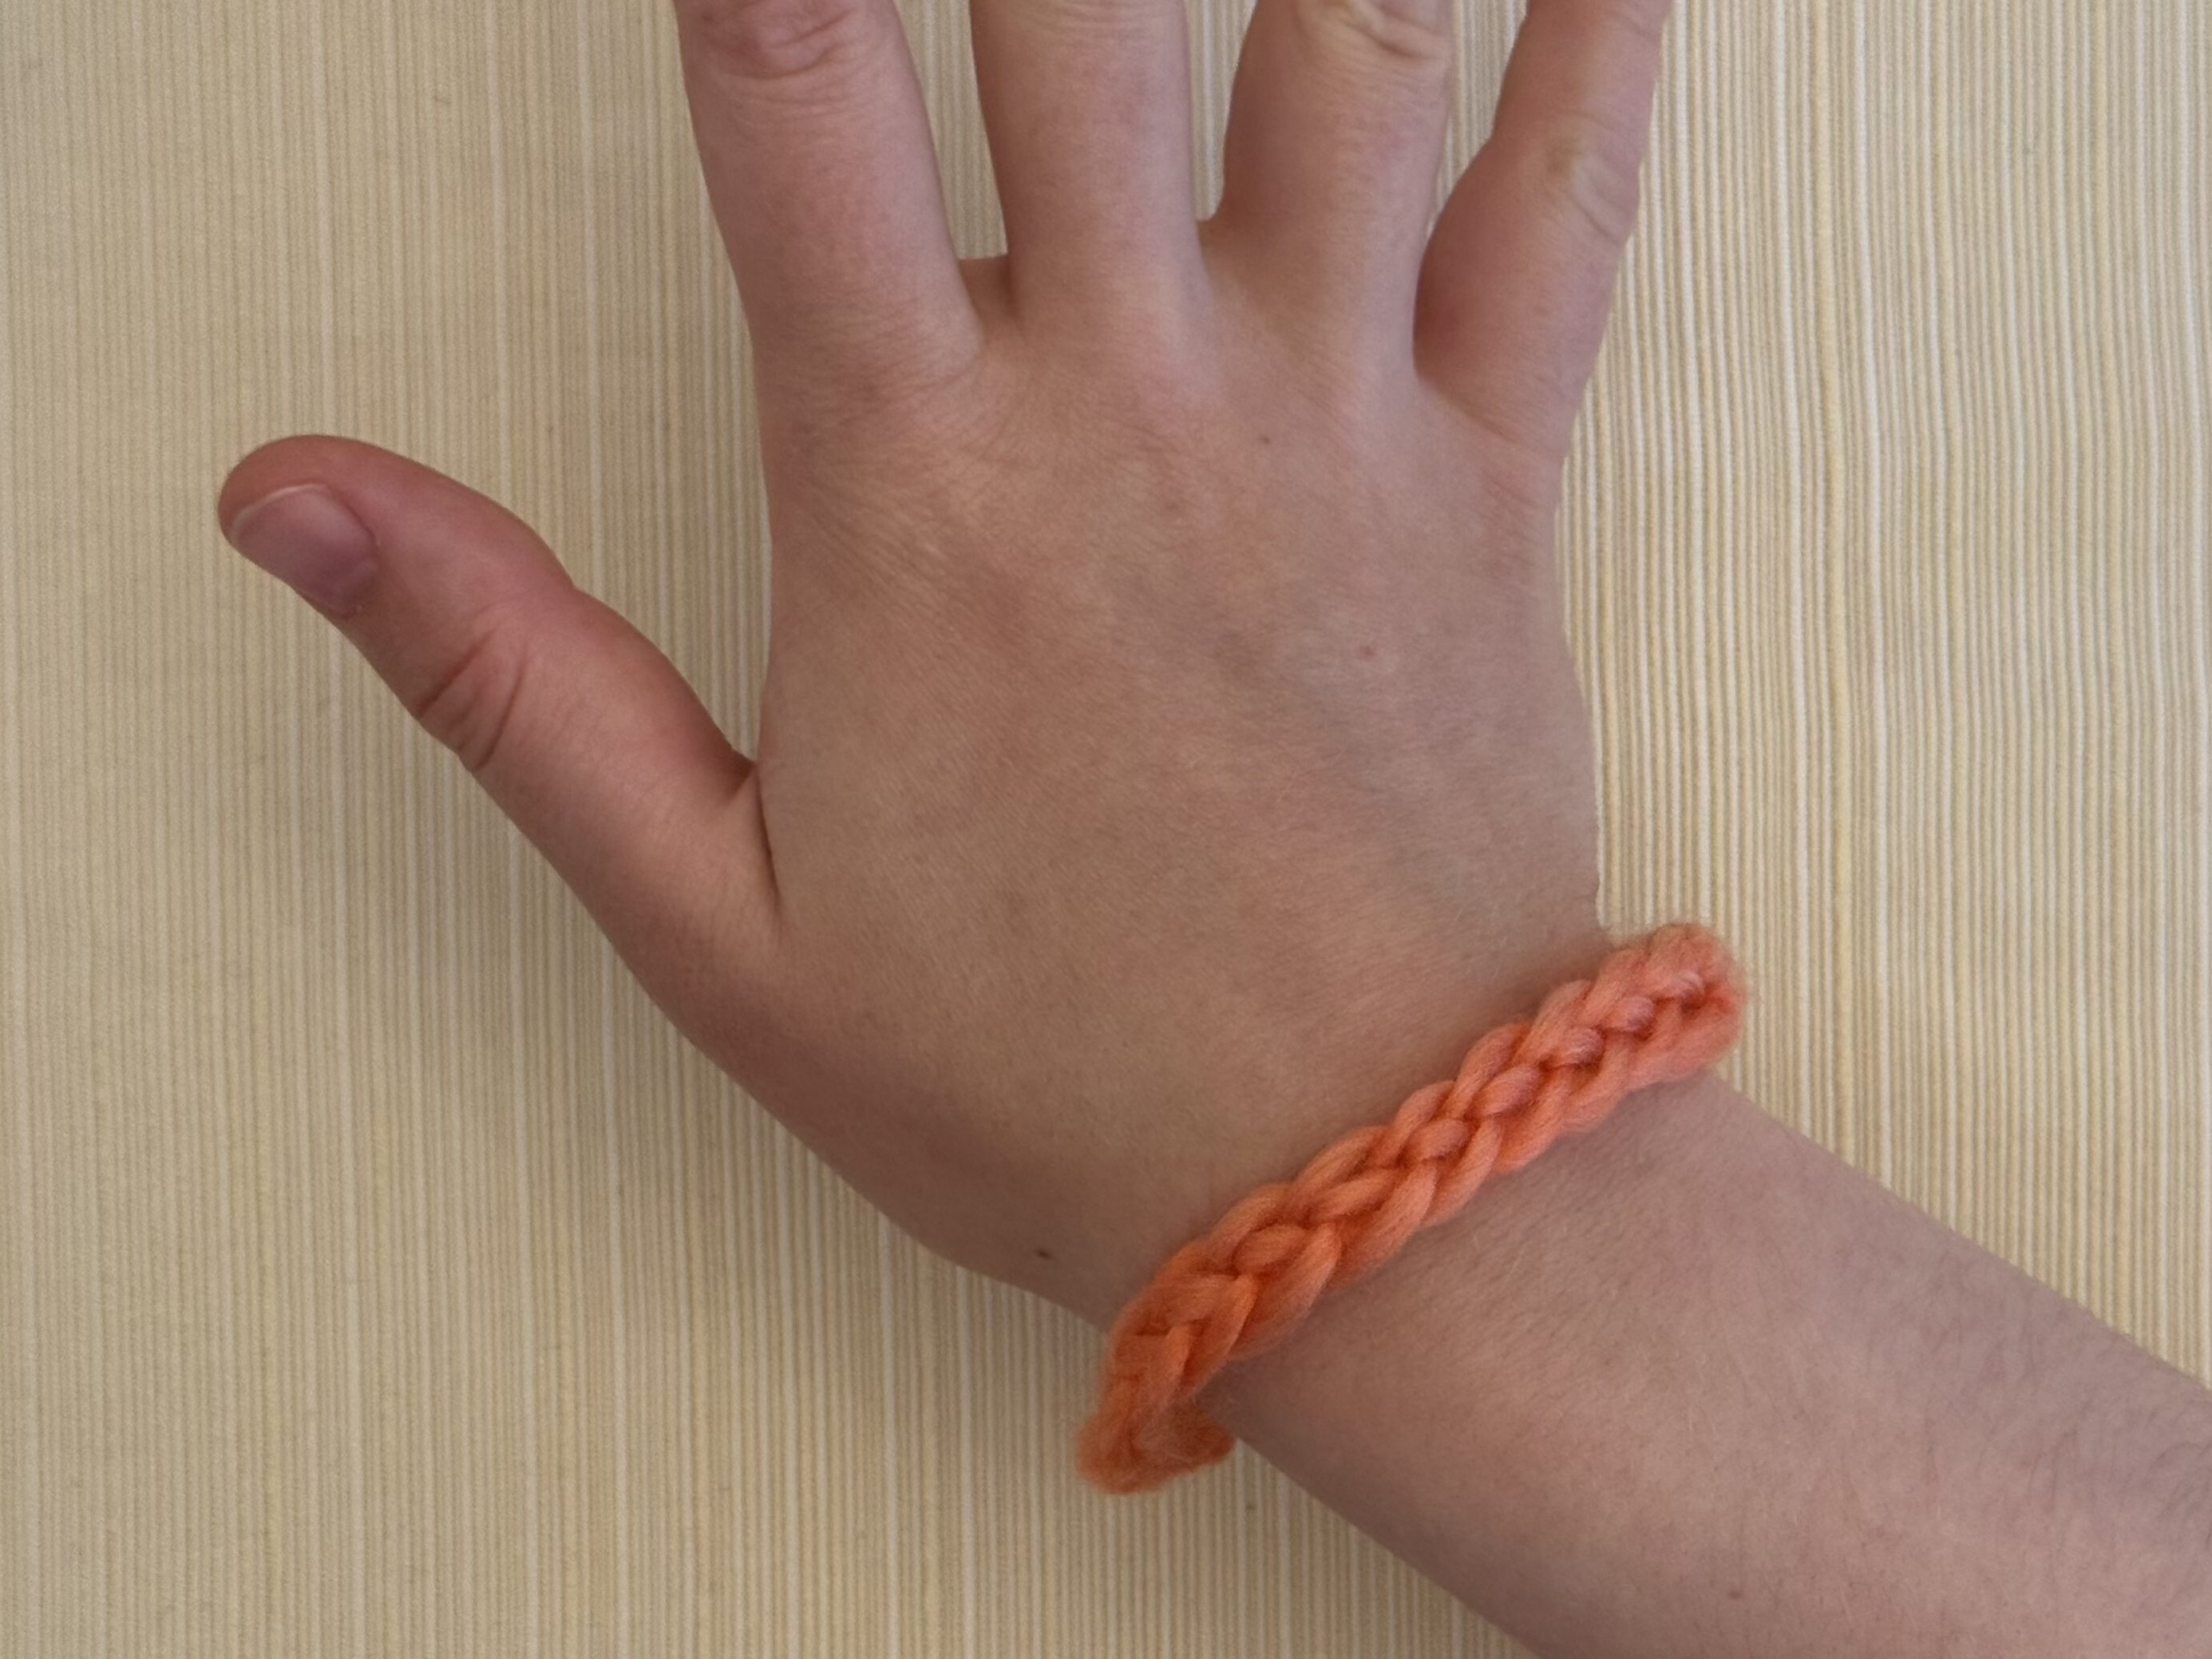
Step 30
Cut off the ends of the yarn. Your bracelet is now done!
I hope you enjoyed this tutorial! Nalbinding is a versatile and useful craft, and you can make a lot of everyday things with it like bags, baskets, and even socks. Use these buttons if you’d like to learn more:
You must be logged in to post a comment.