These valuable tips and tricks as well as FAQs are collected from personal experience and research.
Tips and Tricks
Yarn tension
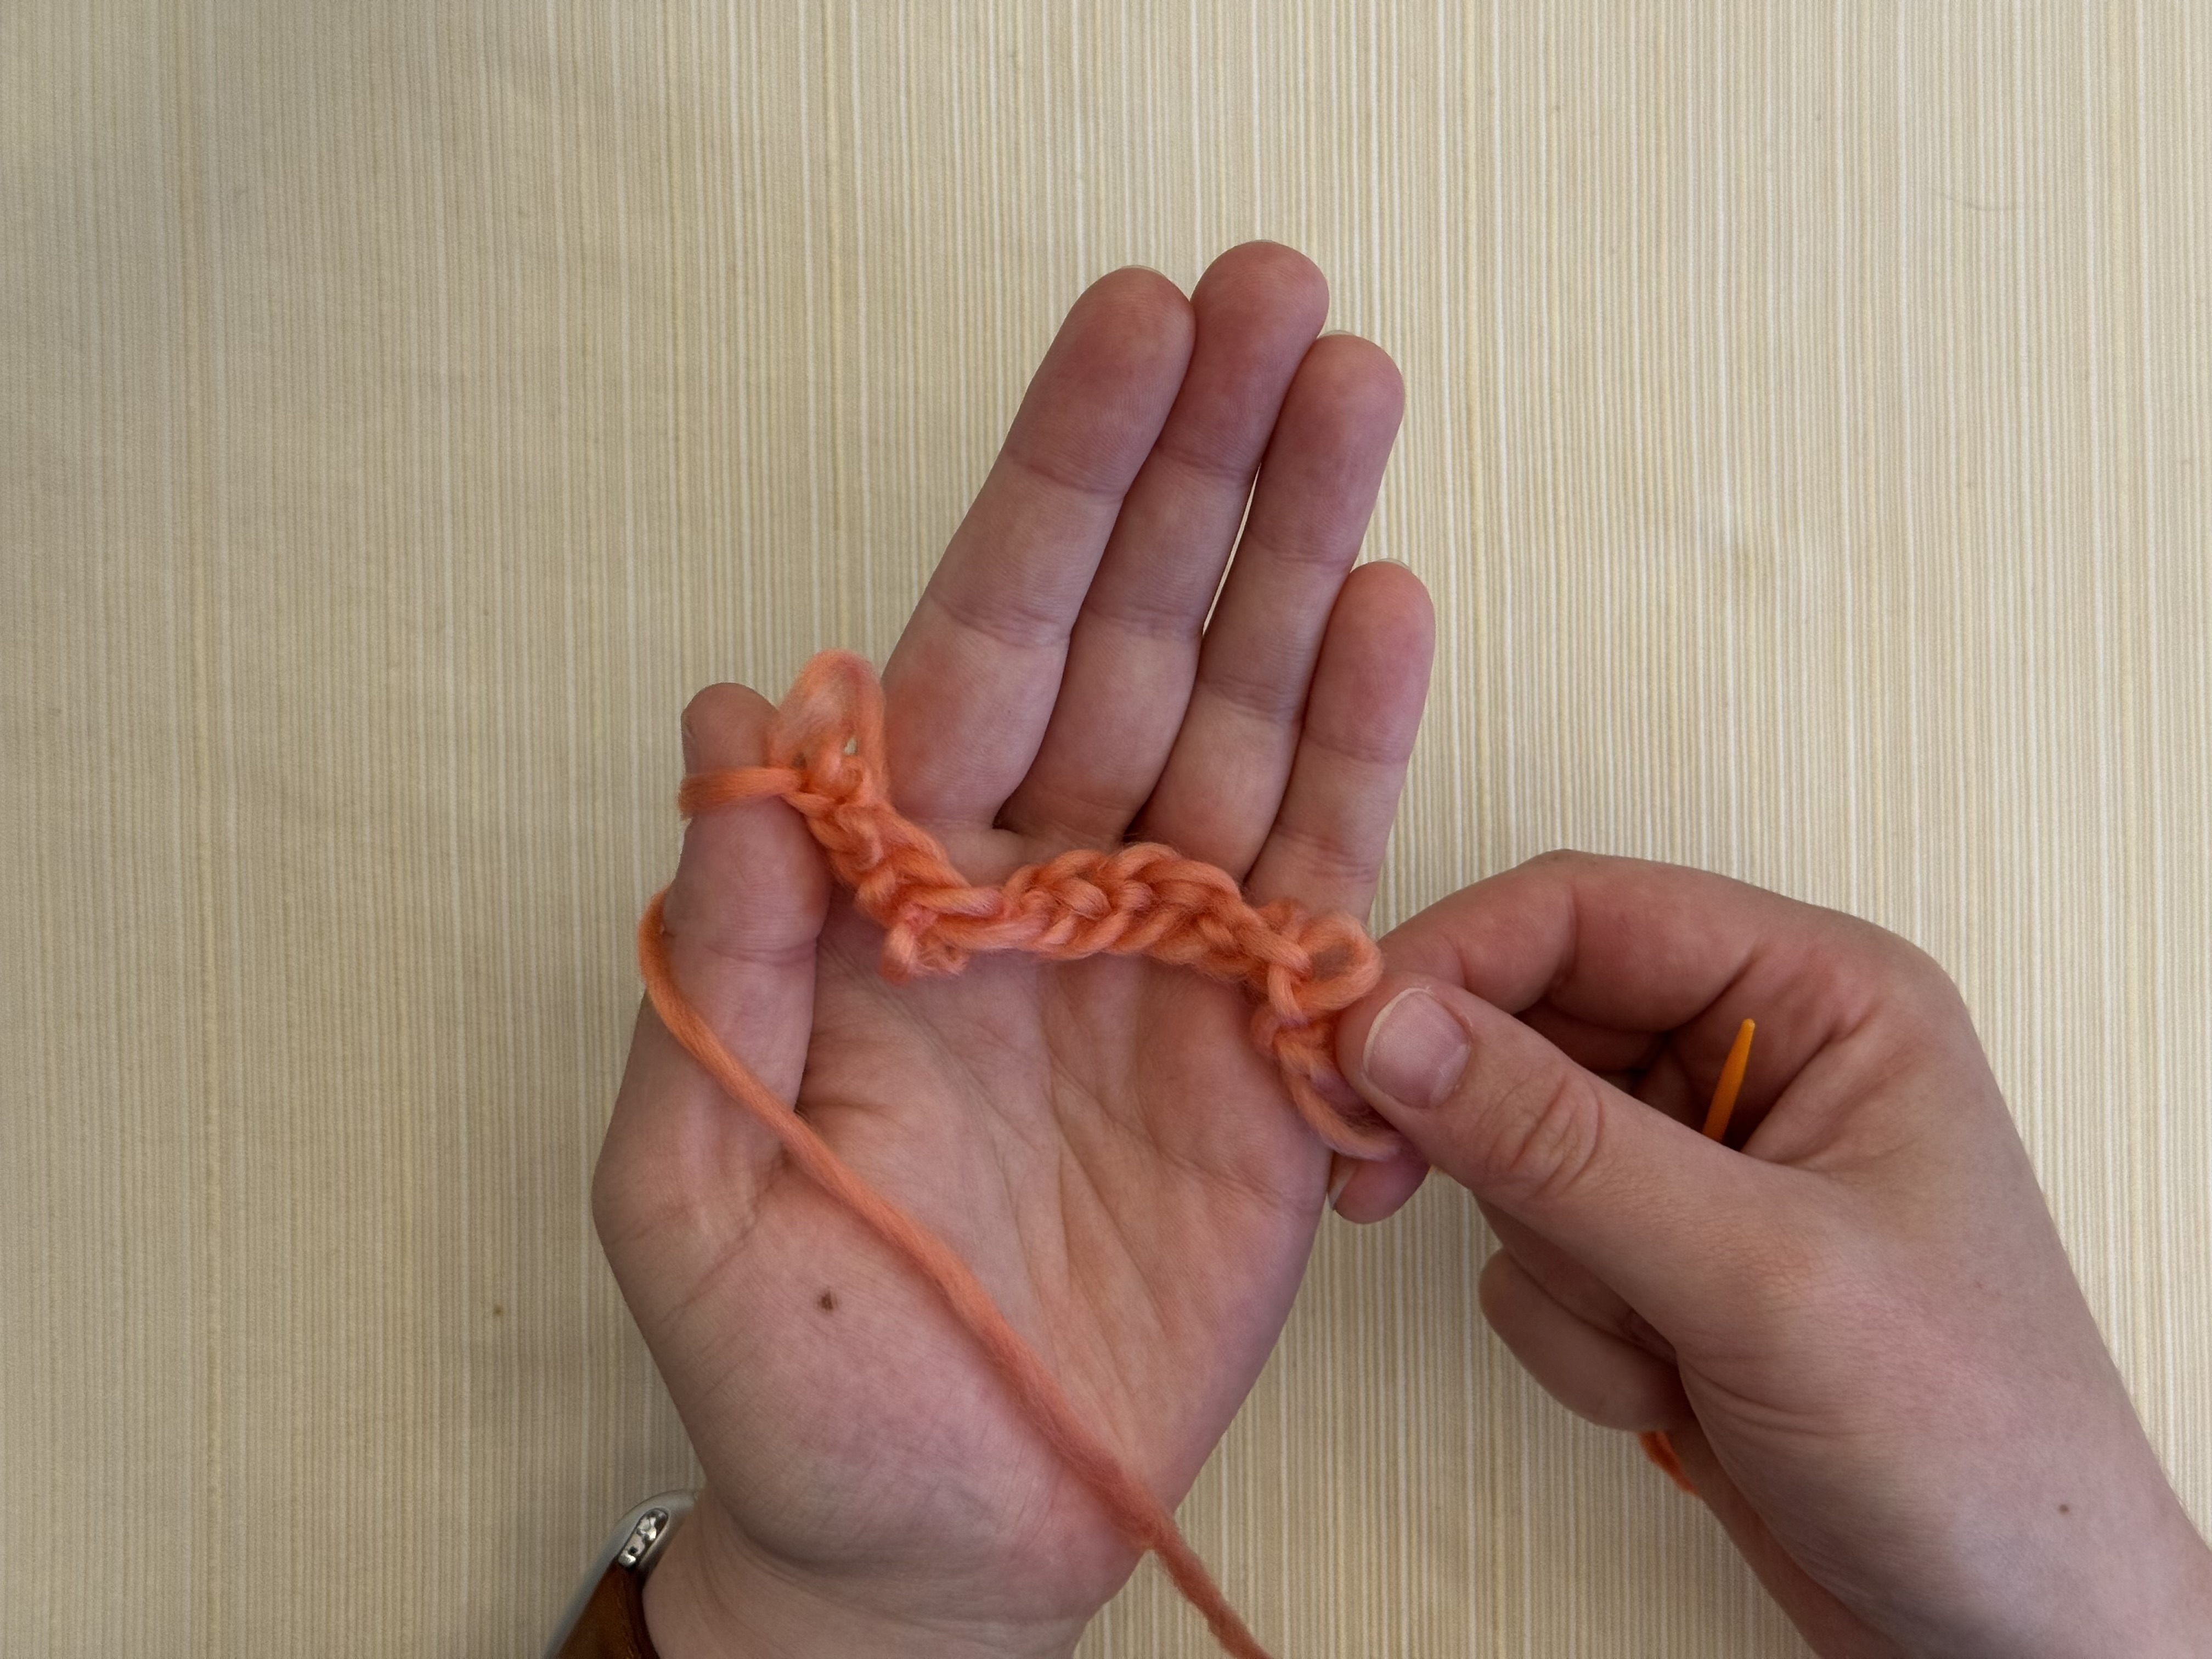
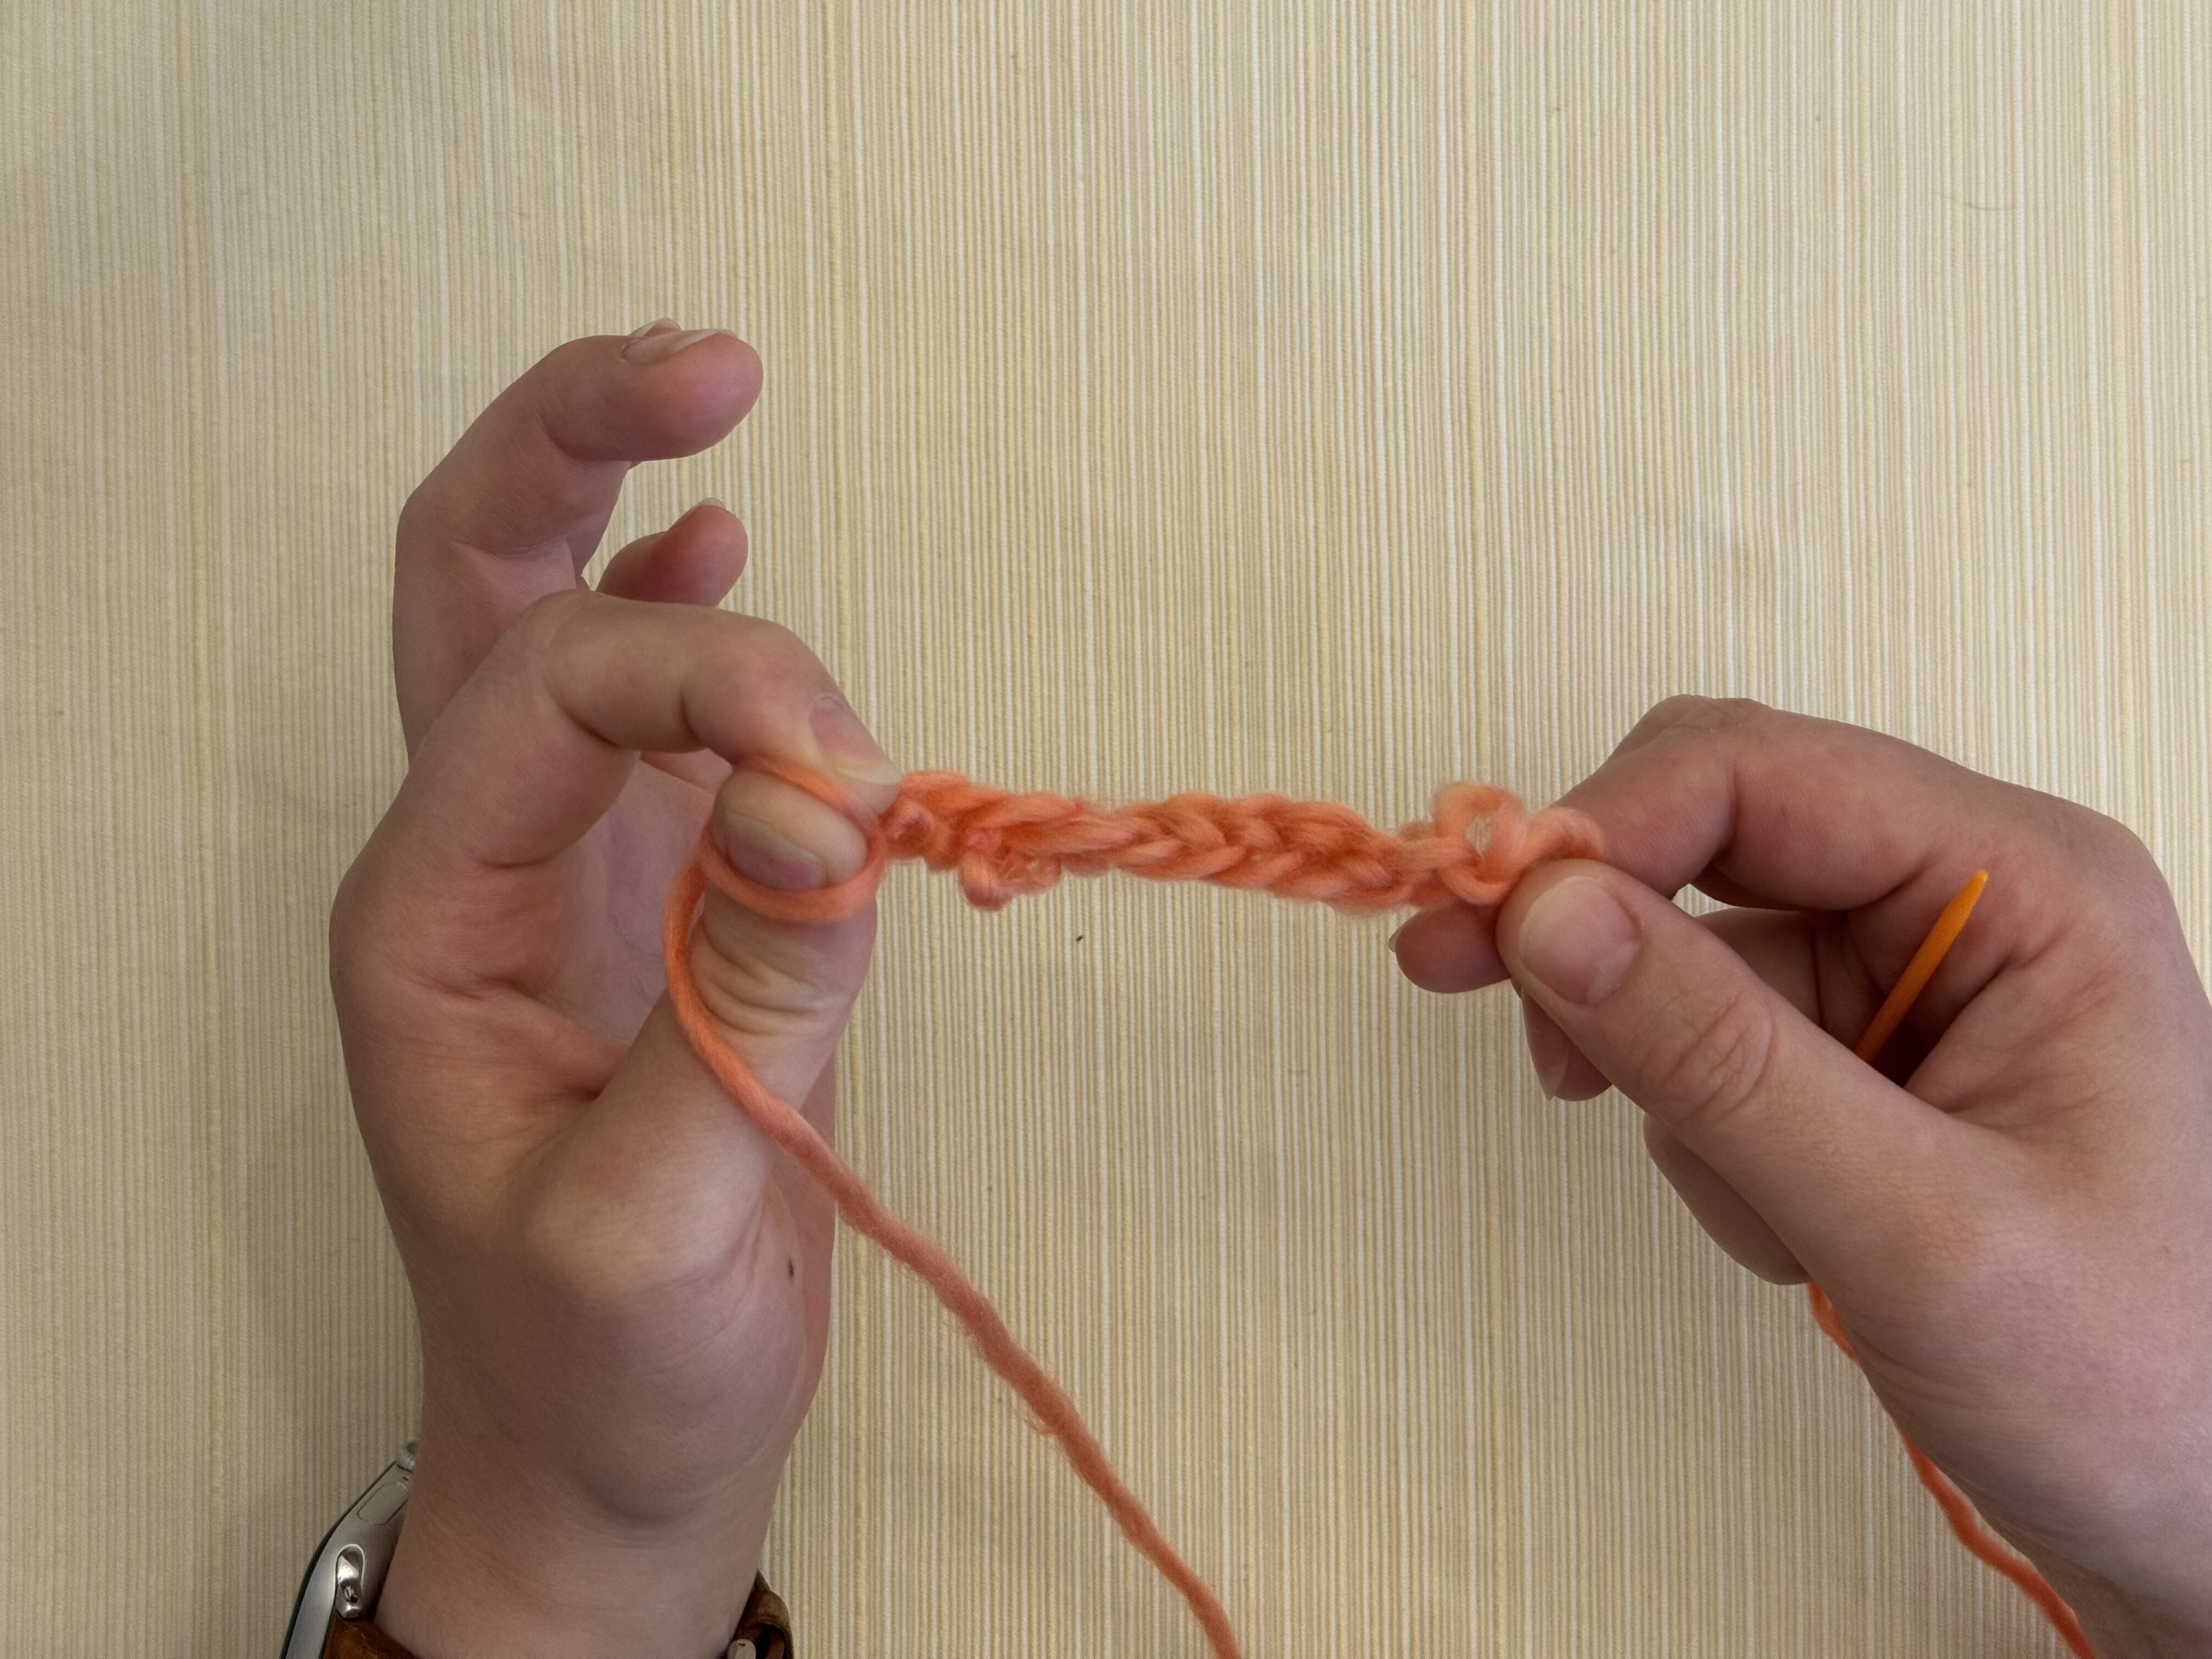
Don’t pull your yarn too tight when you snug down each stitch. This can make it more difficult to make new stitches, and can contribute to hand strain and fatigue.
Too loose
Just right

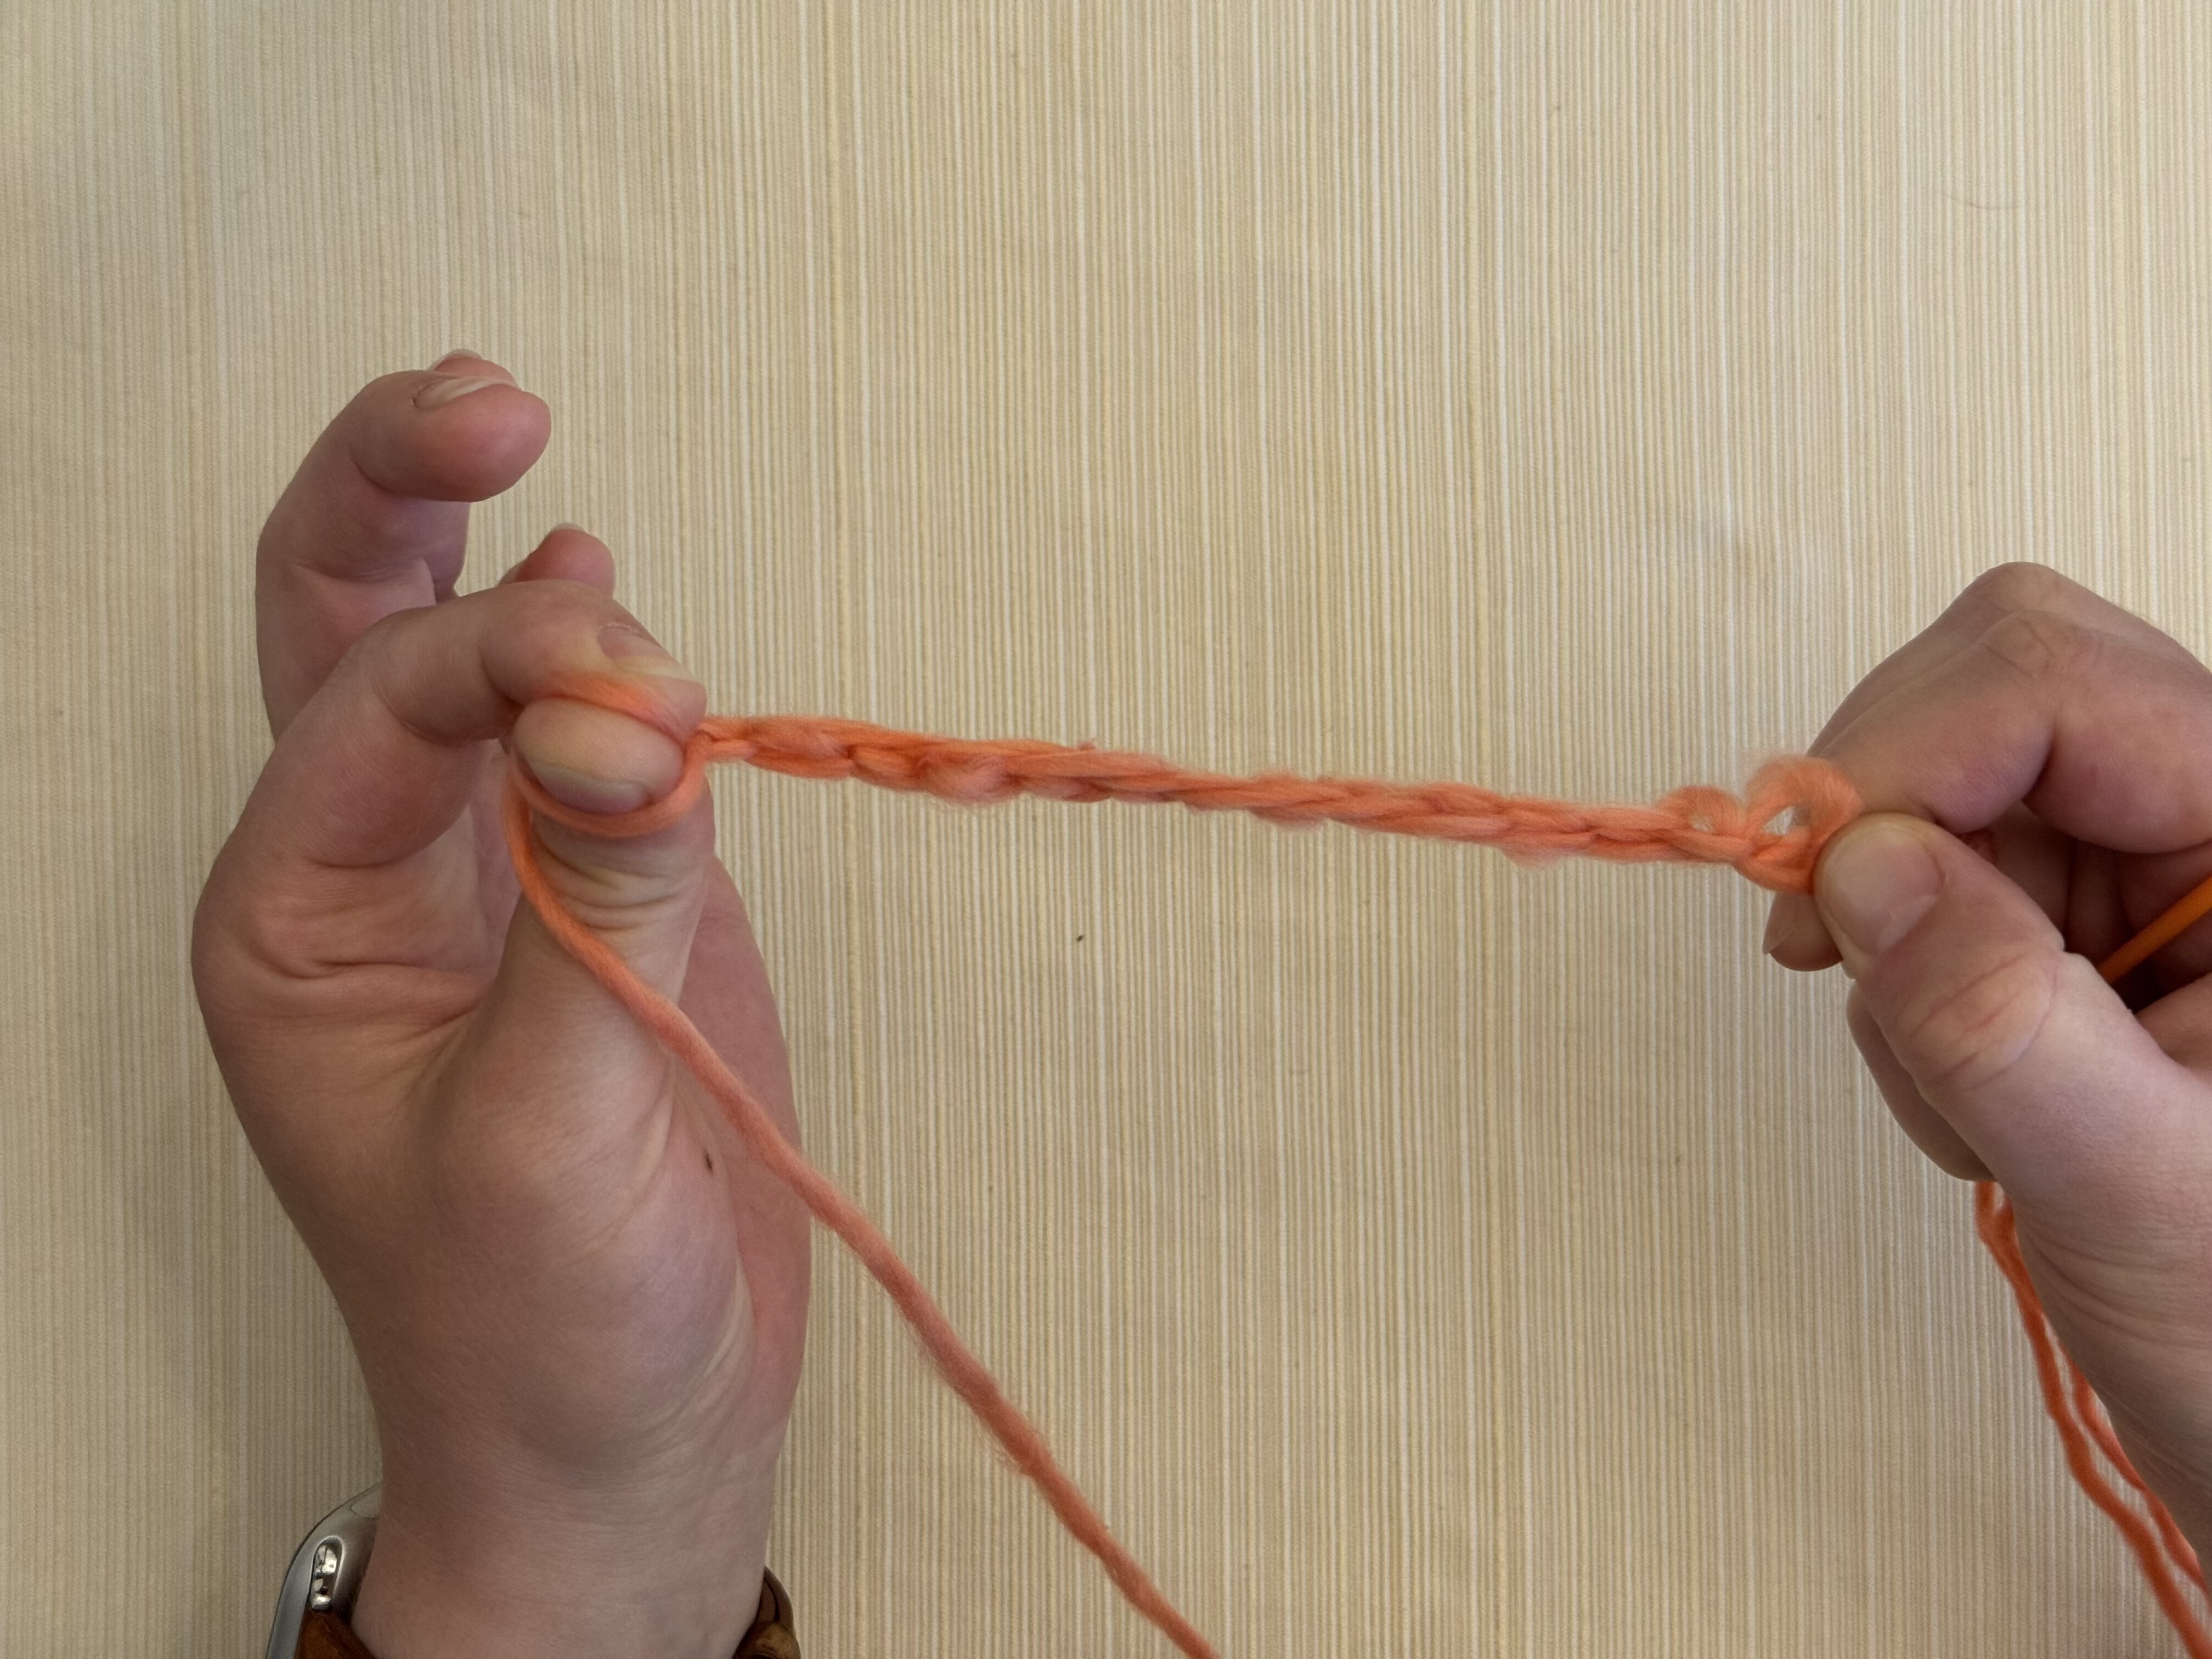
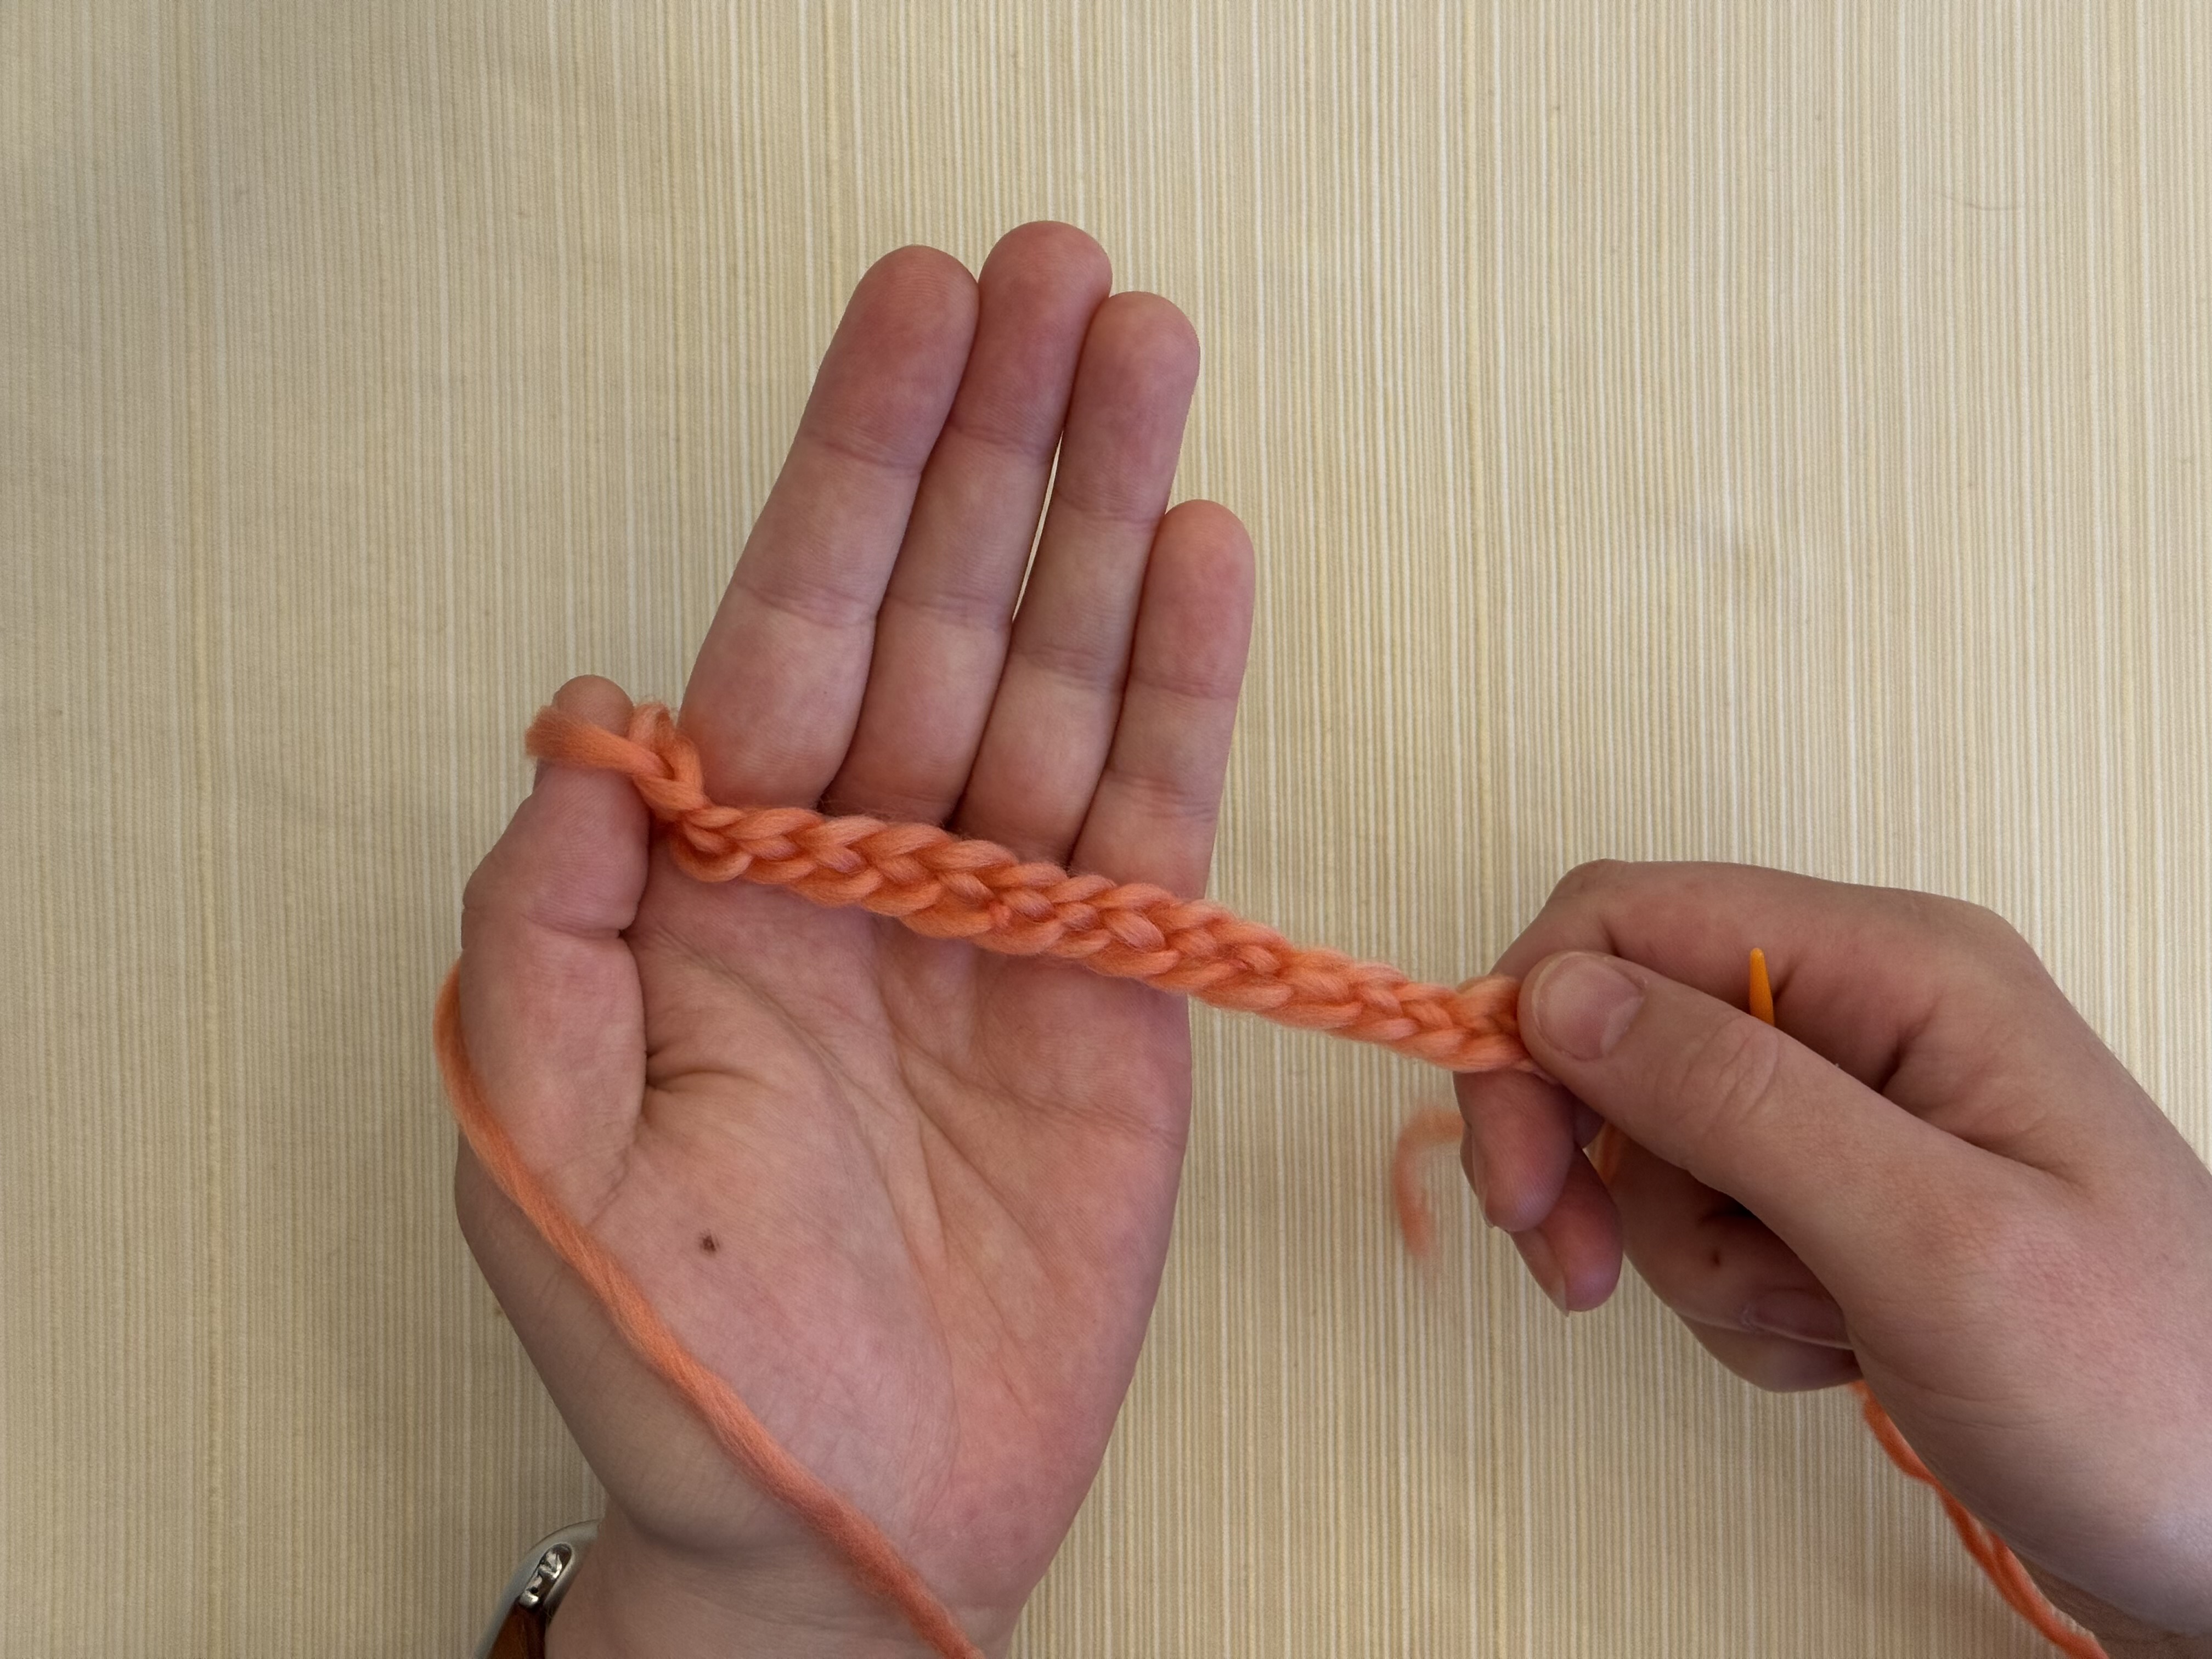
Too tight
With single-ply yarn, you also risk the fibers pulling apart if you tug on the yarn too much. If this happens, just felt the ends together again and keep going.
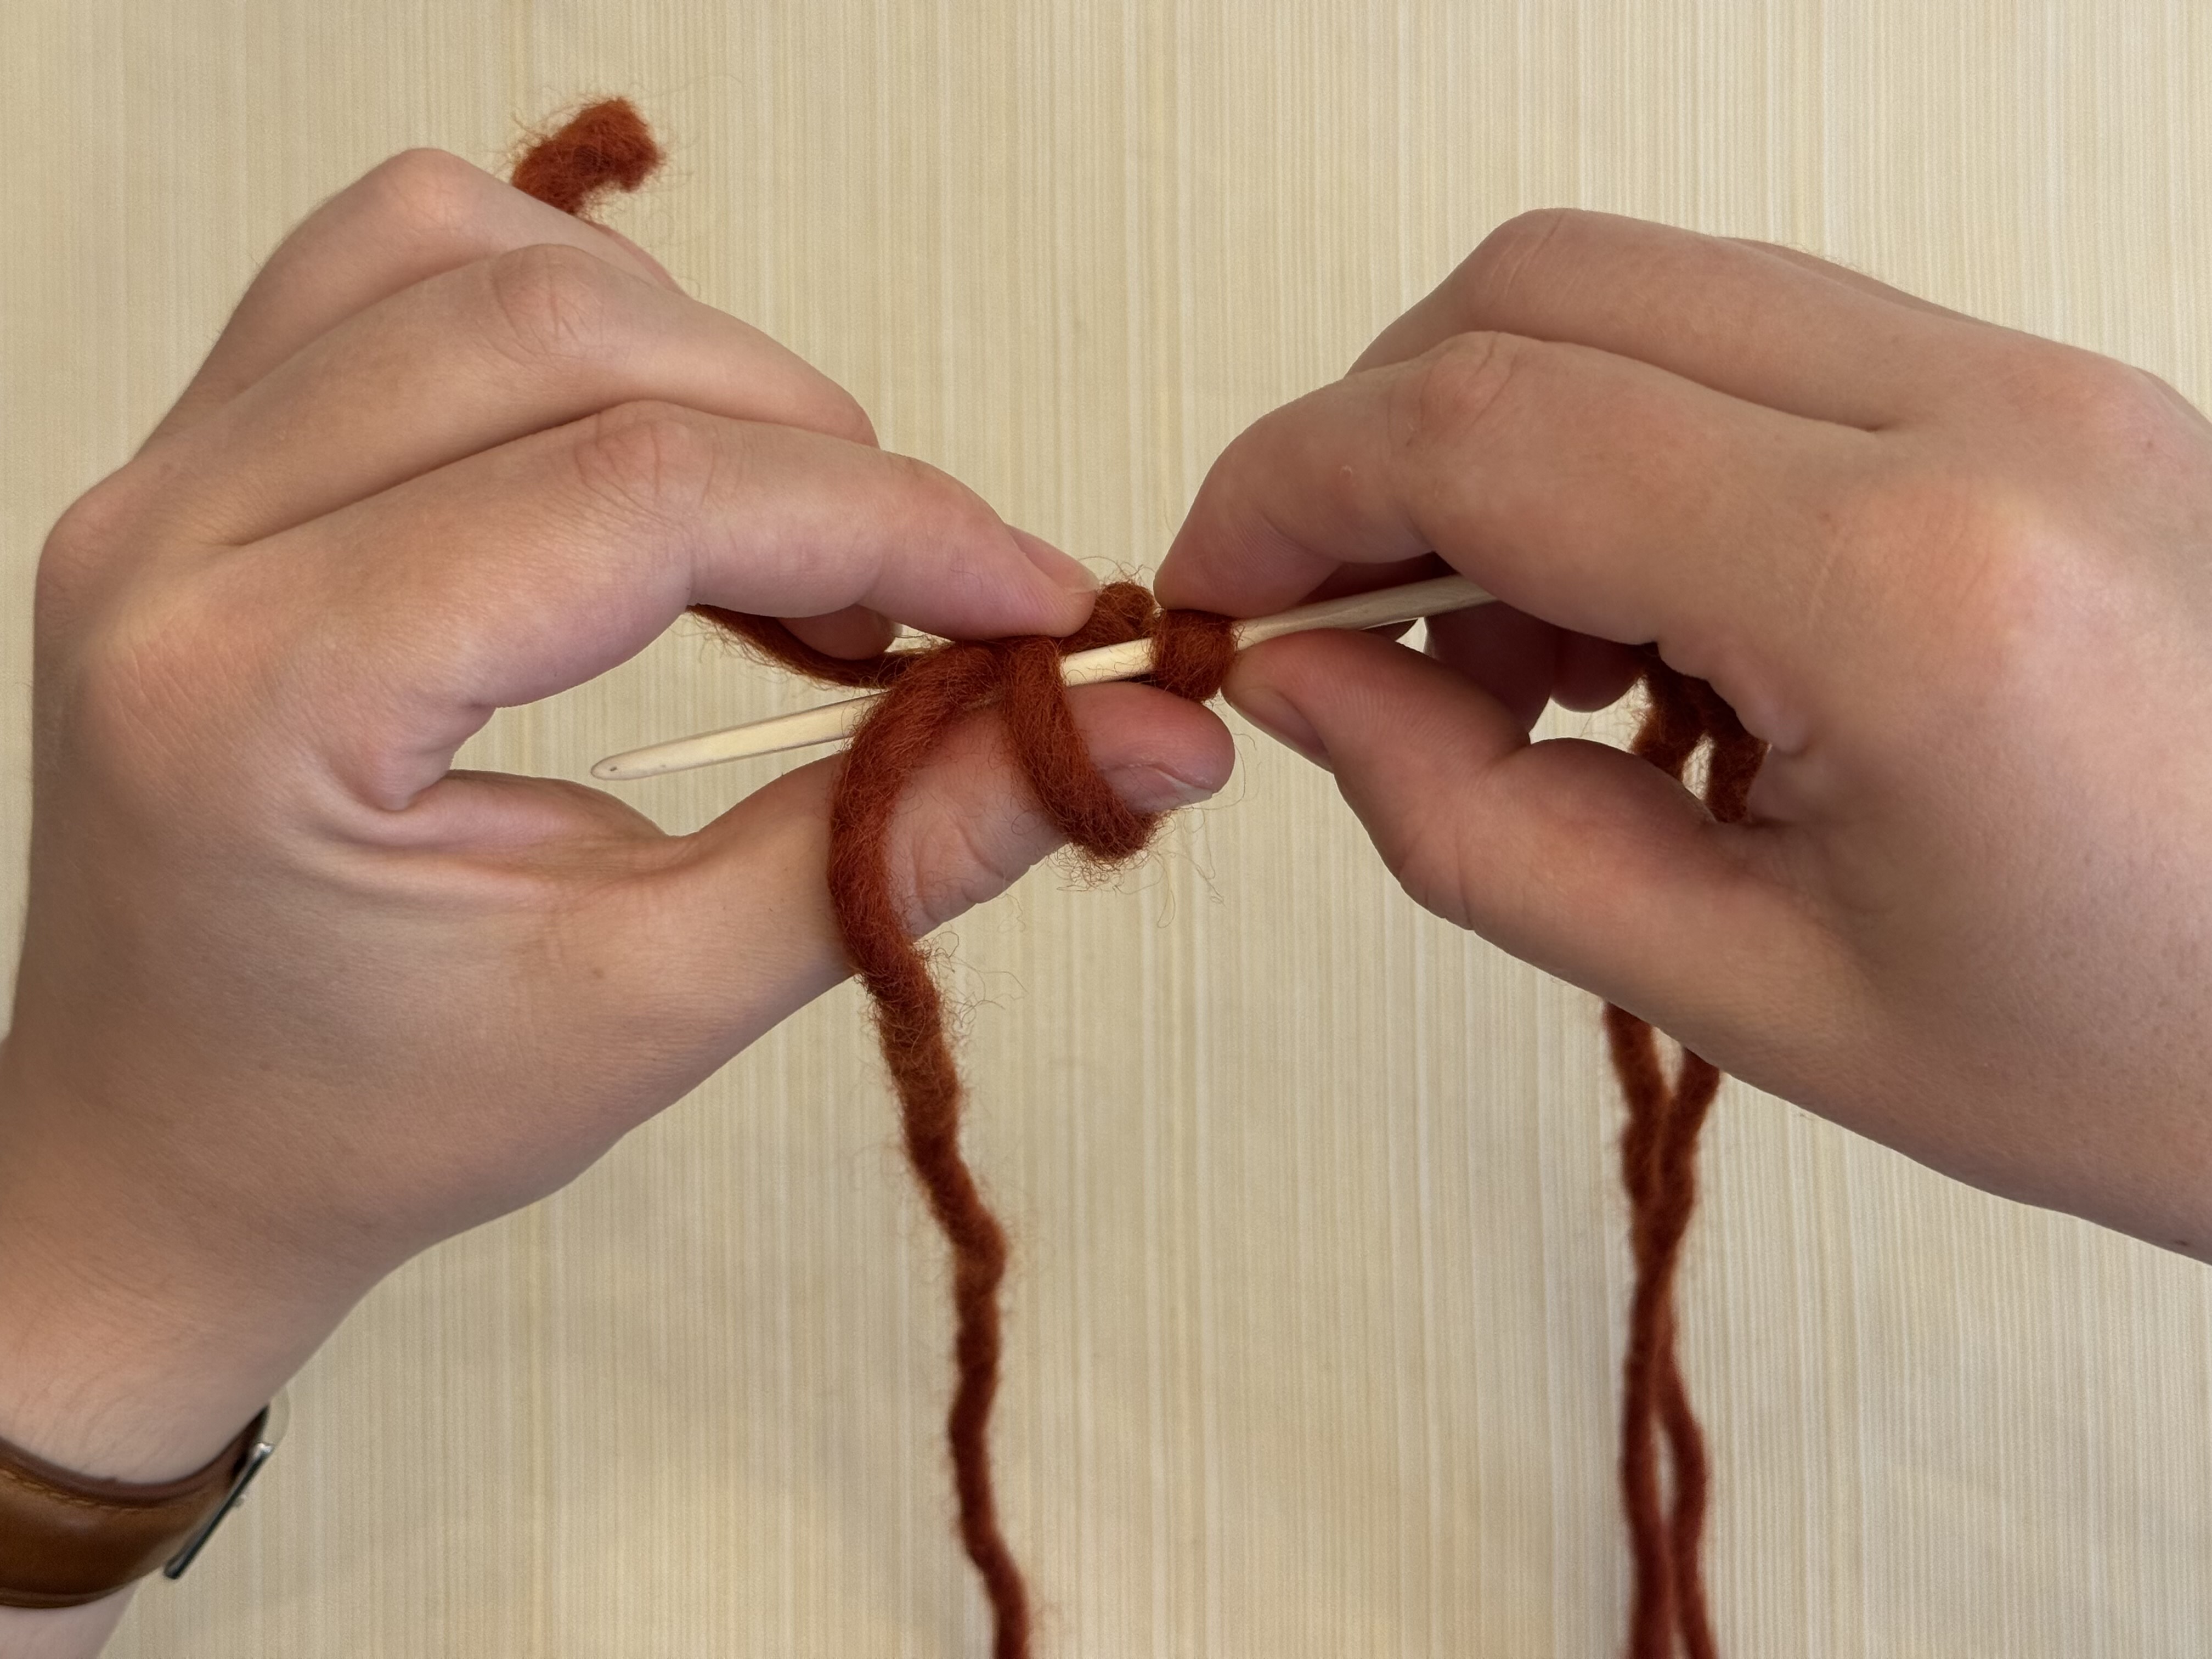
Yarn positioning
The working yarn should hang out between your left thumb and index finger (or right, if you’re a lefty). It then crosses over your left thumb toward your right hand, between your body and hand, not behind it.
When first starting out, pull the working yarn to the left when you tighten your new stitches. This helps keep everything in place, and avoids pulling your work around your thumb accidentally.
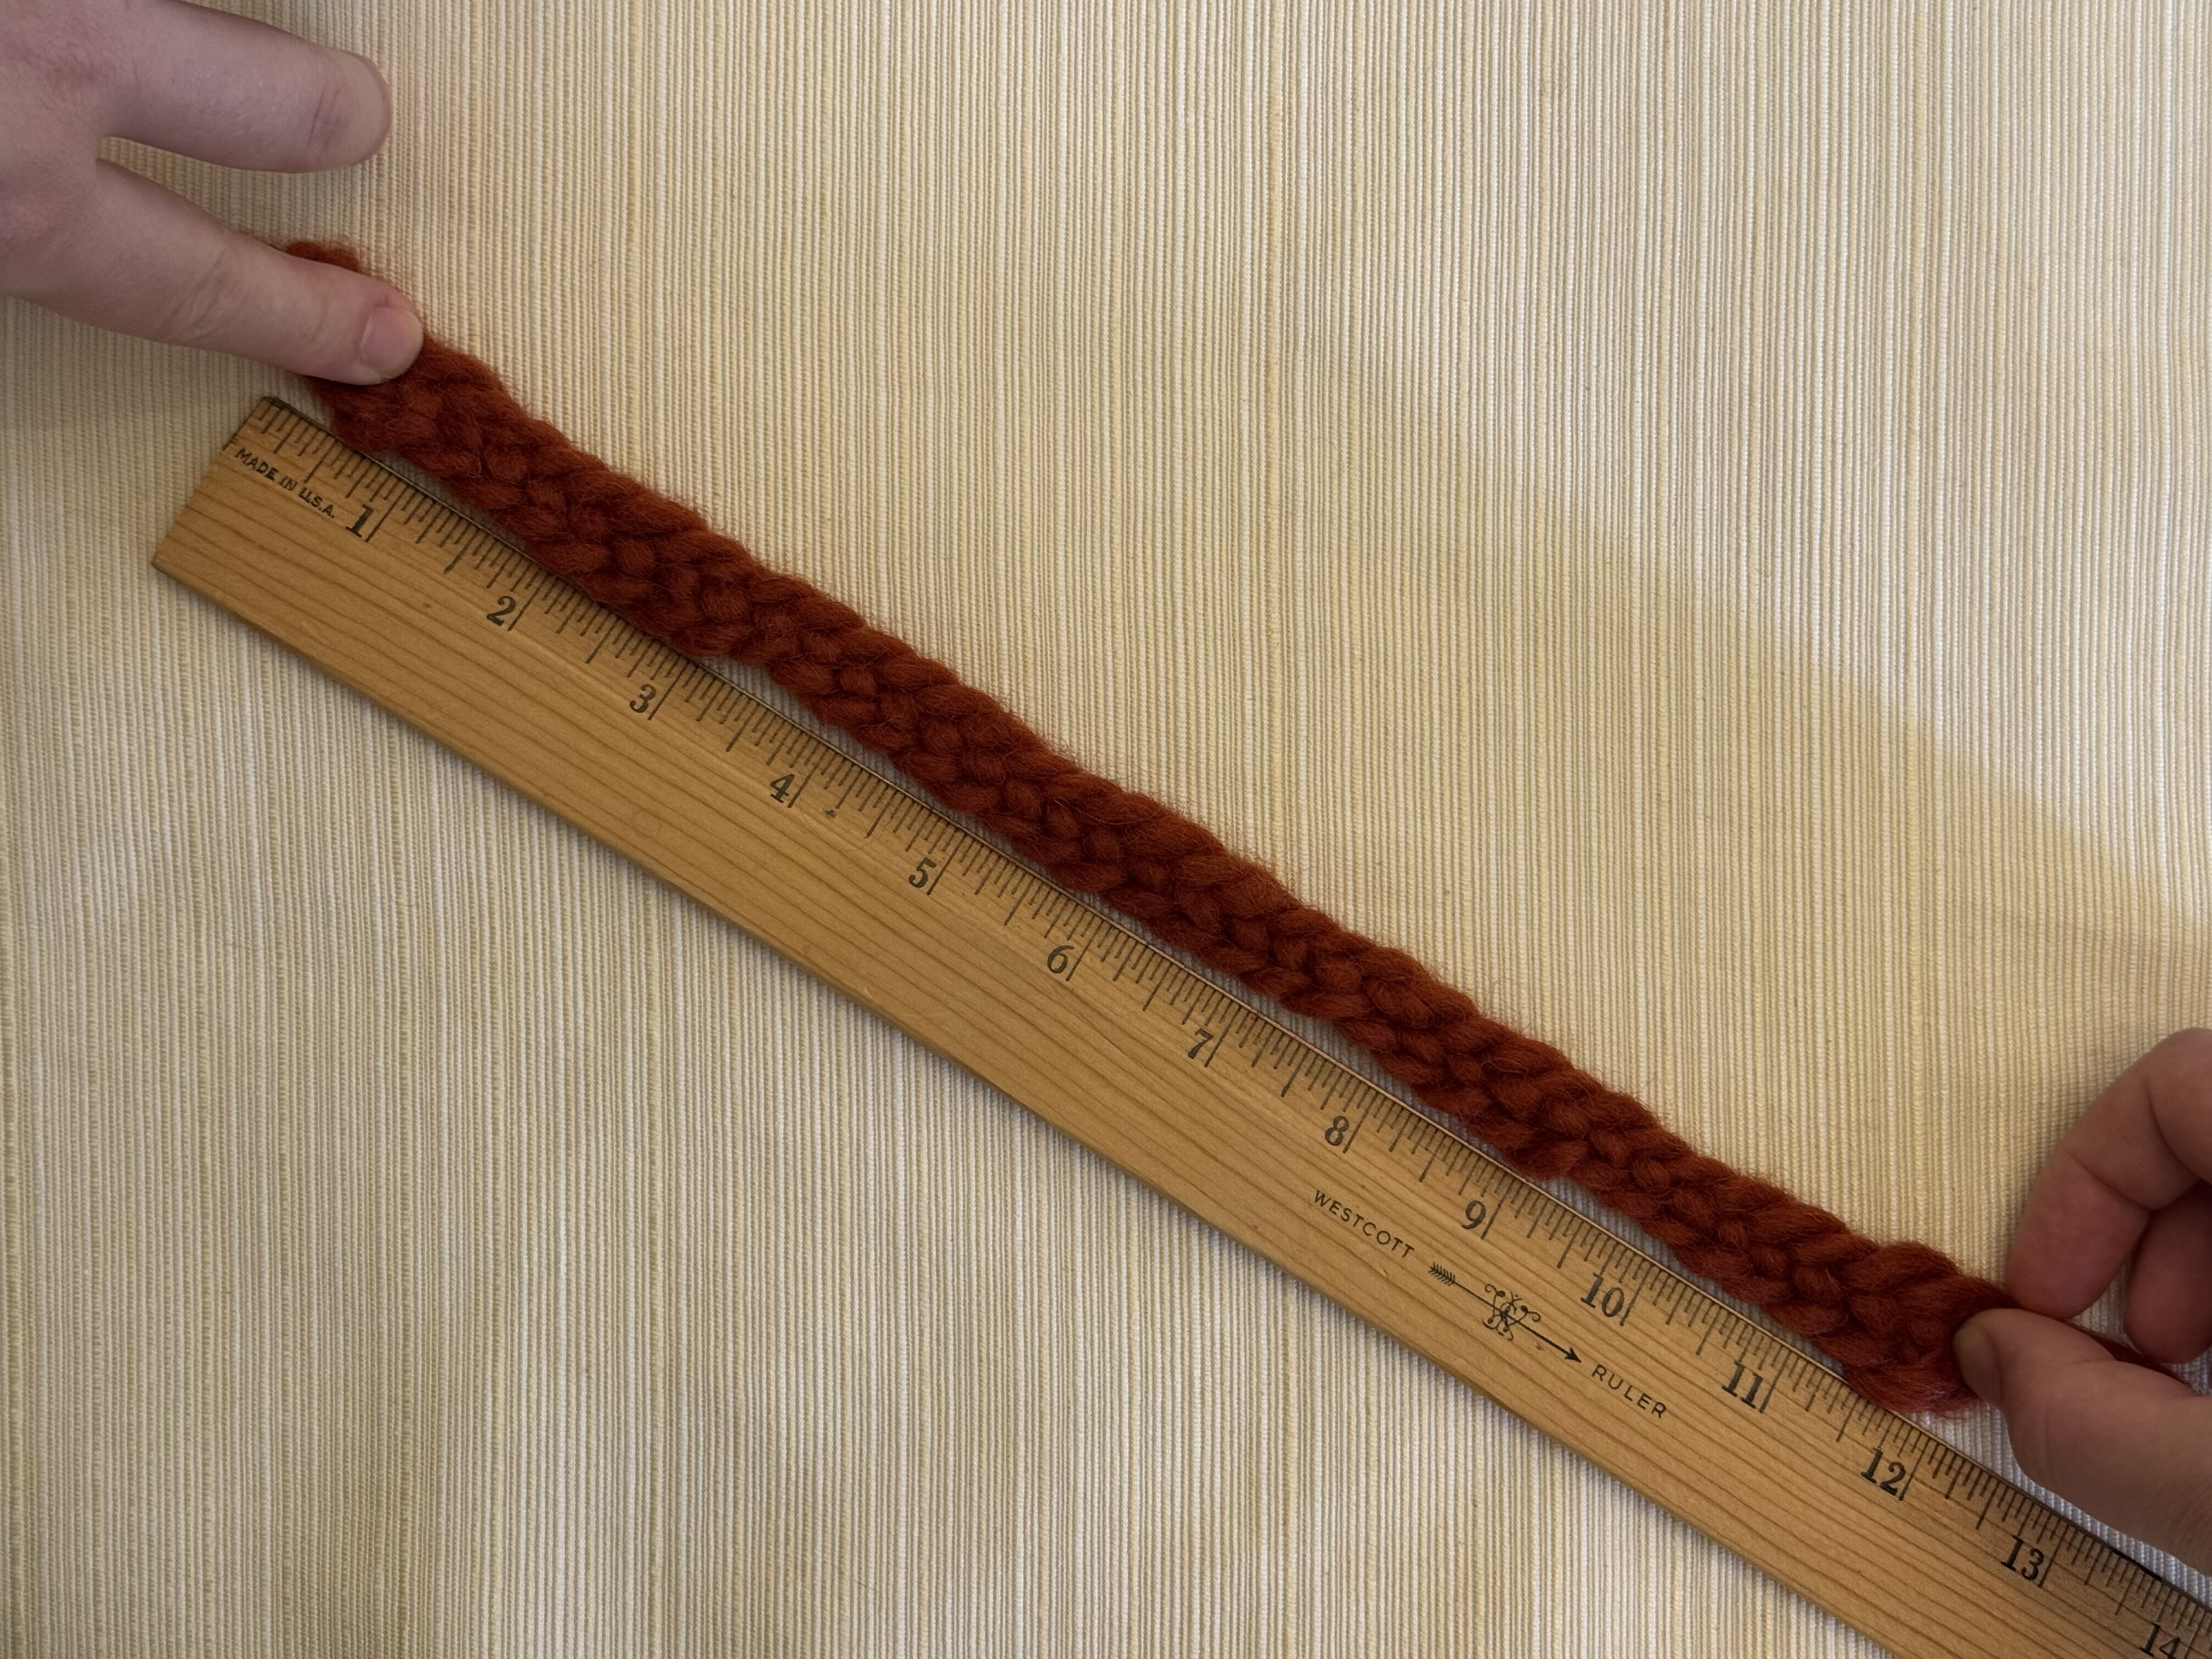
Stretching and shrinking
Nalbound fabric will stretch between rows (vertically), but not as much along a row. If you plan to make bags or other projects that may stretch between rows, you may need to reinforce your finished project.
You can do this by adding a lining, or using straps that go all the way down to the bottom of the bag so that the weight is on the straps and not the bag’s fabric.
For ideas and inspiration, check out the Gallery.
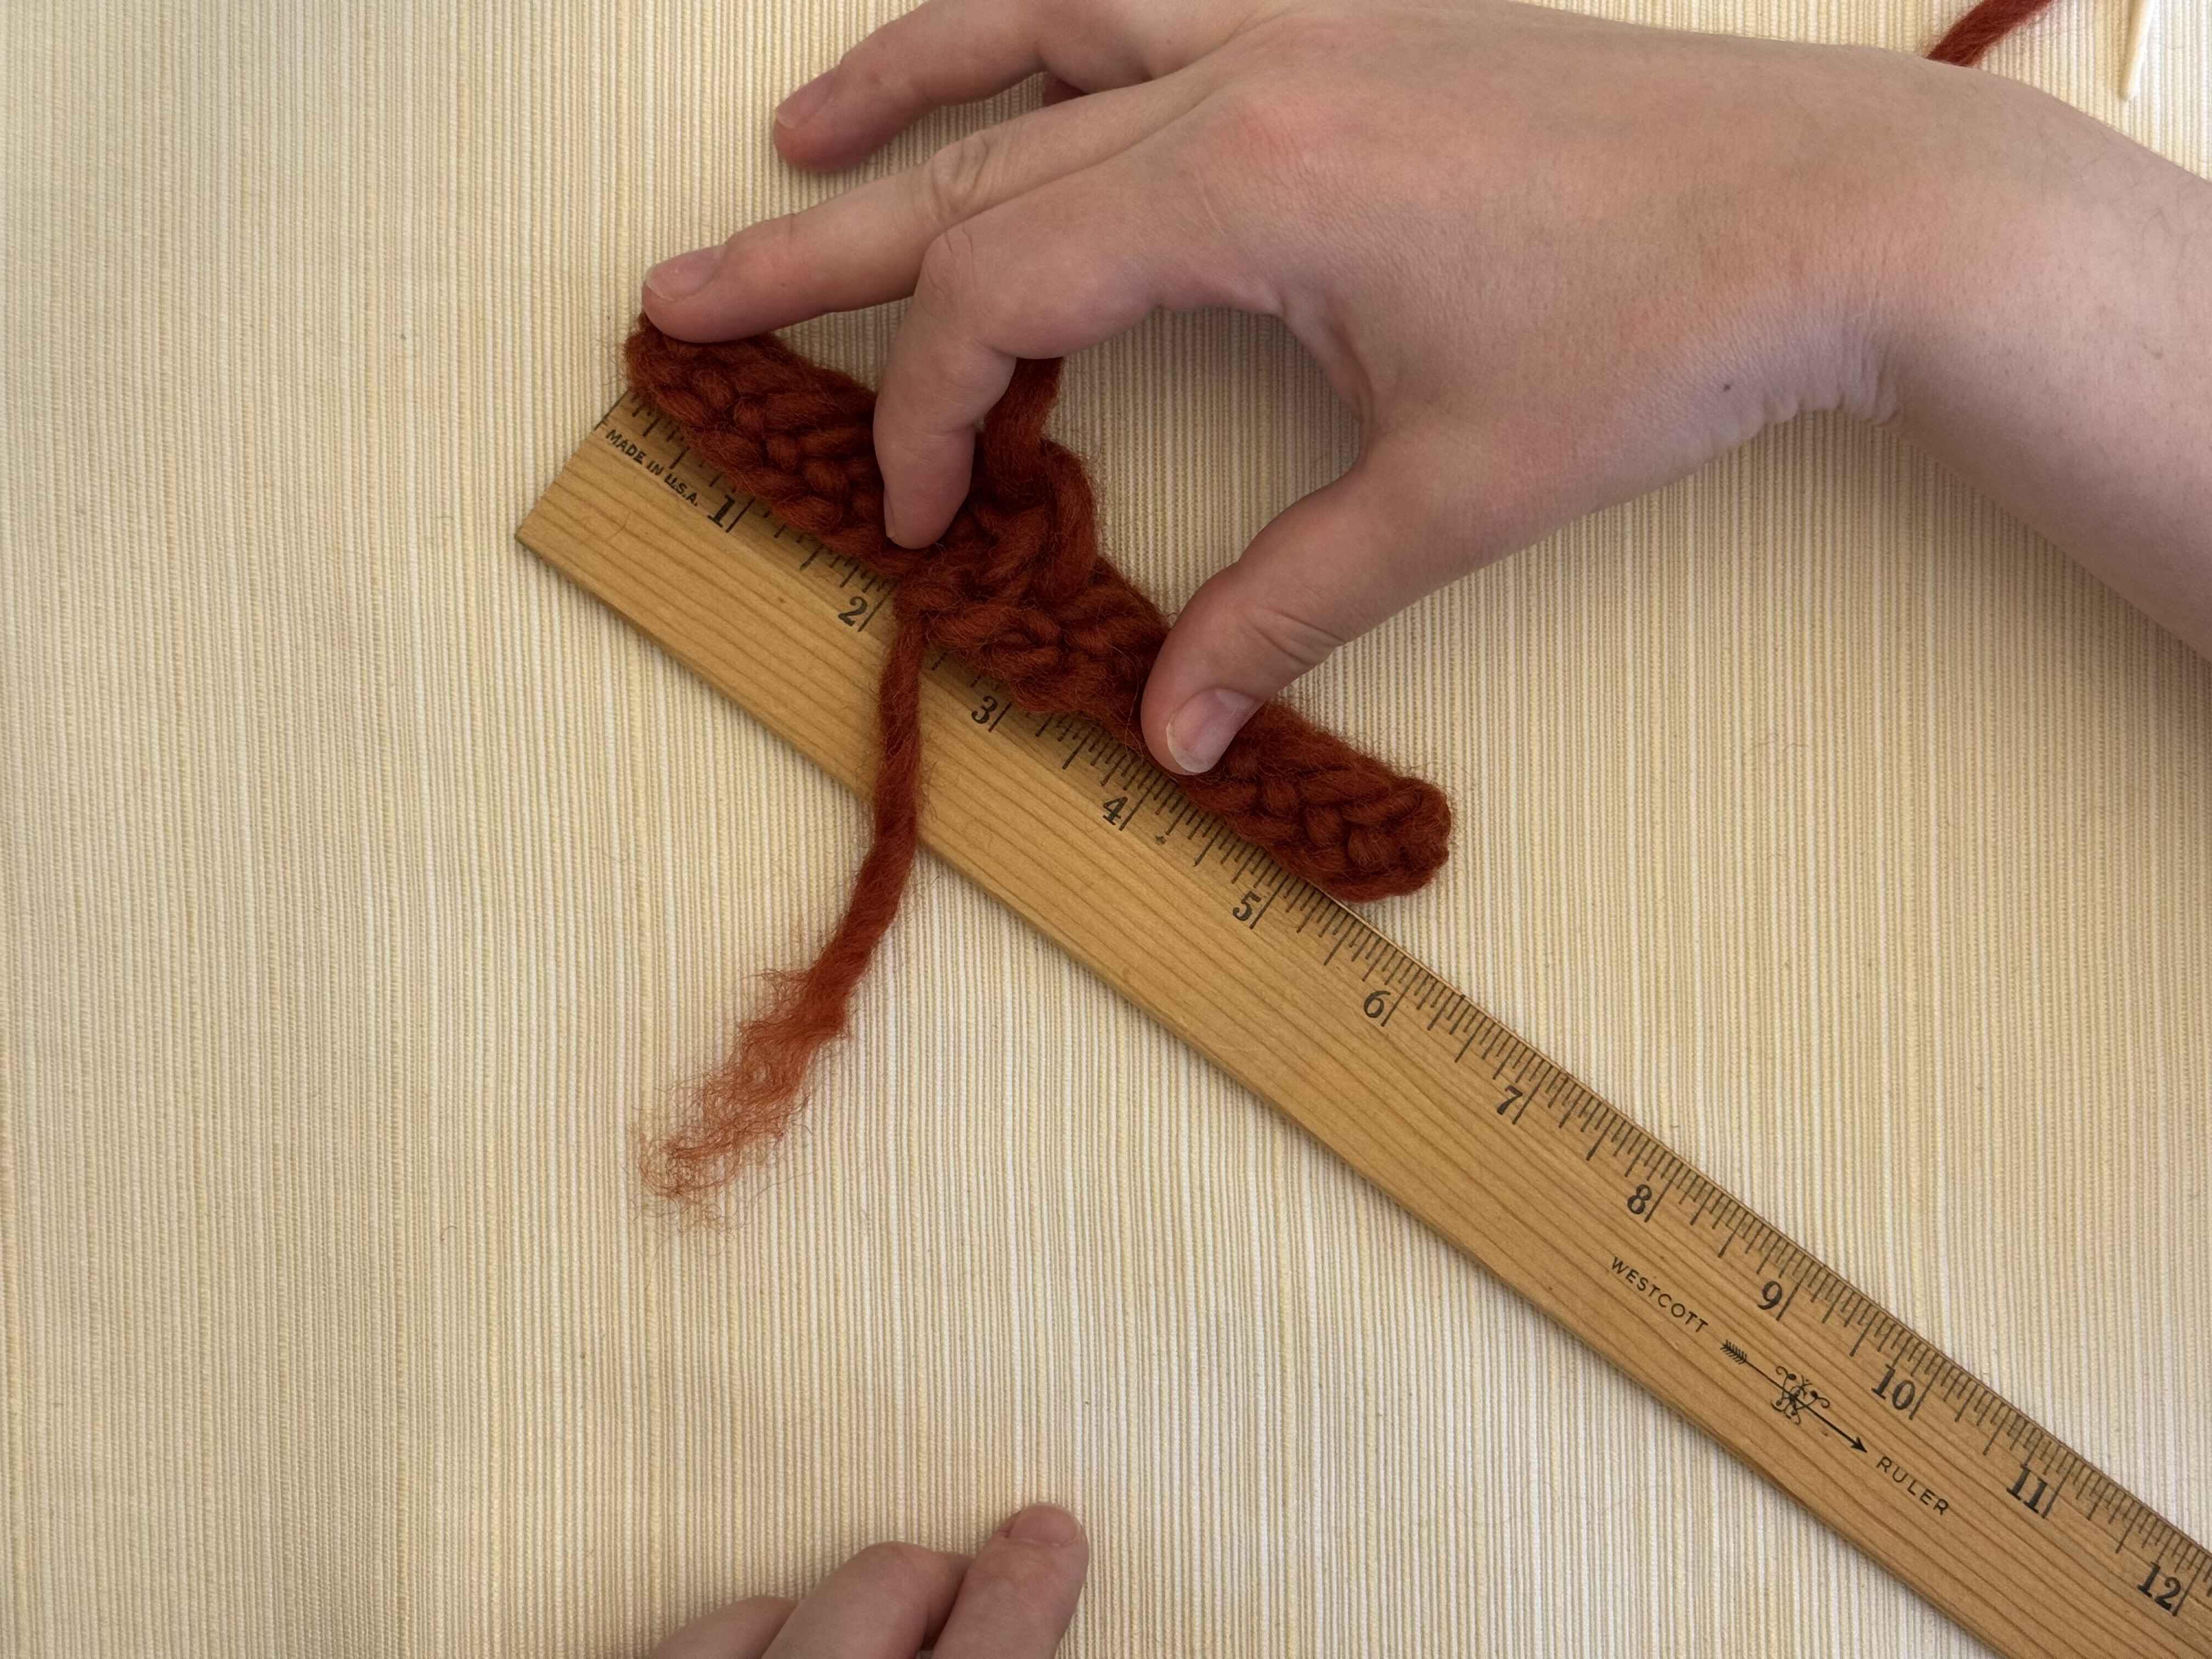
Some shrinking along a row is normal, especially when connecting a foundation chain to itself to form the first complete row. The amount of shrinkage depends on the stitch, your tension, and the yarn. Keep this in mind when beginning a new project, and when in doubt, do a gauge swatch.
Twisting
In the fabric
Some stitches will twist or corkscrew along a row as they work up into a fabric; York stitch is notorious for this. As you continue working, the twist will become less noticeable. If it’s still there in your finished piece, you can block it to help reduce that.
Whether your yarn is an S-twist or a Z-twist also has an effect, as well as how tightly spun the yarn is.
In the yarn
Your working yarn may also twist or untwist depending on the stitch and how you move the needle through the loops. Simply rotate the needle to add or remove twist in the yarn between stitches. Under-twisted yarn may pull apart more easily, and over-twisted yarn may twist back on itself and tangle.
Frequently Asked Questions
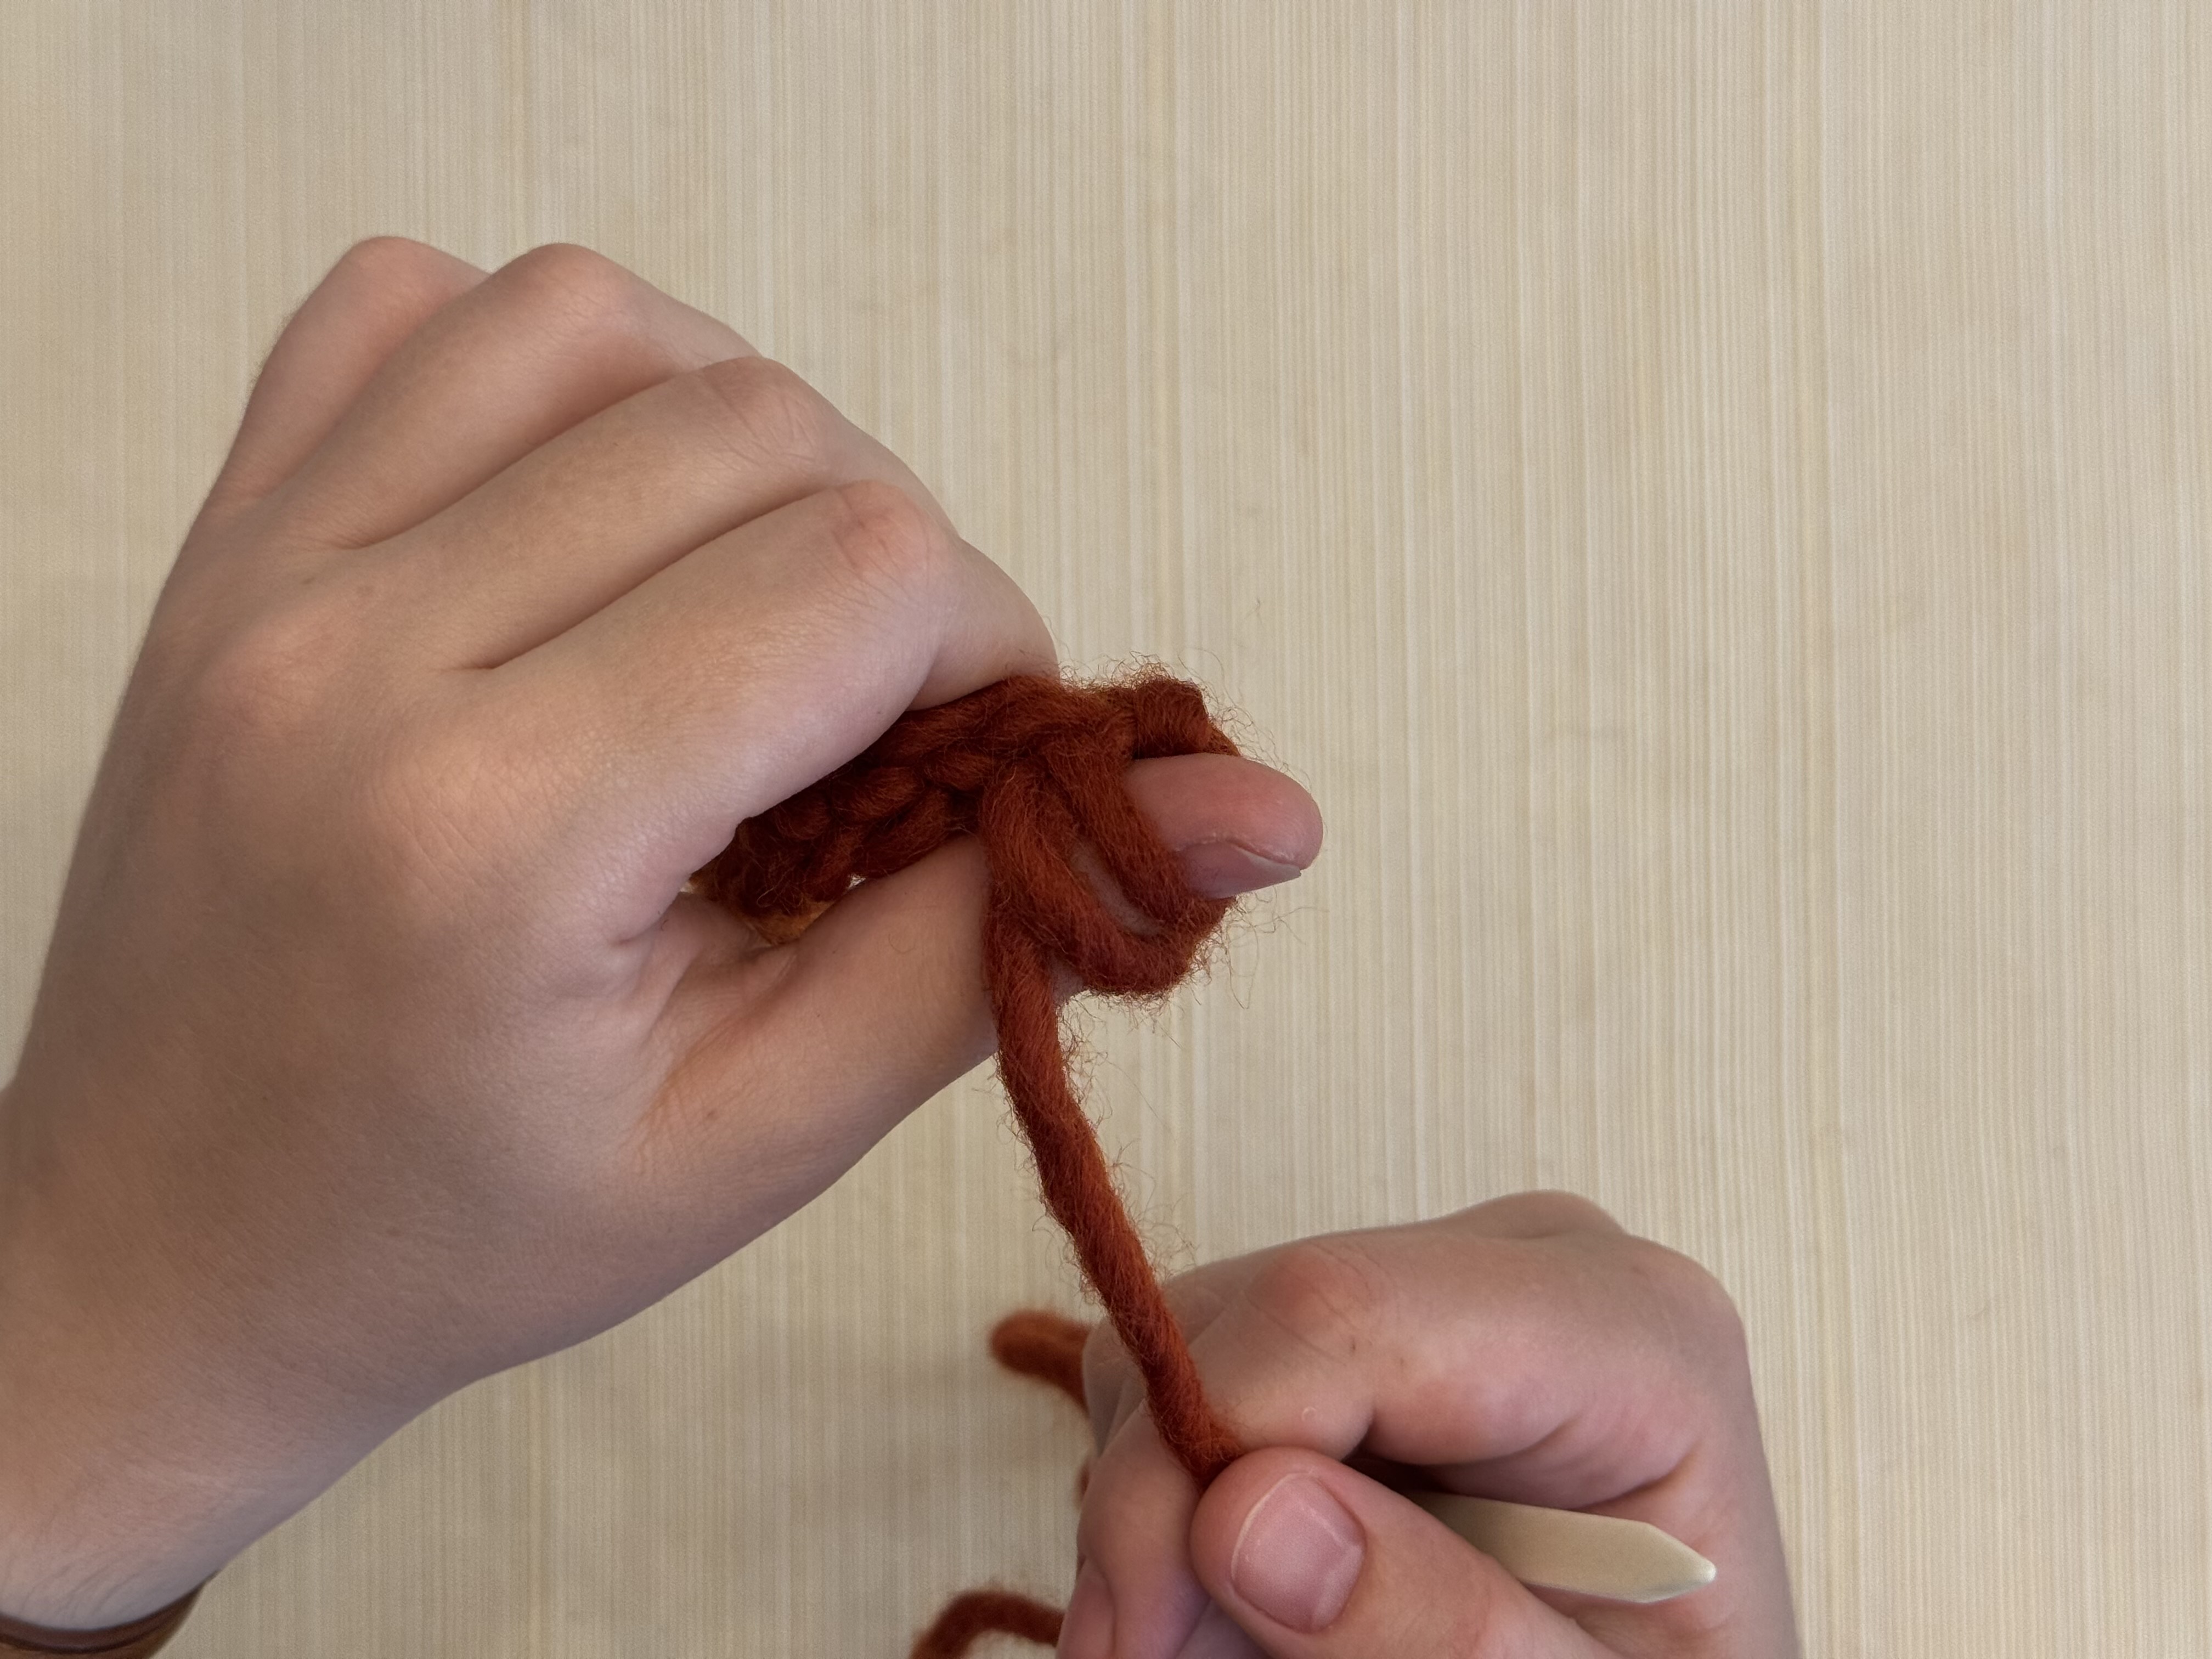
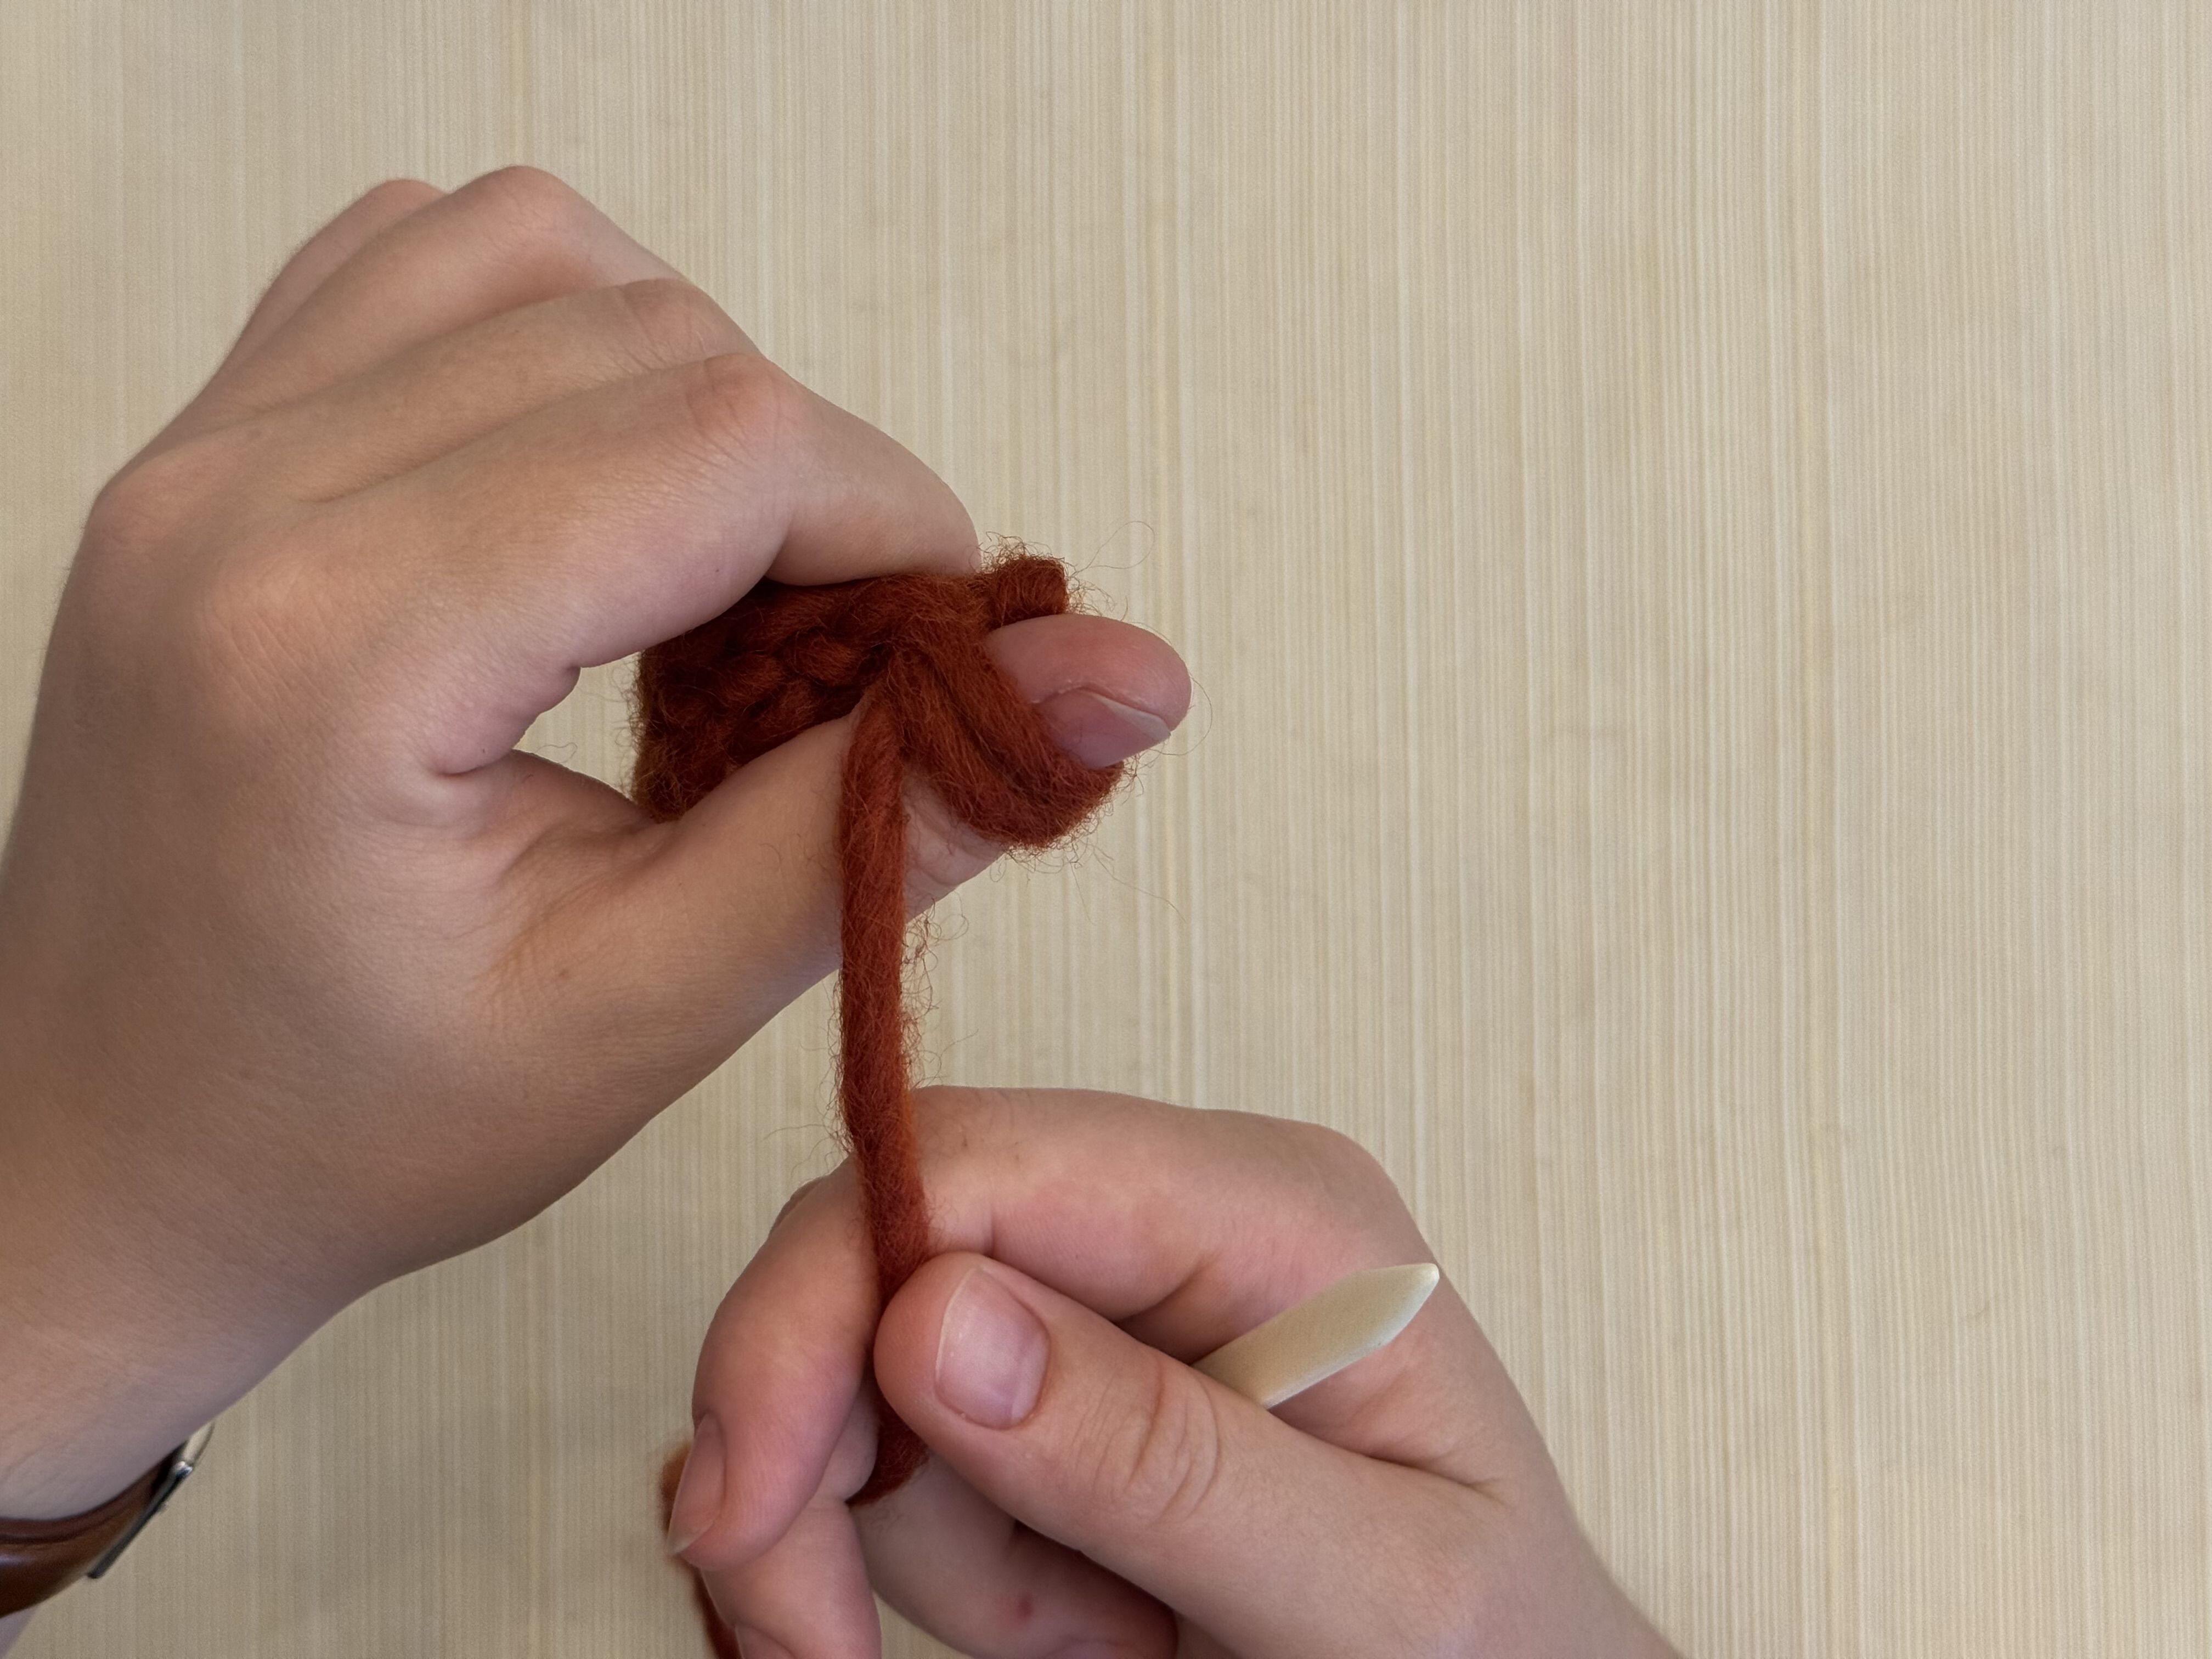
How do I tell which loop is the last one I made?
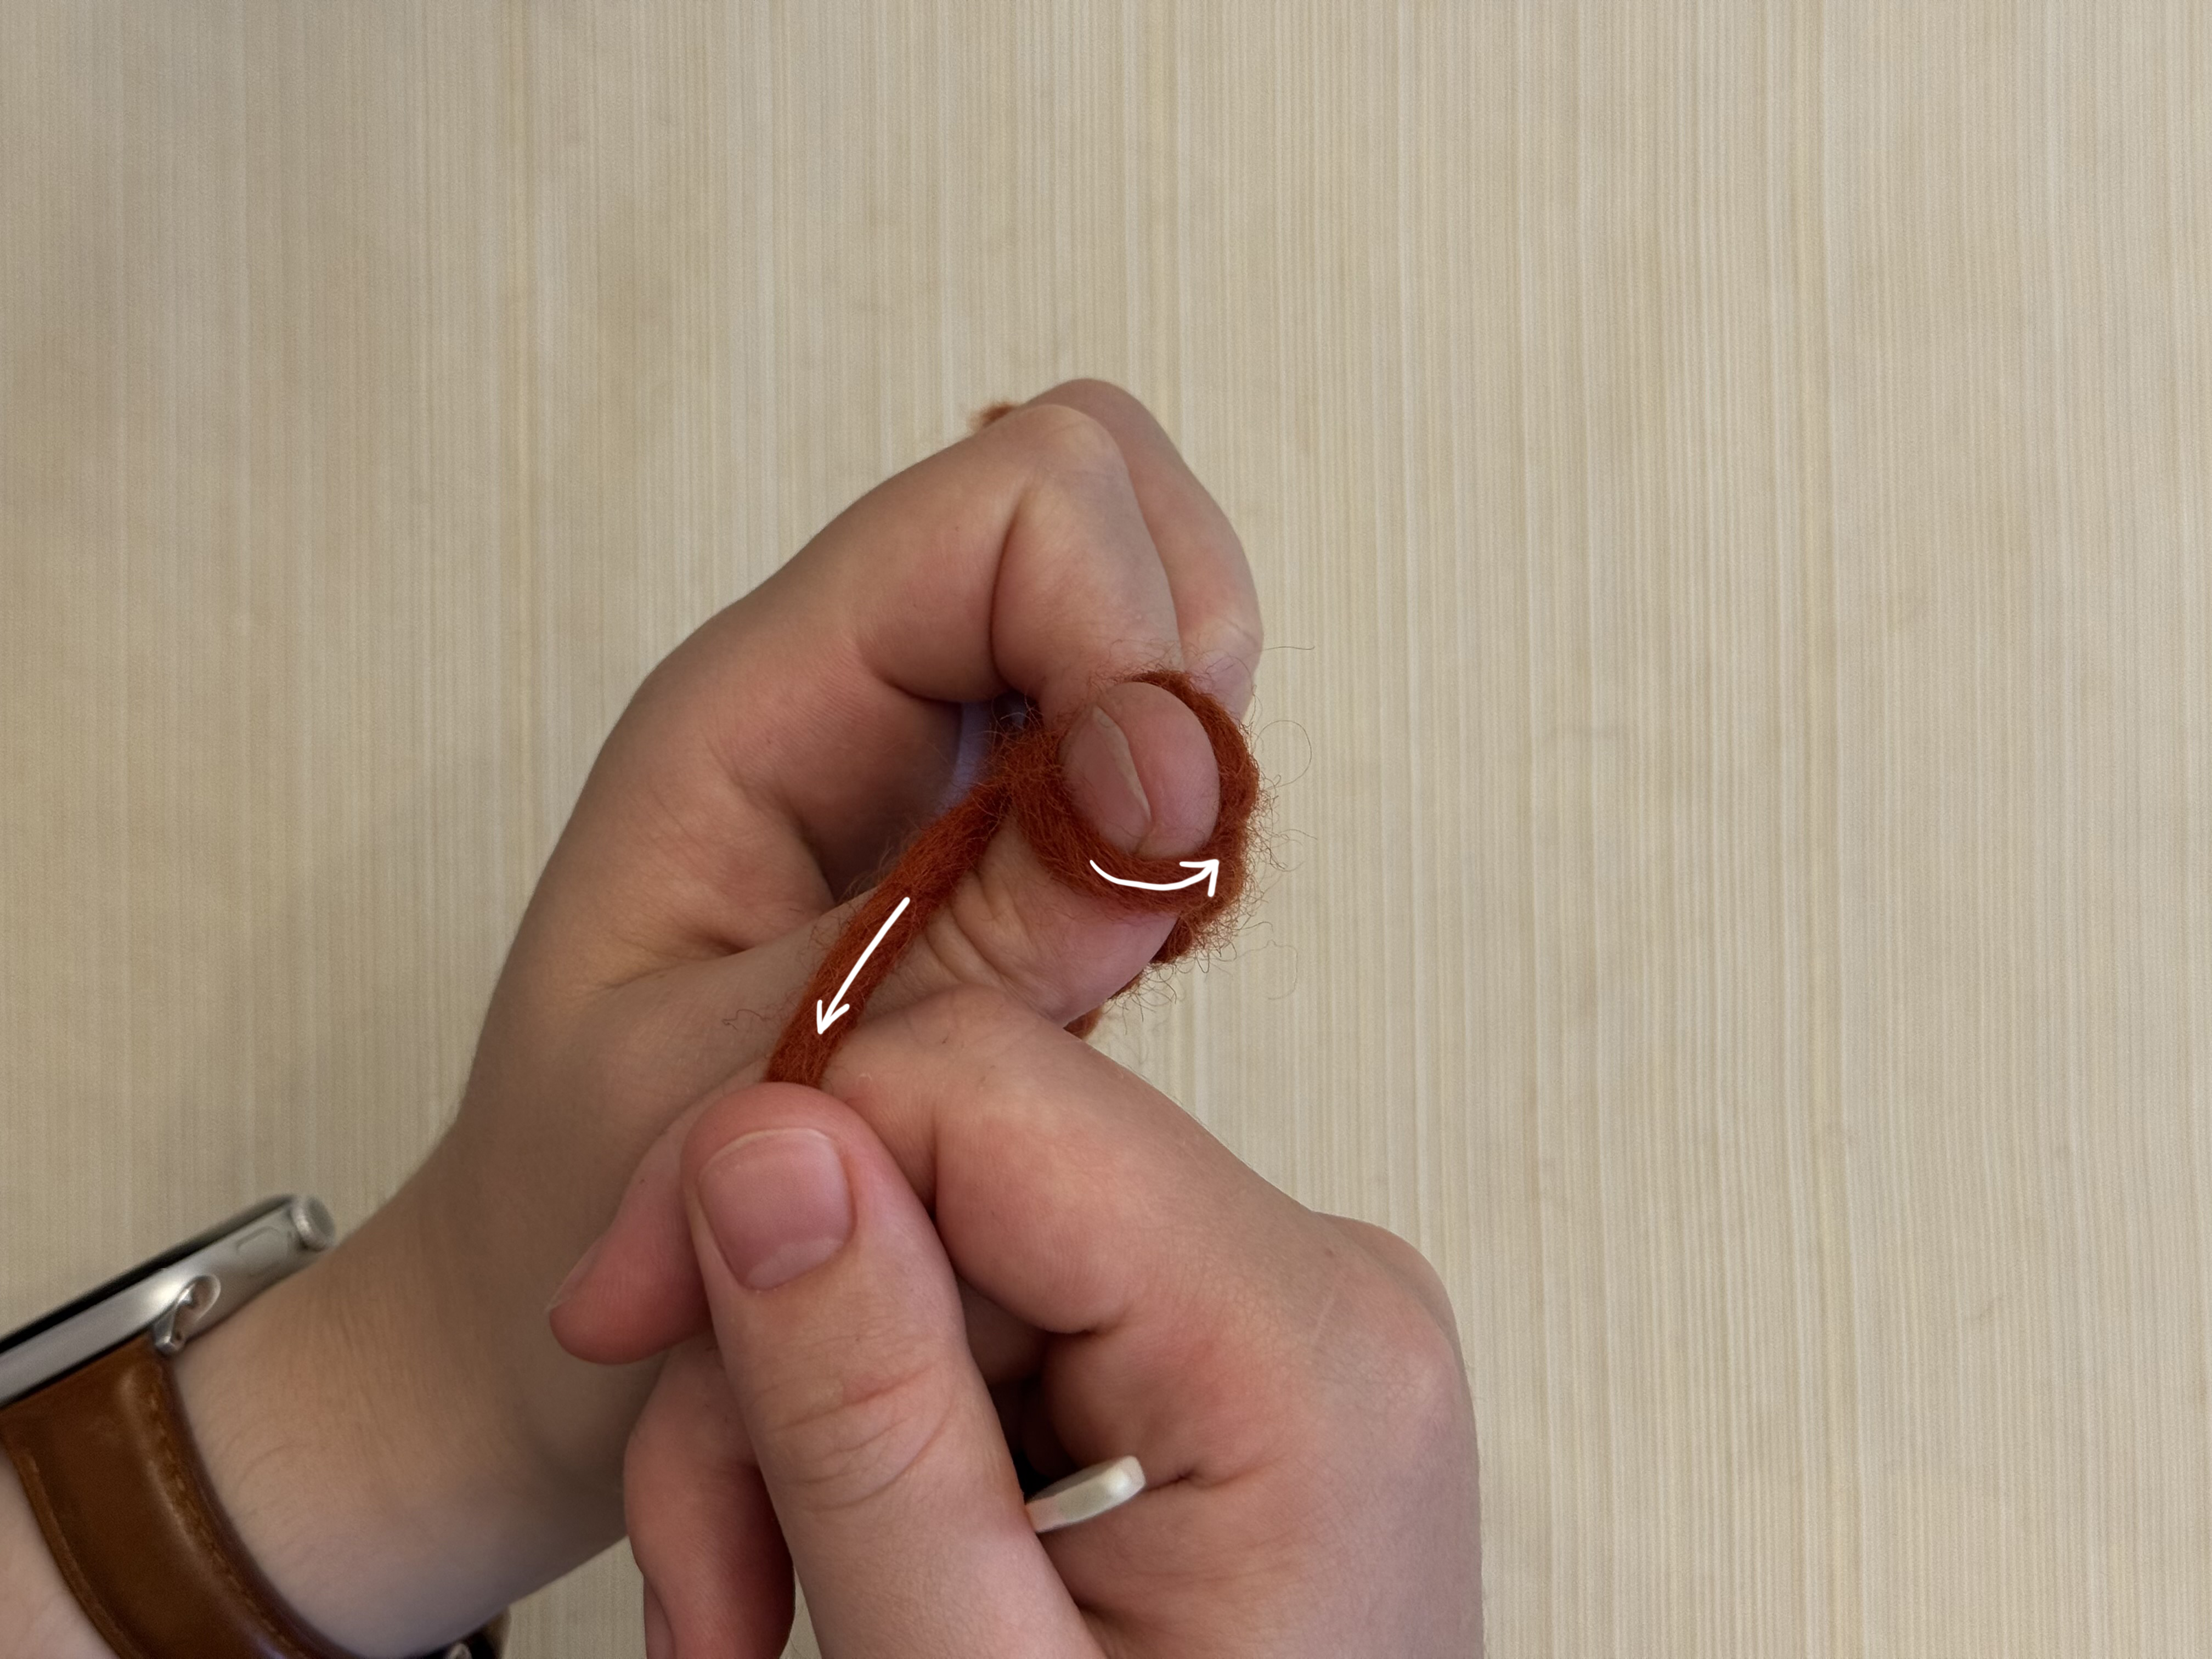
Give your working yarn a gentle tug – not too hard! You don’t want to tighten the knot so much that you can’t keep working. The last loop you made is the one that tightens, and should be the one around your thumb. If you’re not sure which way to put it around your thumb, the side the working yarn pulls on should pull in the direction of your next stitch.
The newest thumb loop should be lower than the previous loop. Thumb loops move upward and off the thumb with each new stitch.
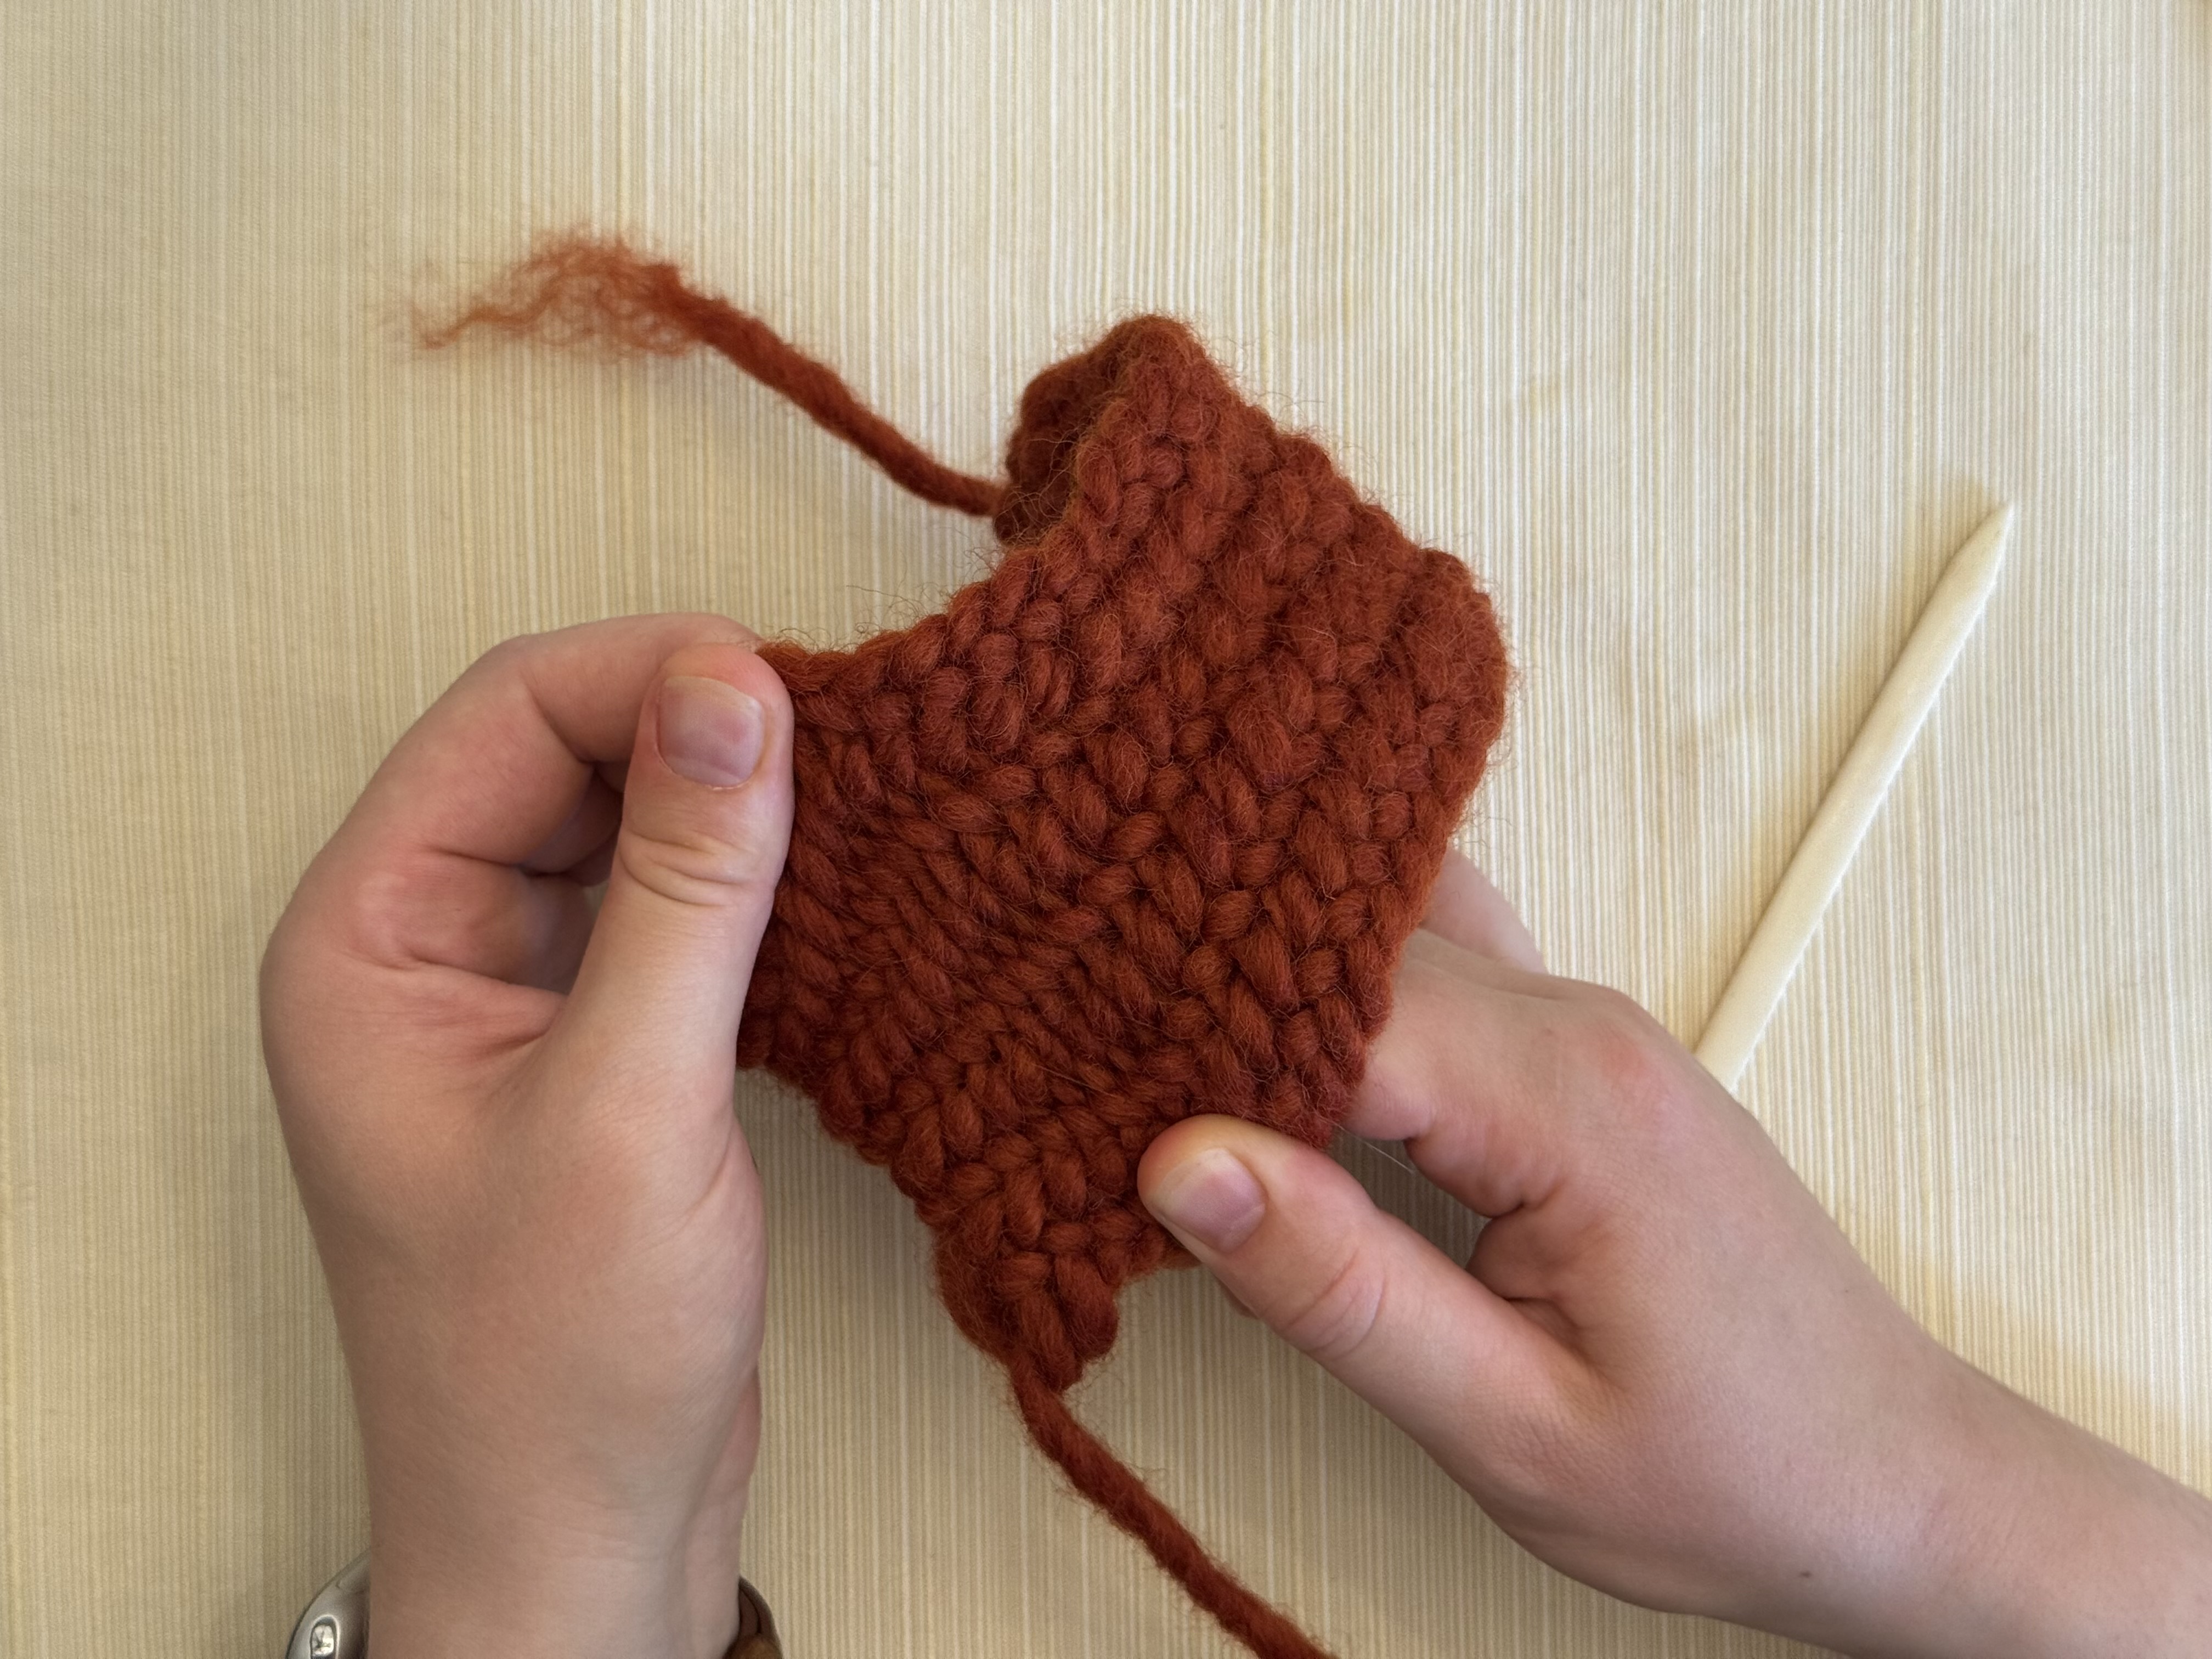
Why does the work I just did look so messy?
The yarn tension isn’t evenly balanced through your stitches, so you may see some lumps and odd loops. This isn’t anything you did wrong, this just happens with nalbinding. Give the row a gentle tug from either end to tidy it up and re-balance the yarn.