
When you reach the end of your project, here’s how to tidy it up and hide the end of your working yarn.

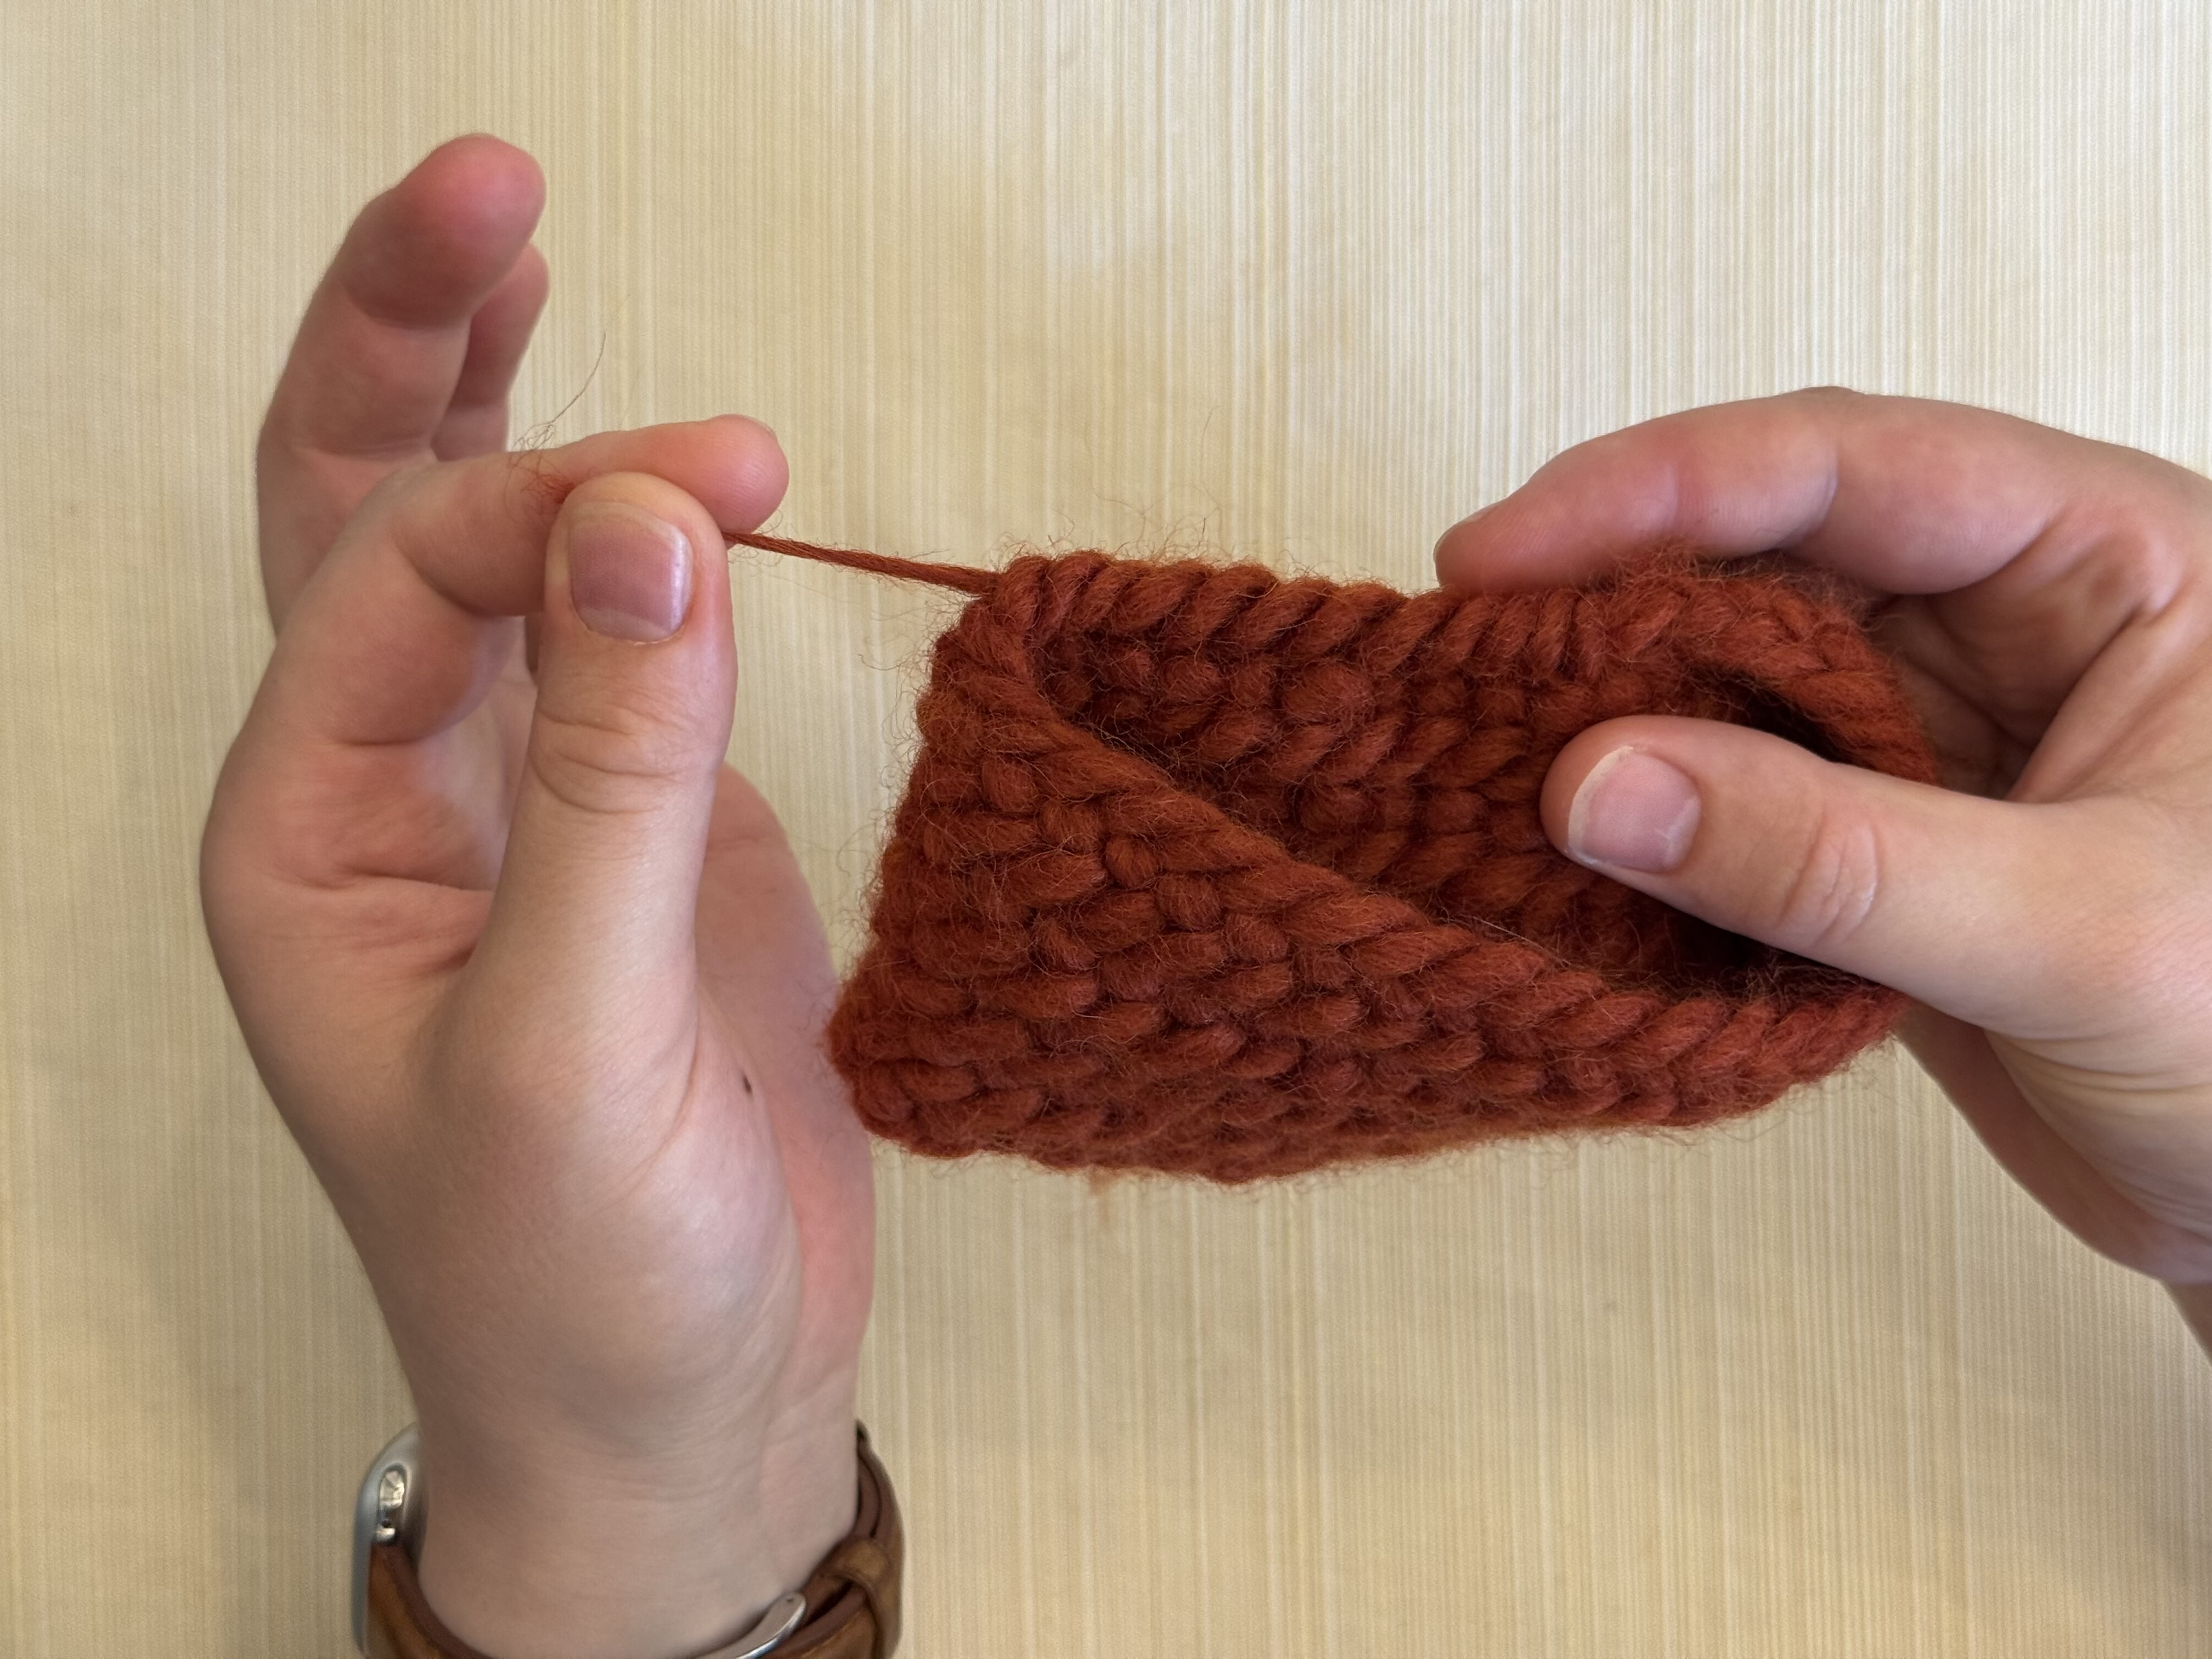
Take your thumb out of the thumb loop, and flatten the working loops out.
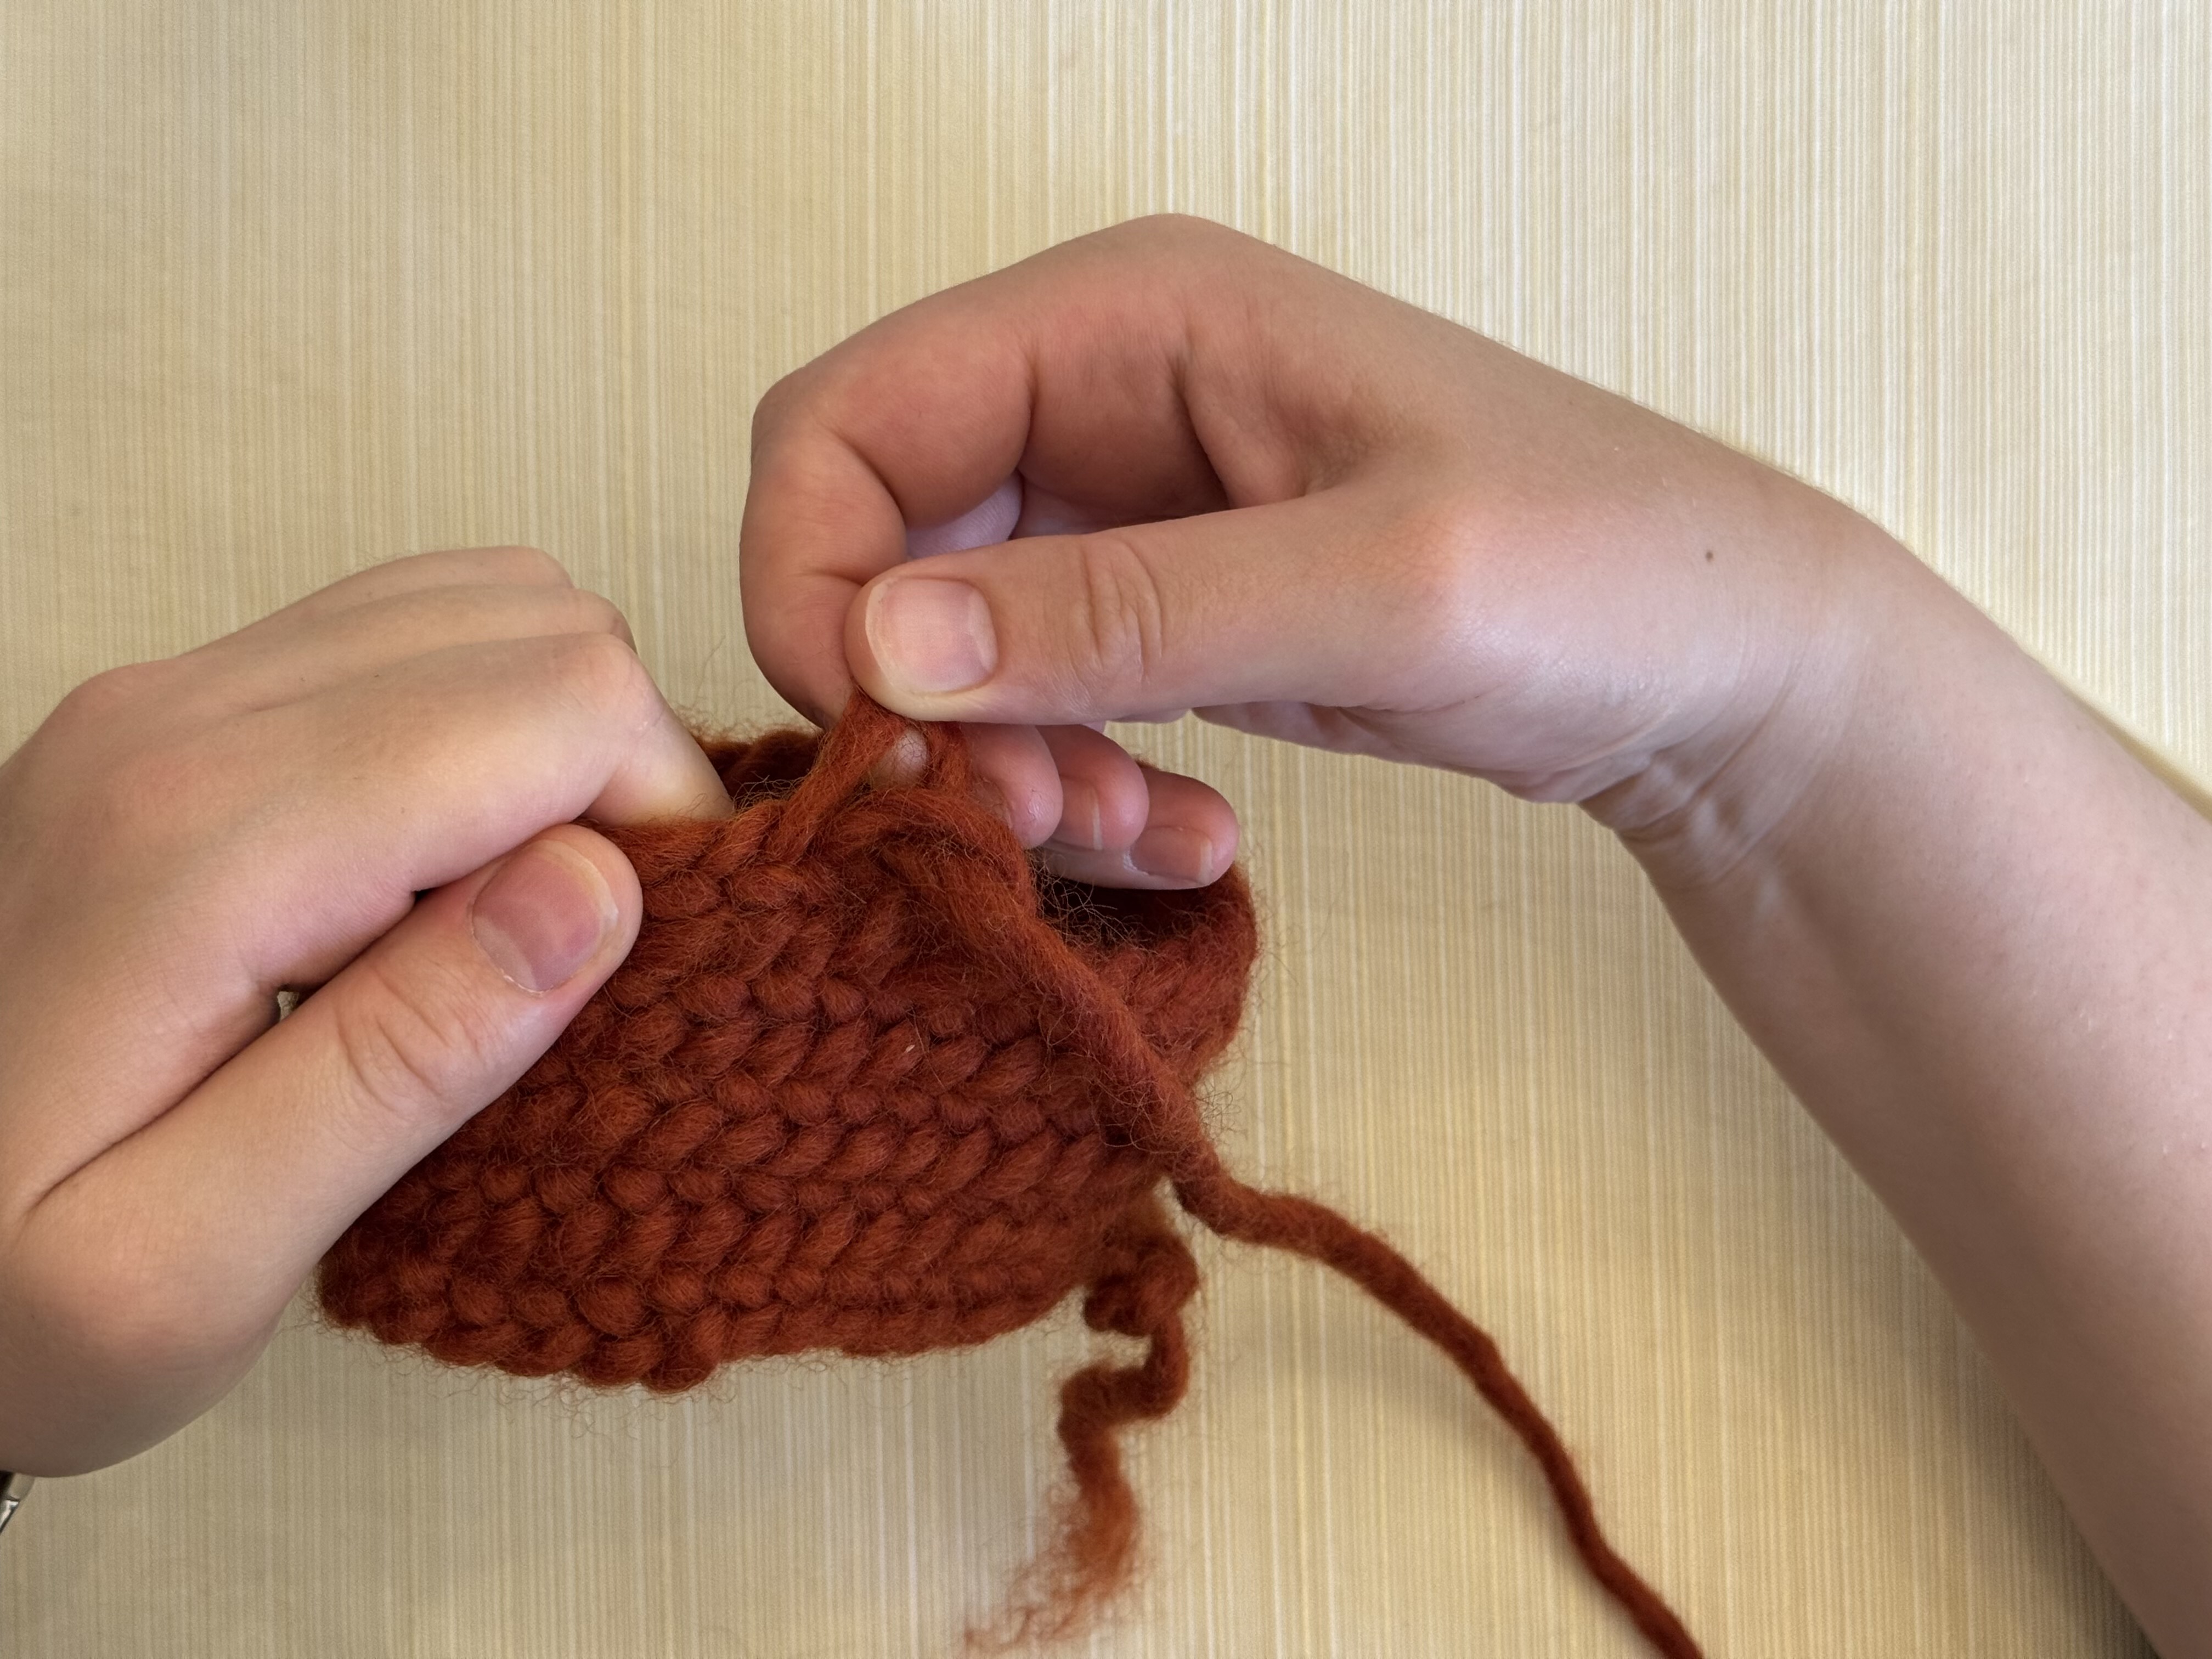
Starting with what was the rear loop, pull it tight.

Next, pull what was the thumb loop tight.
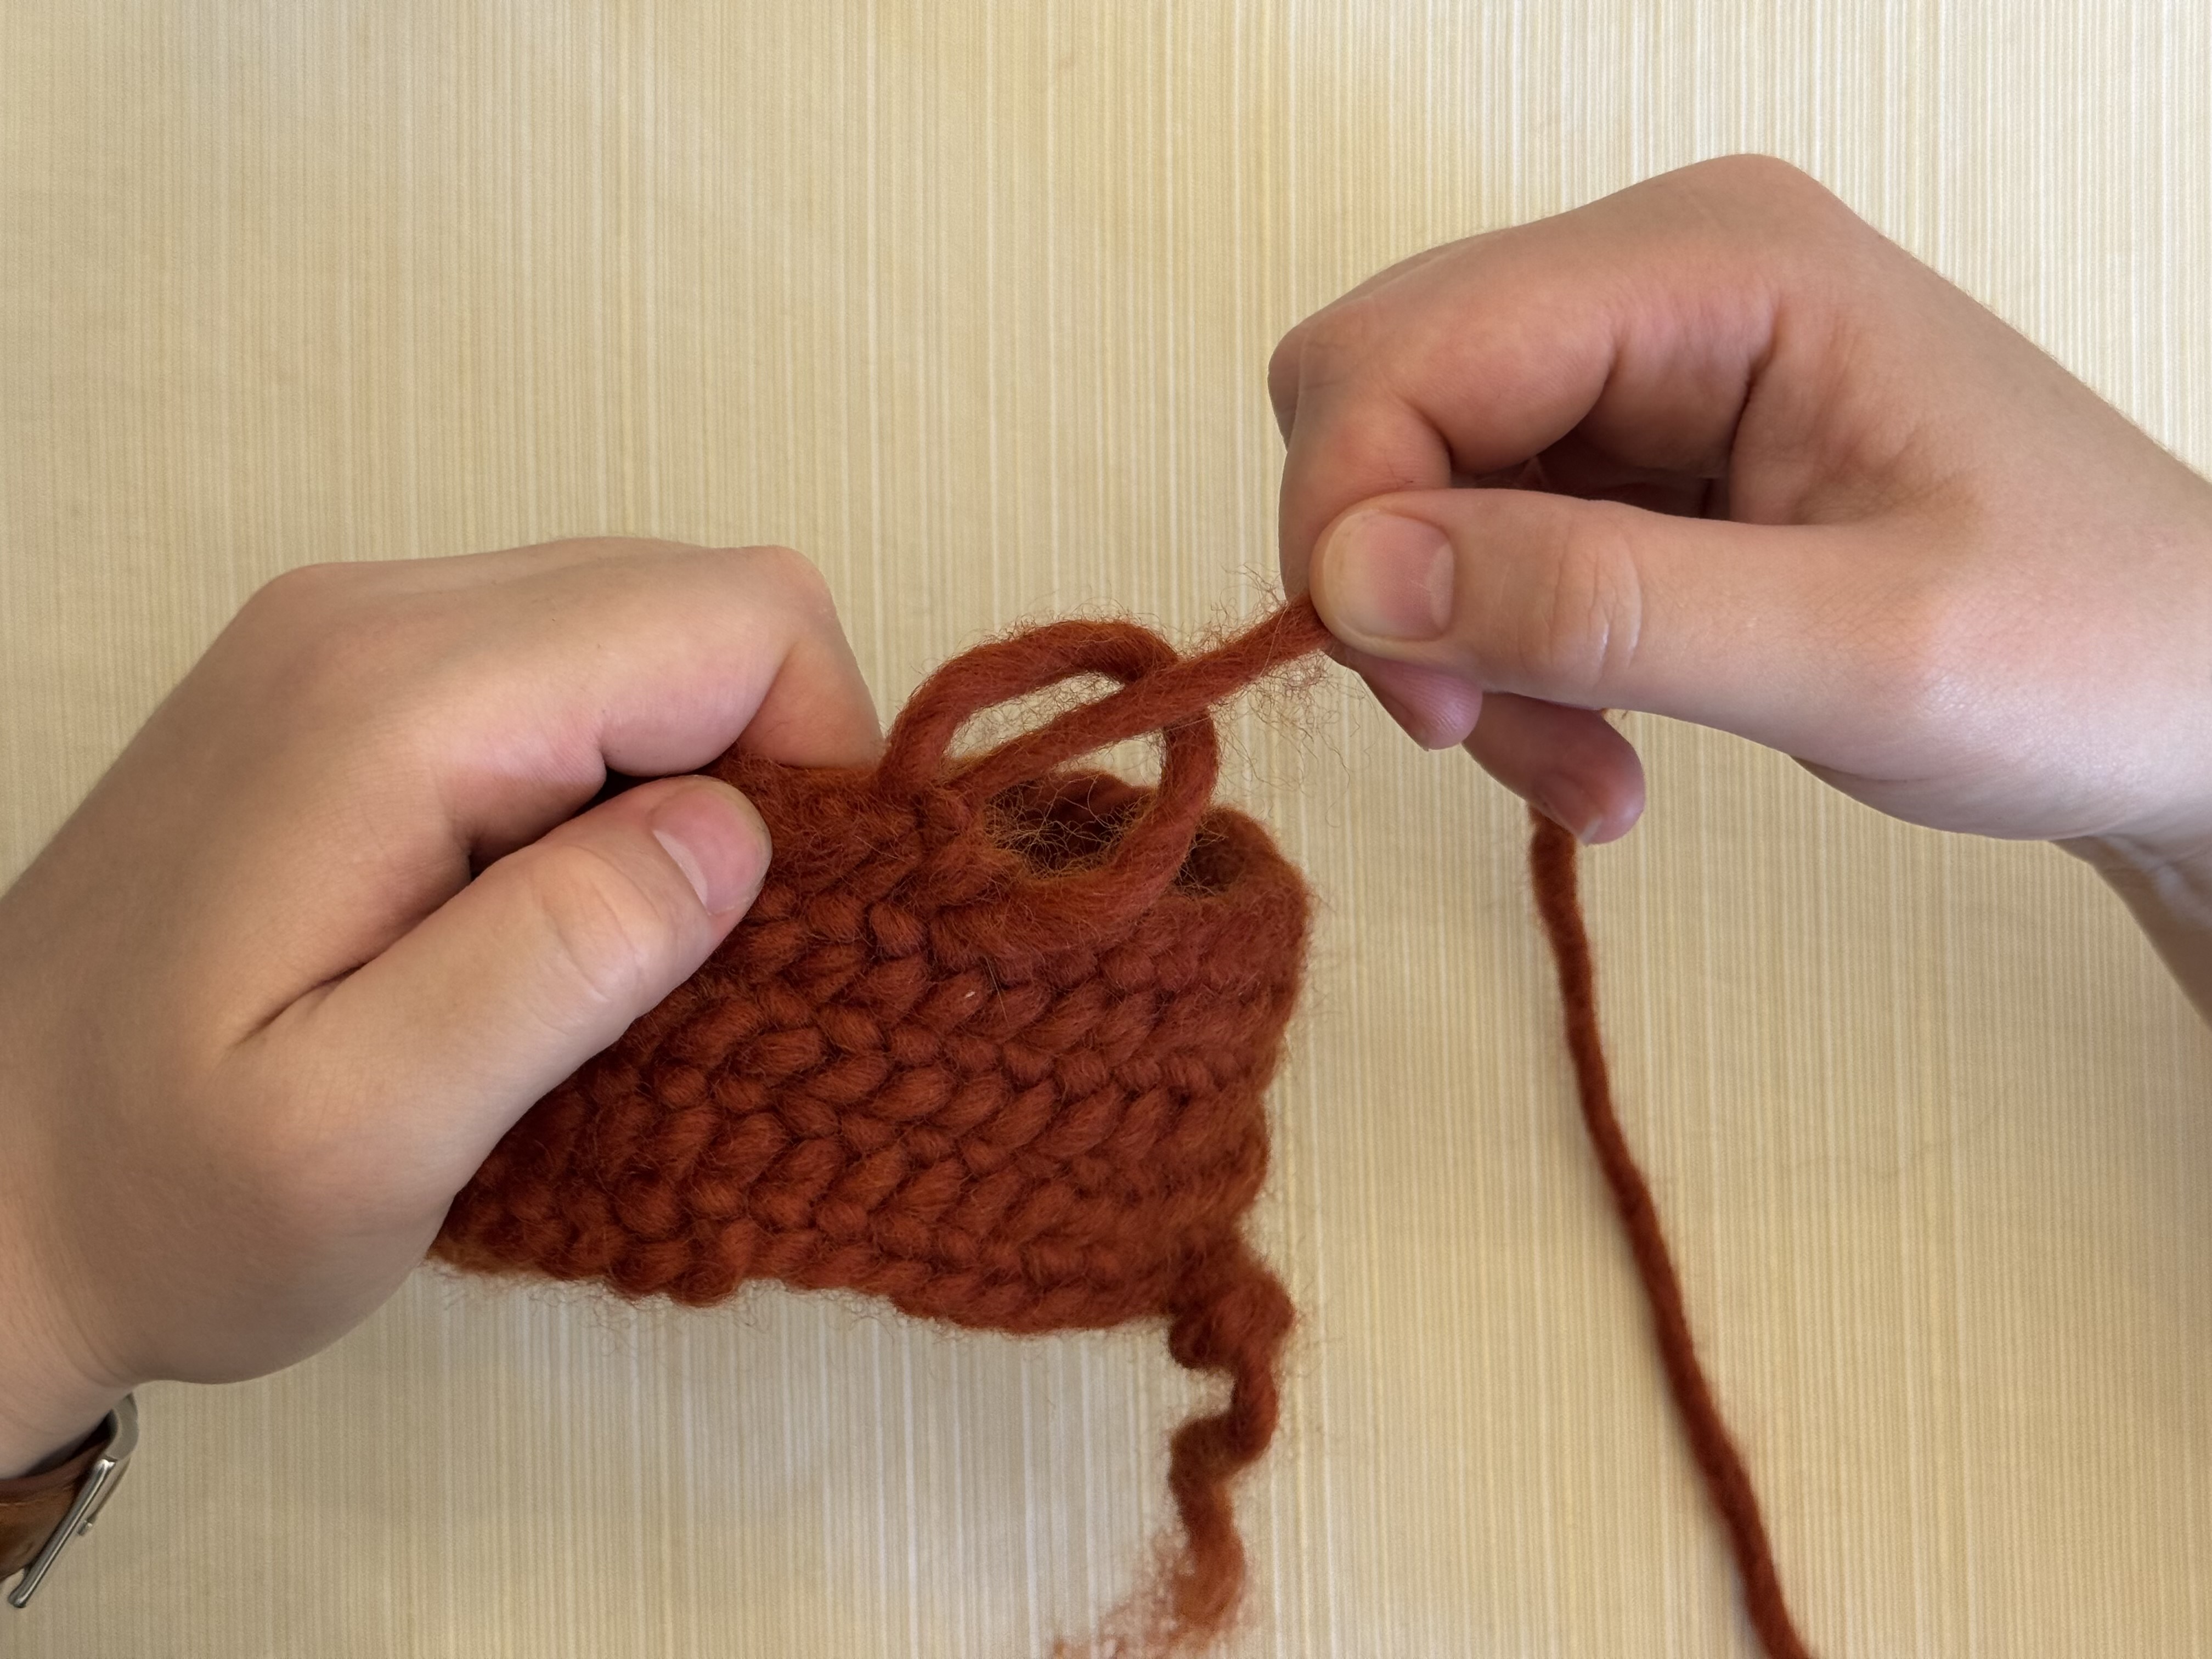
Pull your working yarn tight.
Now the last row is tightened and tapered down, which will help minimize the bump between rows.

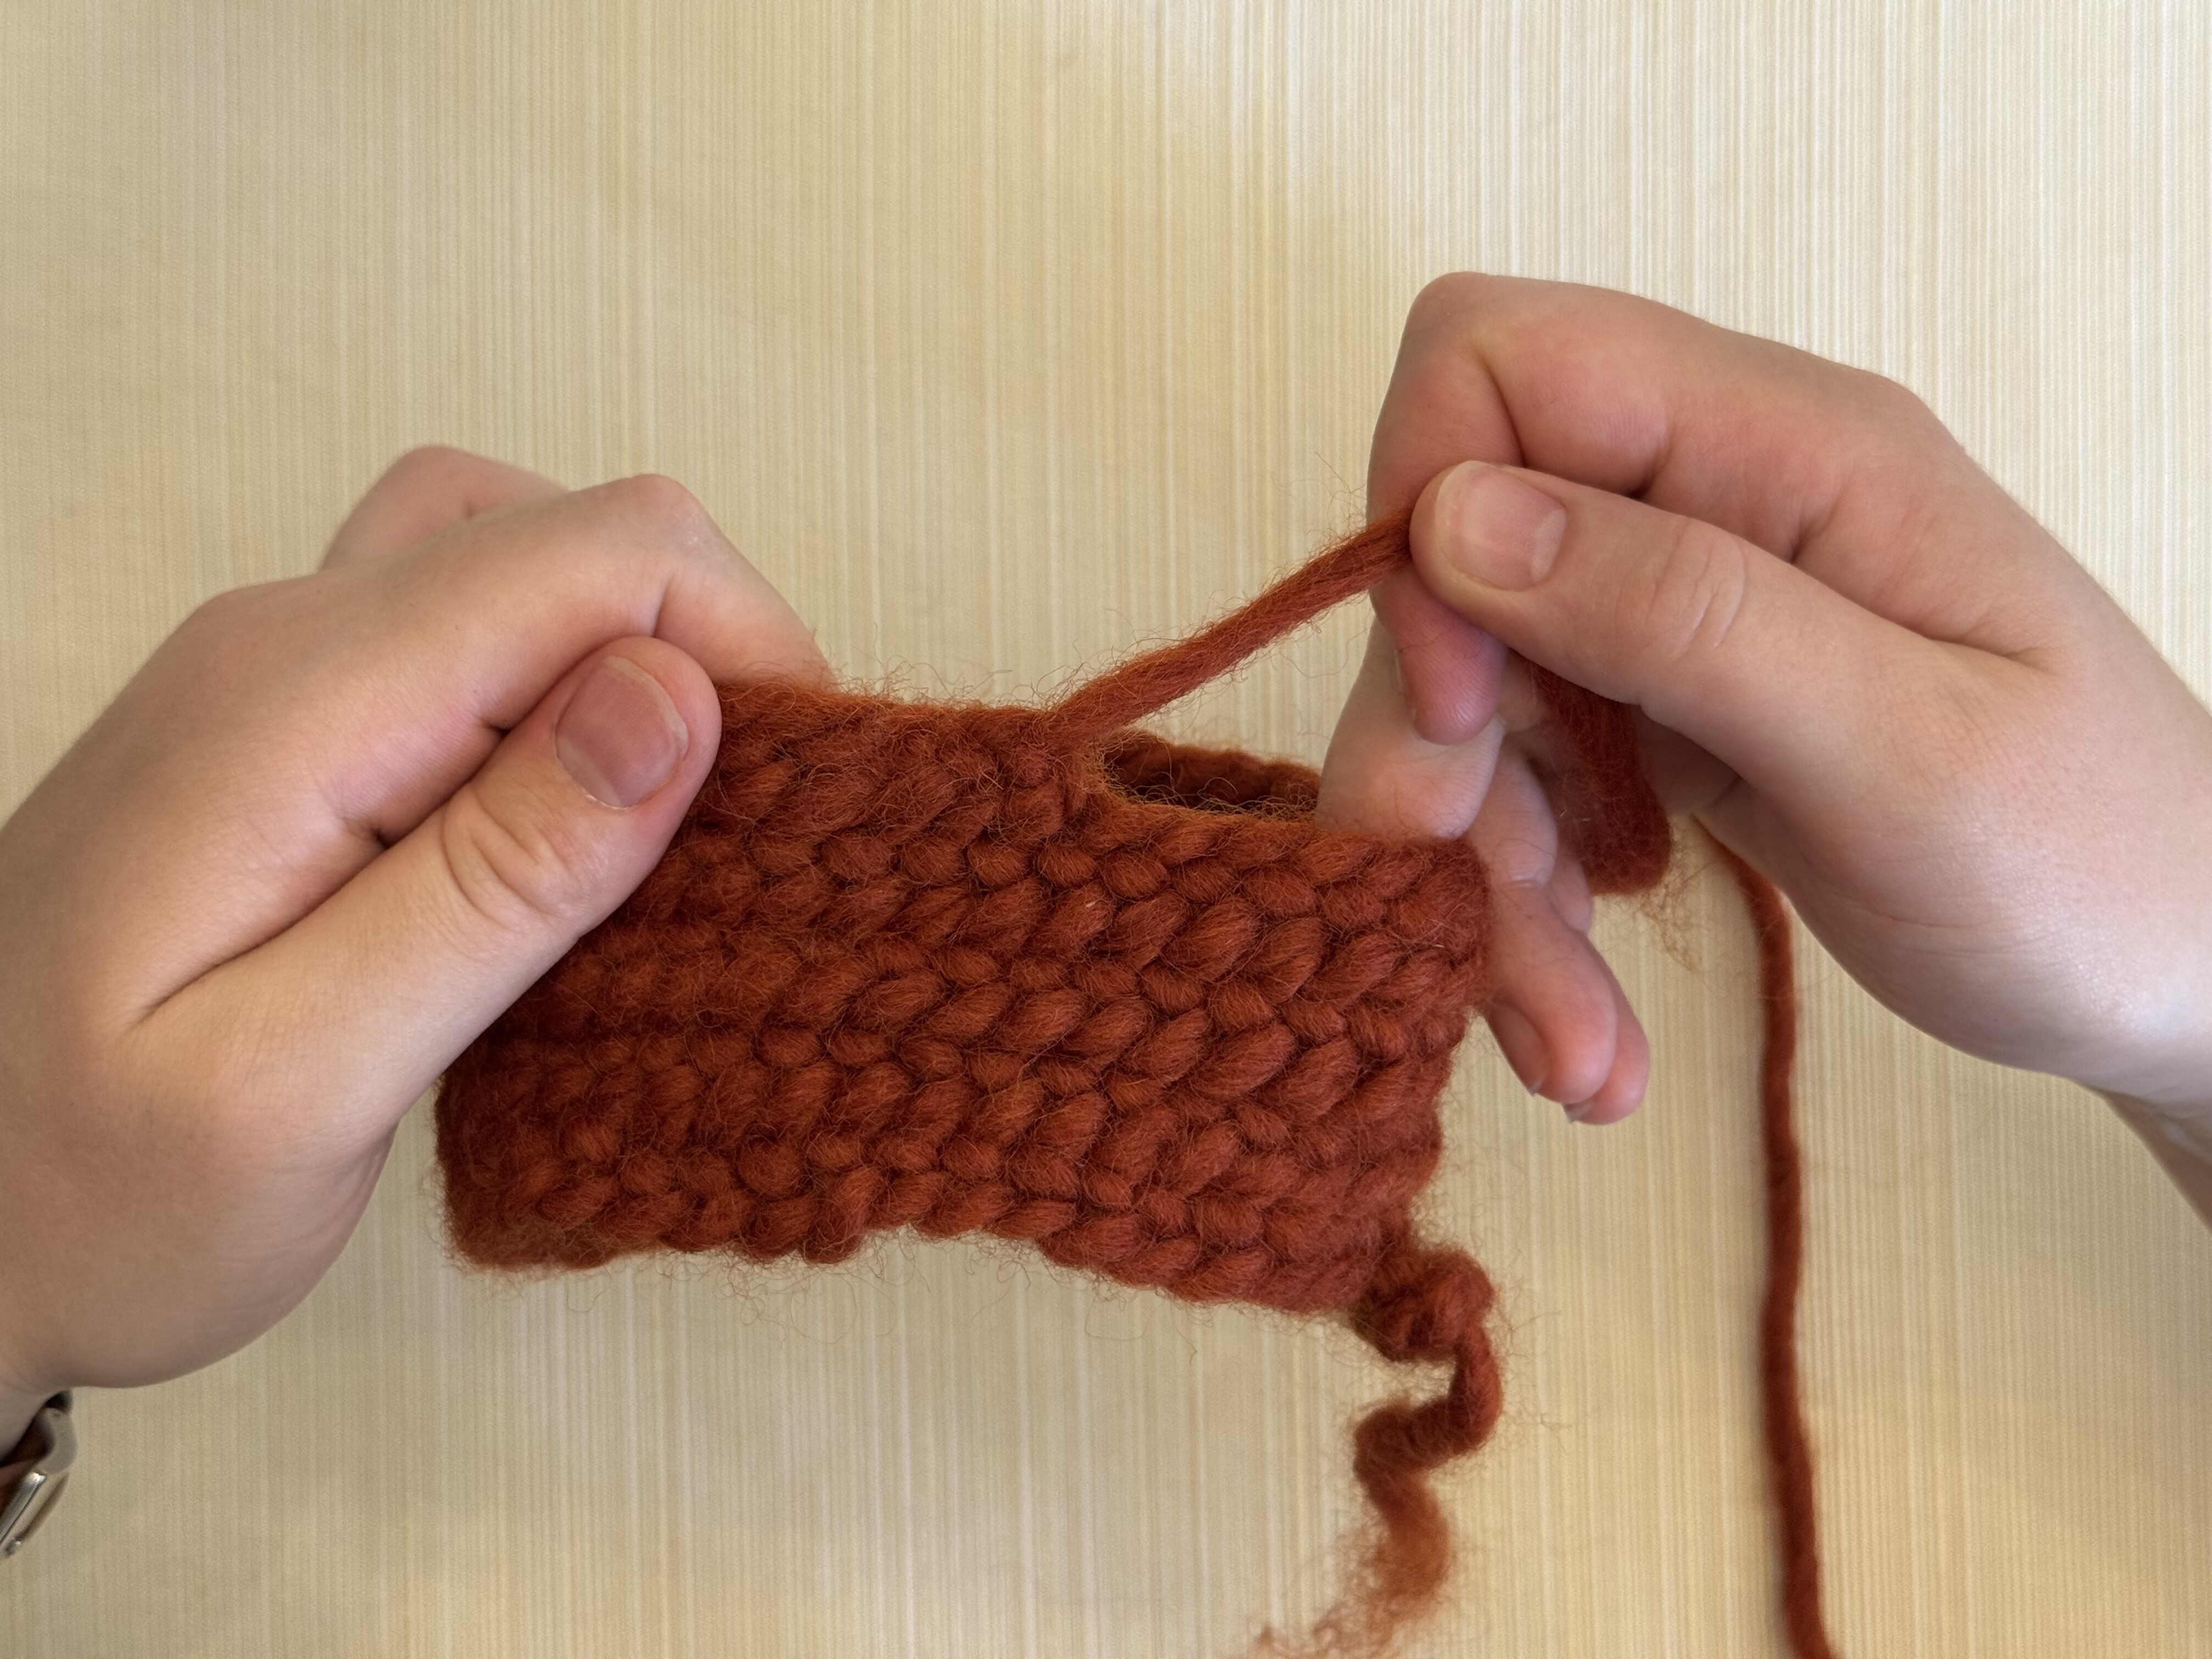
Pull your working yarn apart as close to your finished piece as you can. If you cut your yarn, leave a few inches on the working yarn still attached to your finished piece.
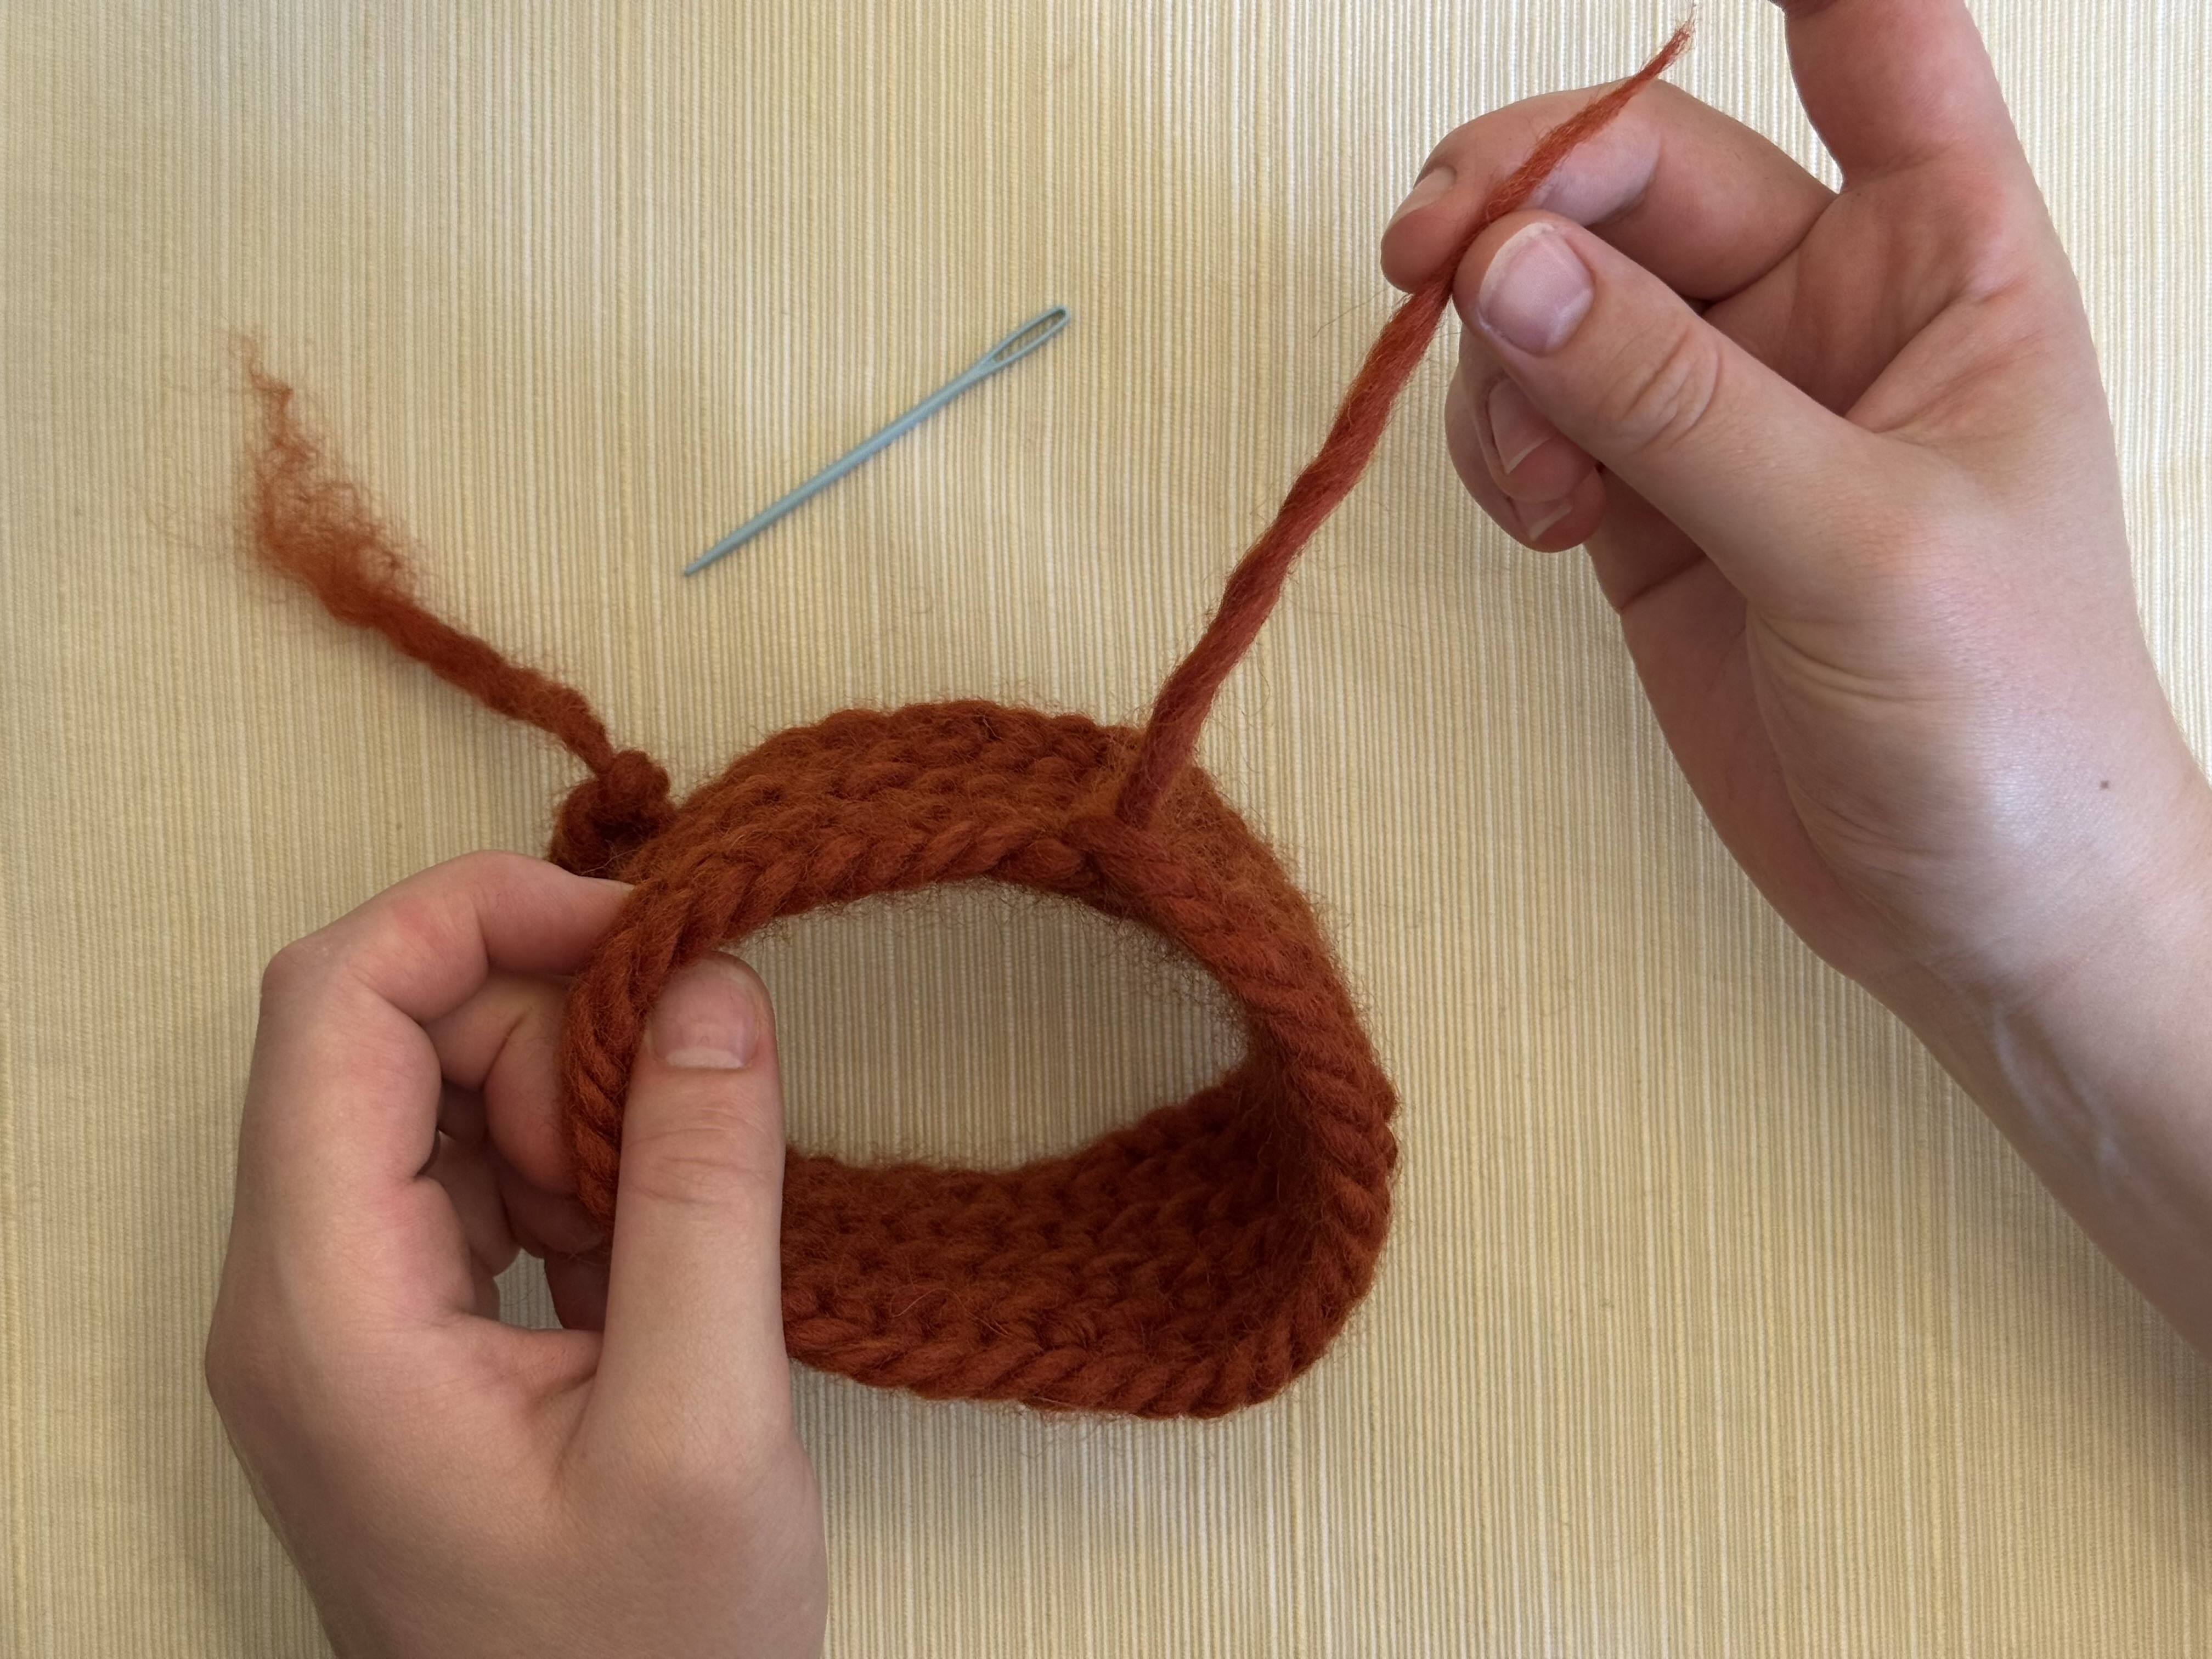
Twist the short tail left of your working yarn back together.

Thread the tail into a yarn needle.
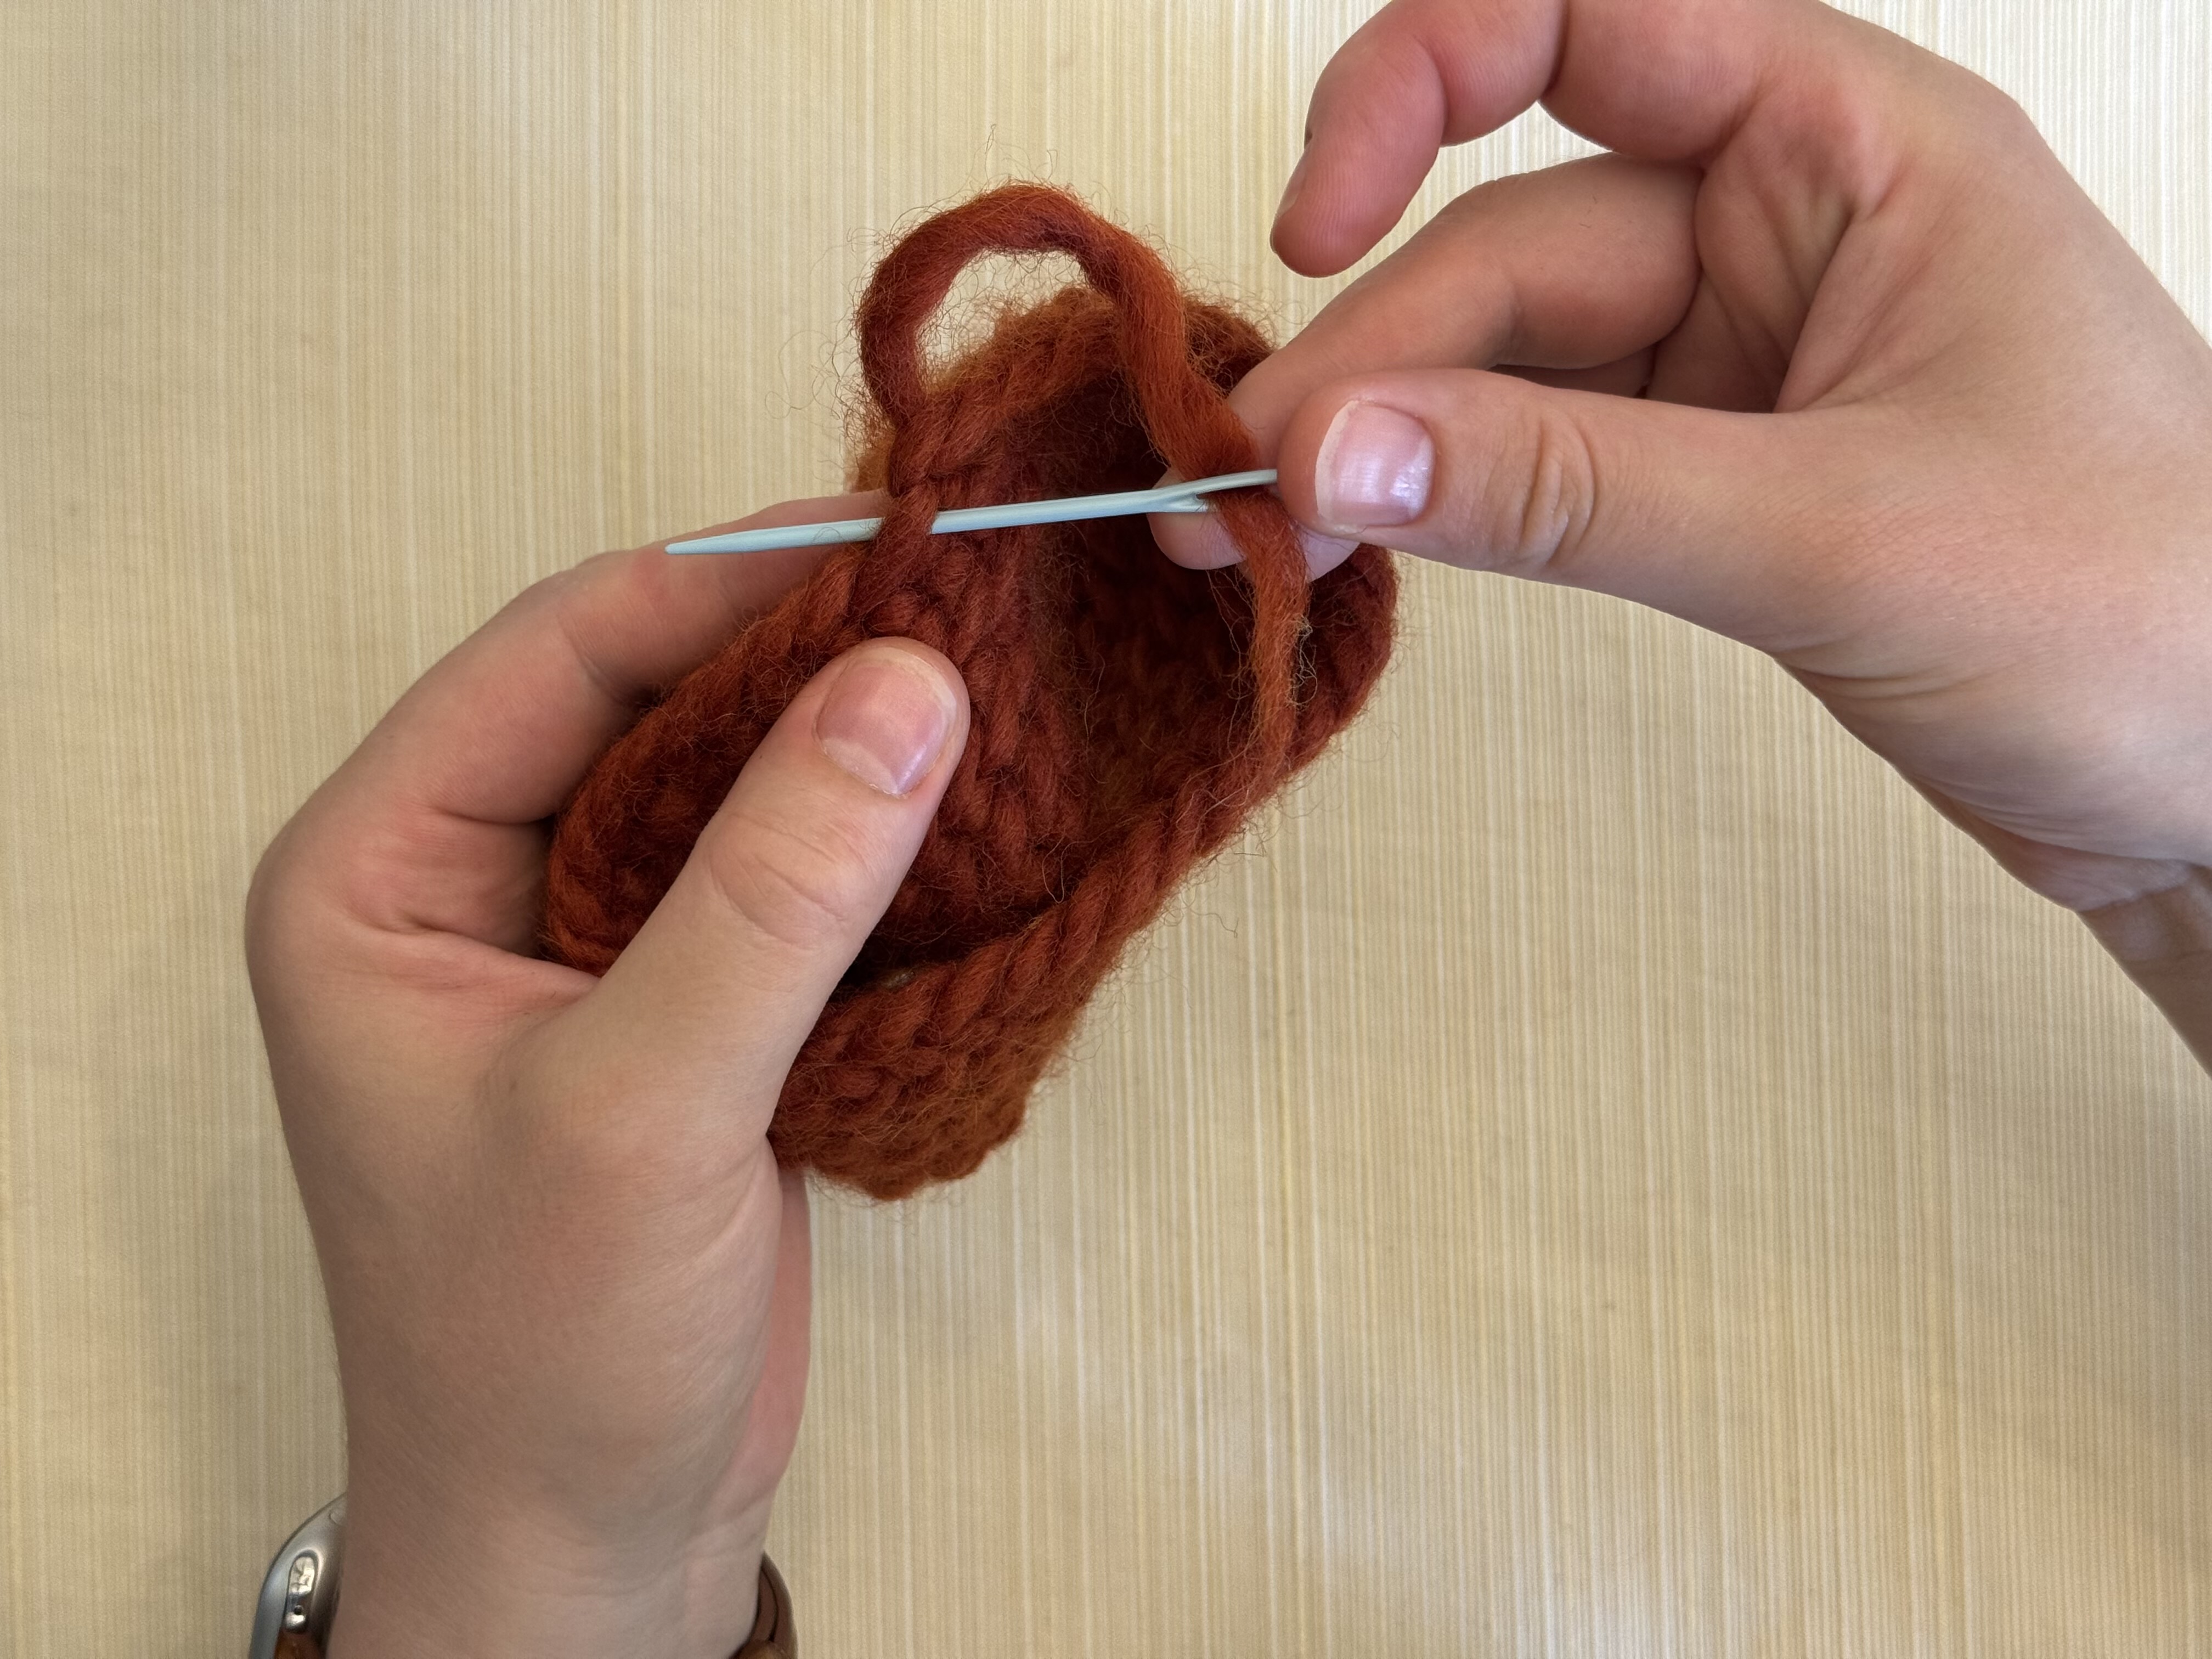
Insert the yarn needle through the back side of the first loop on the top edge after your last stitch, on the inside of the fabric.

Loop by loop, insert the yarn needle into the next loops in the row.
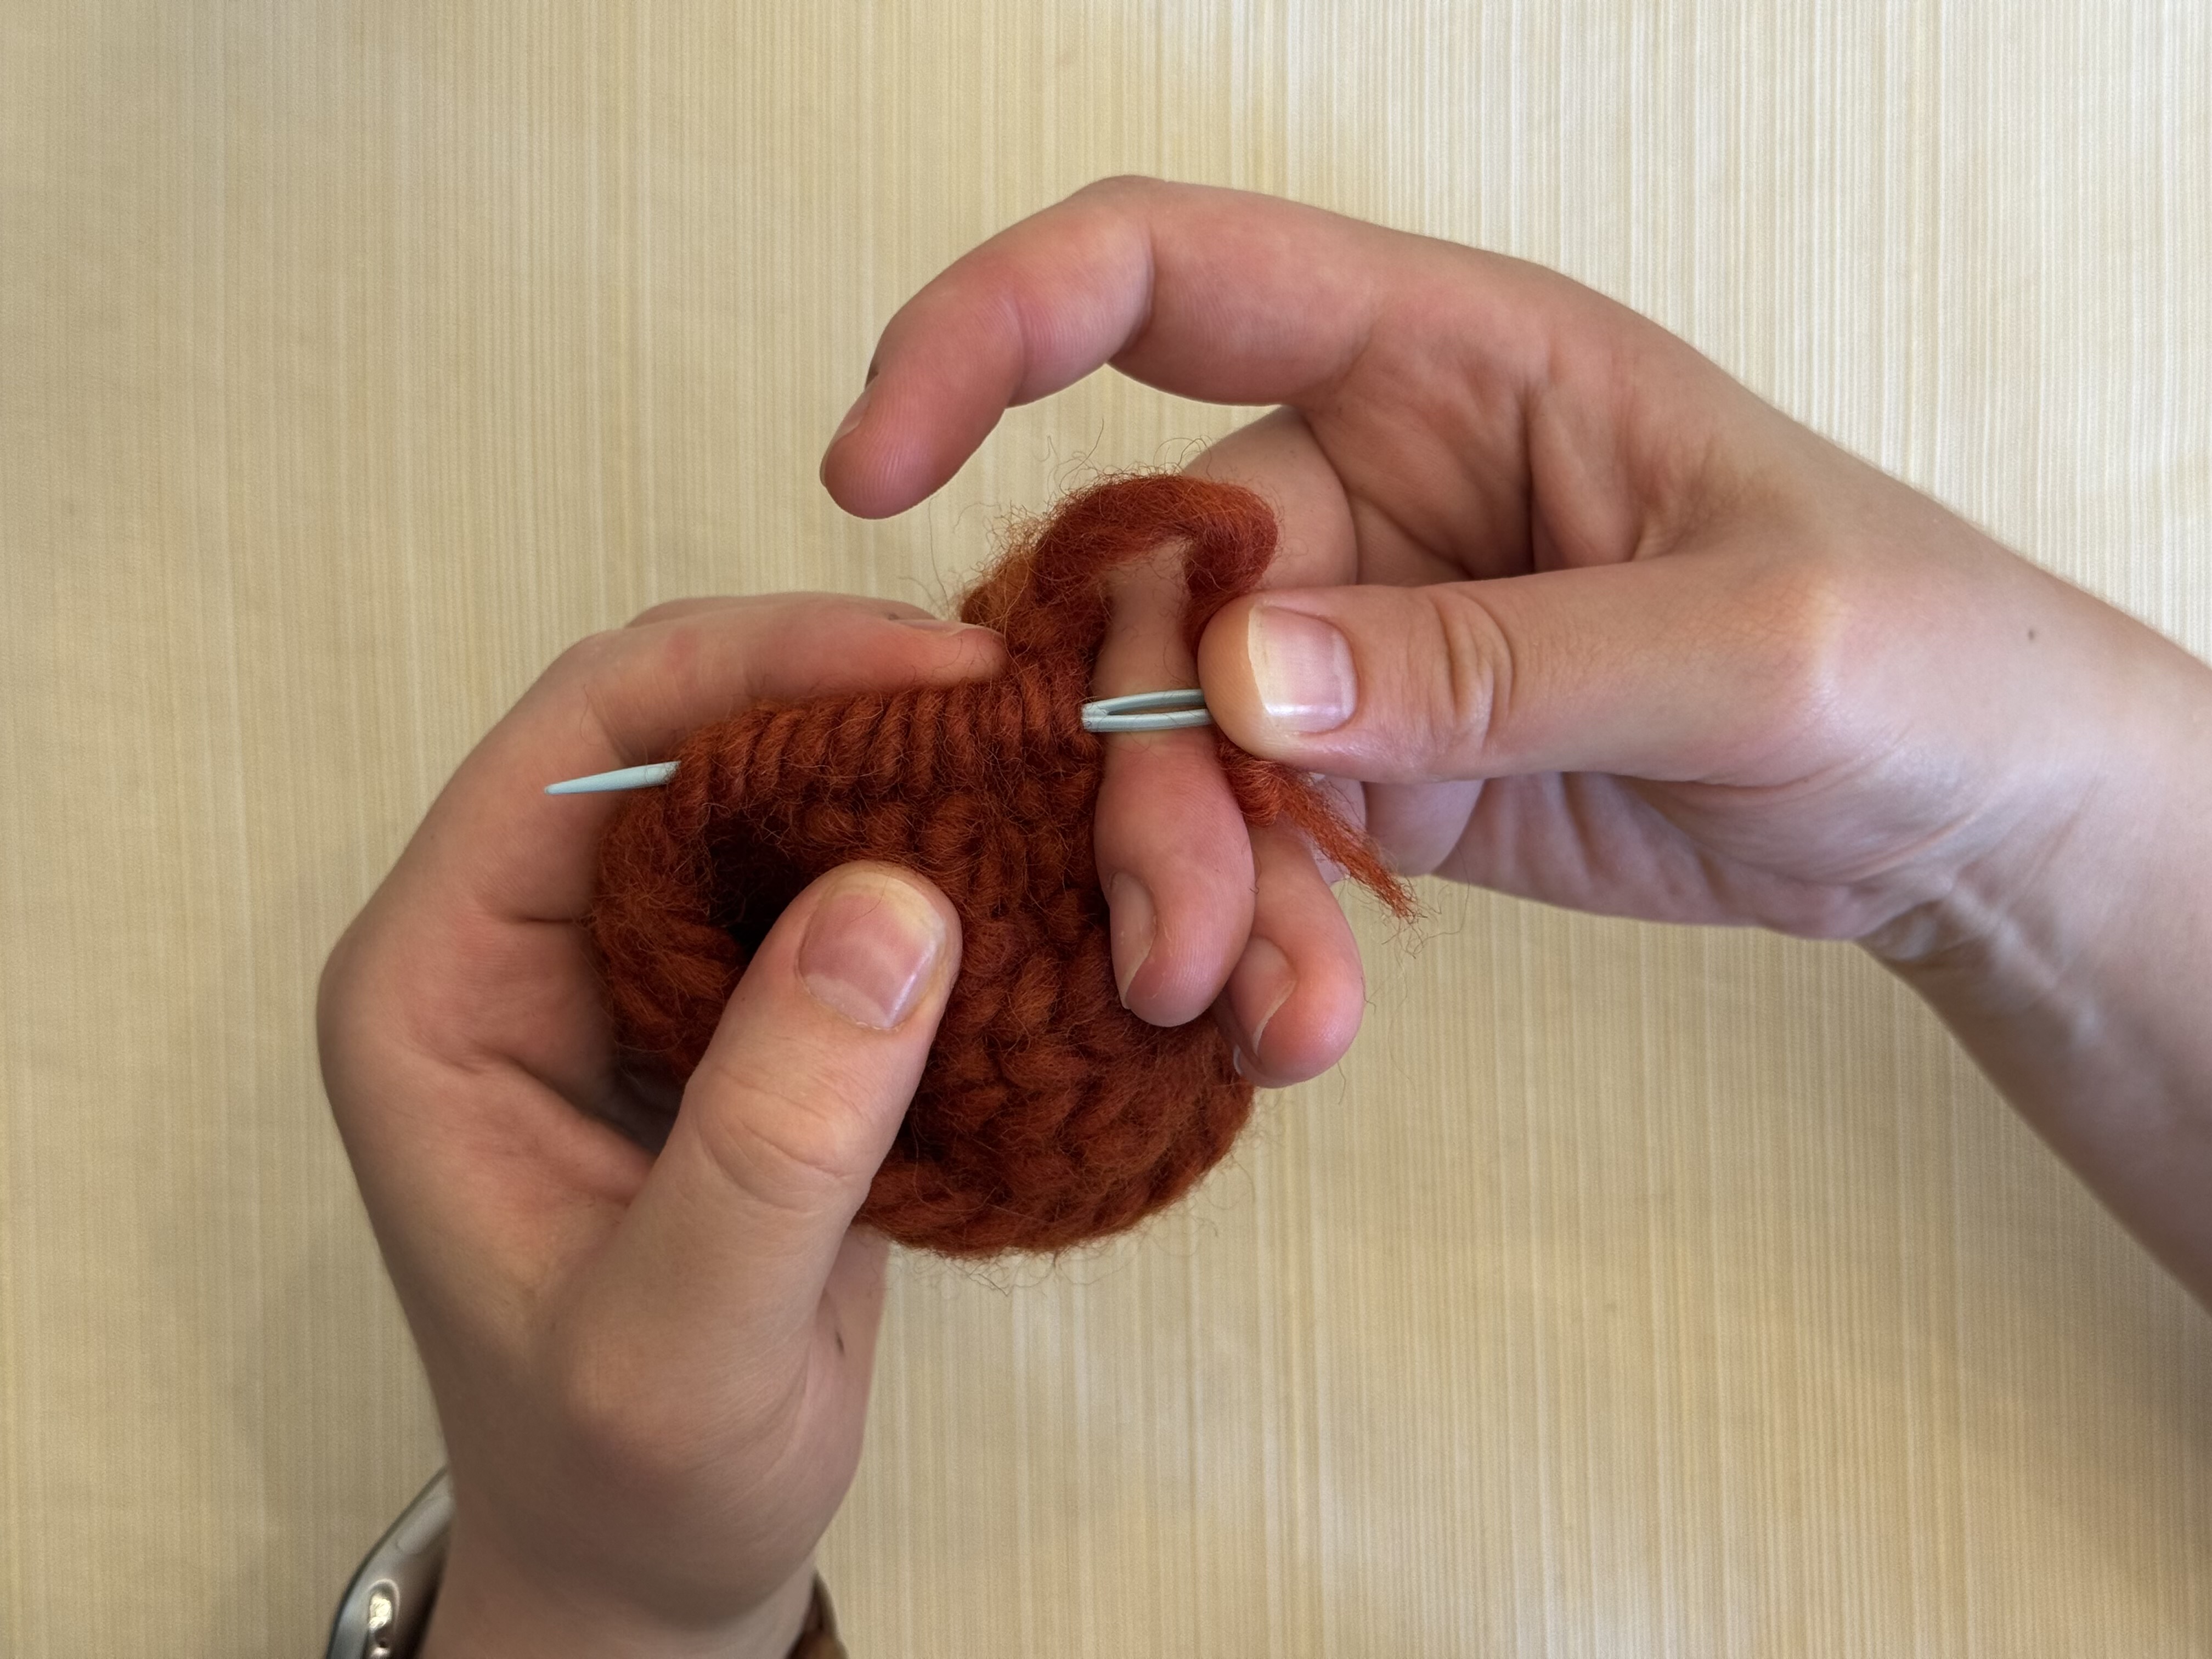
Keep going; the loops will bunch up on the needle a bit.
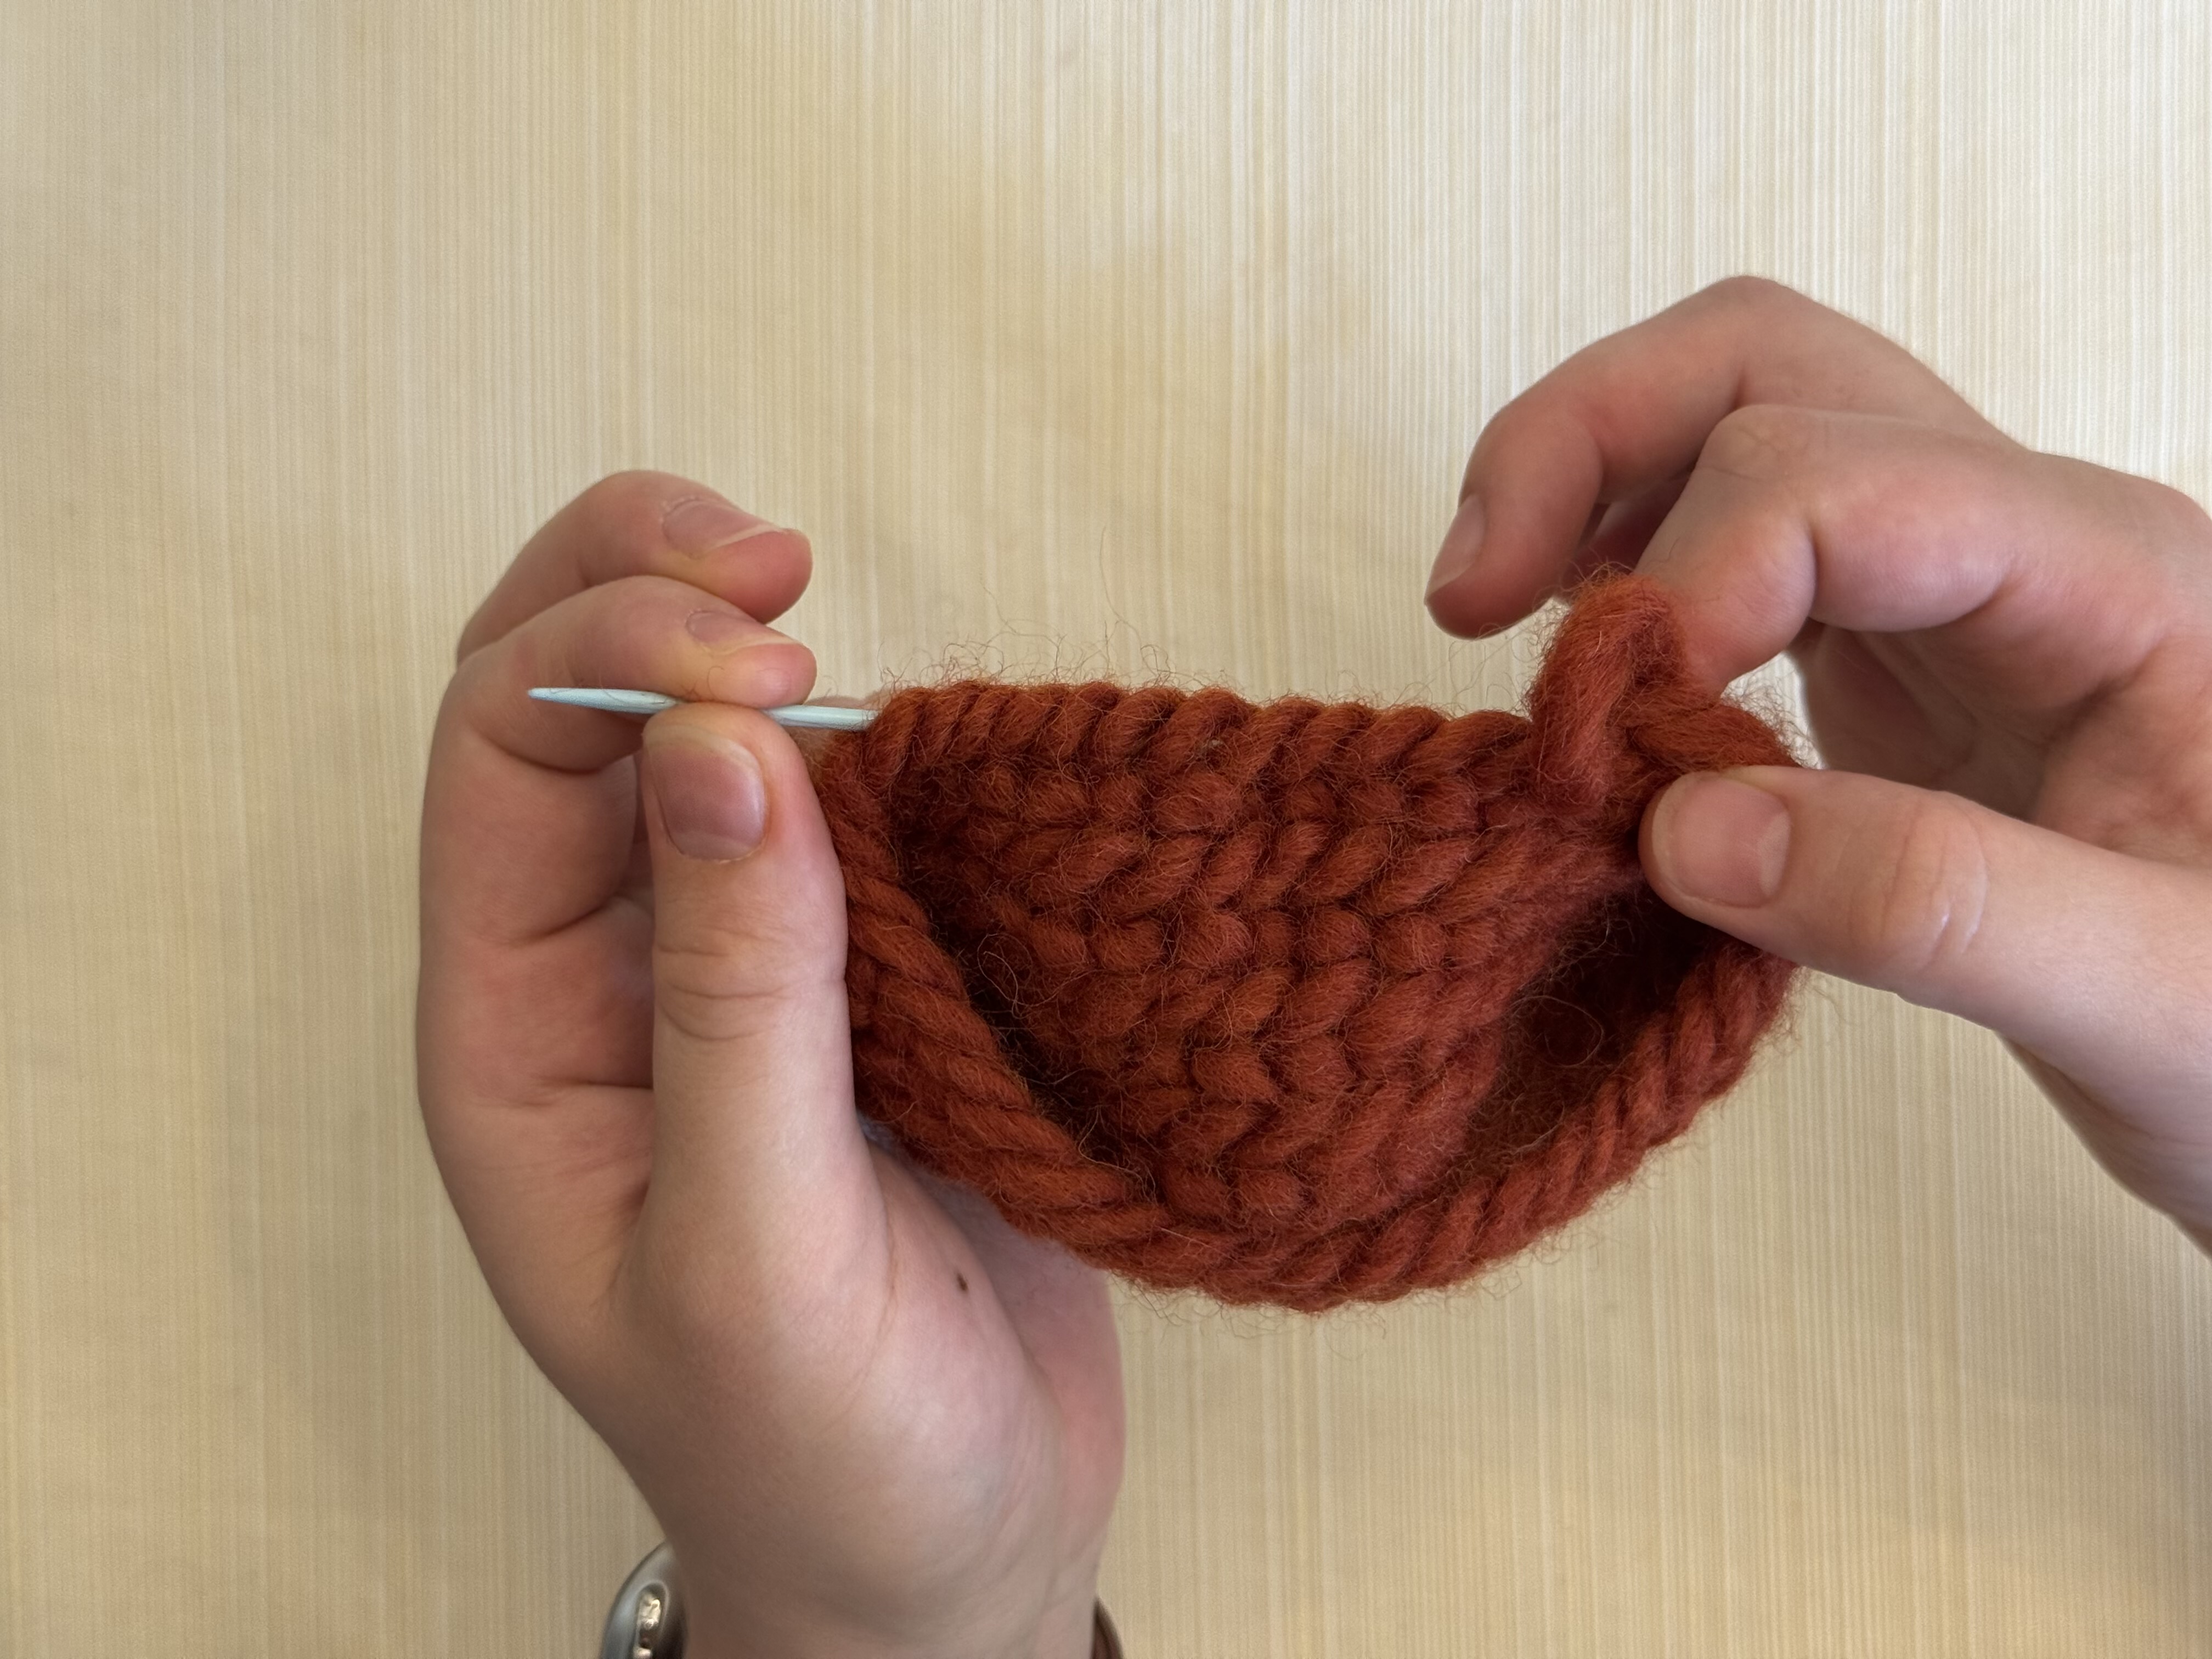
Pull the needle through to pull the yarn tail inside the loops.
Keep pulling until the needle comes out and off the yarn.
There may be a little tuft of yarn sticking out. You can either tuck this into the next few loops with a crochet hook, or cut it off.
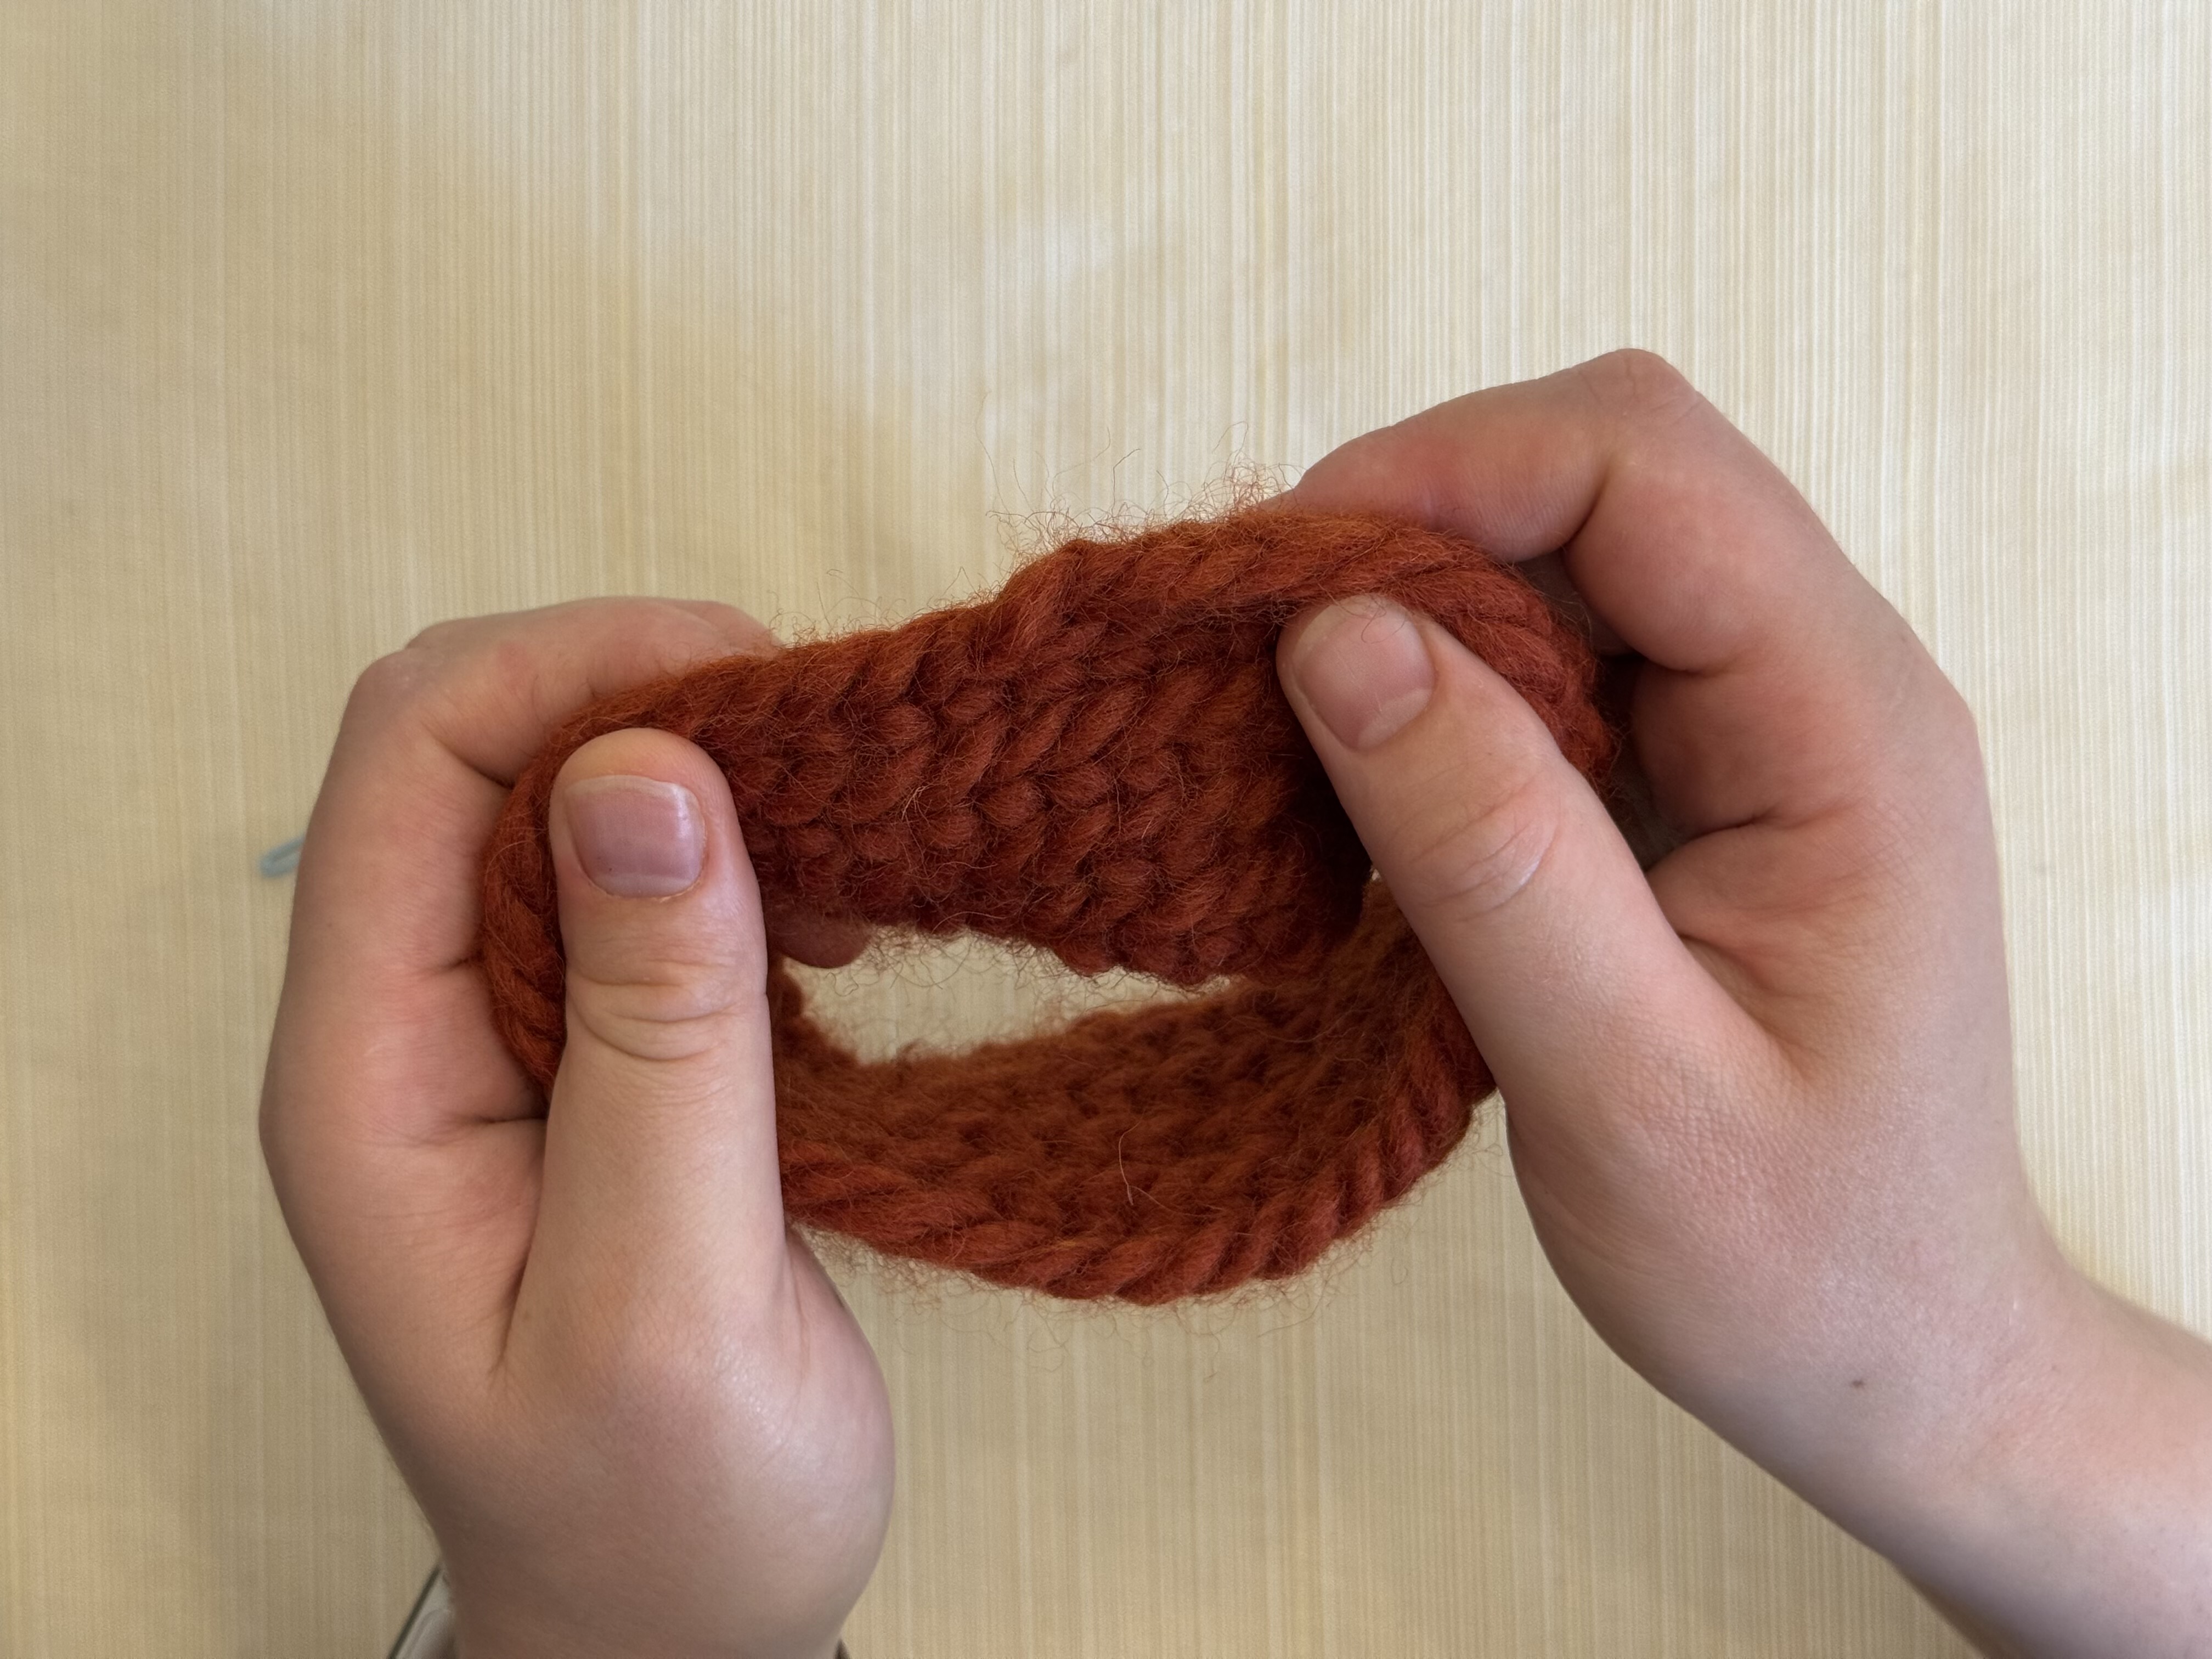
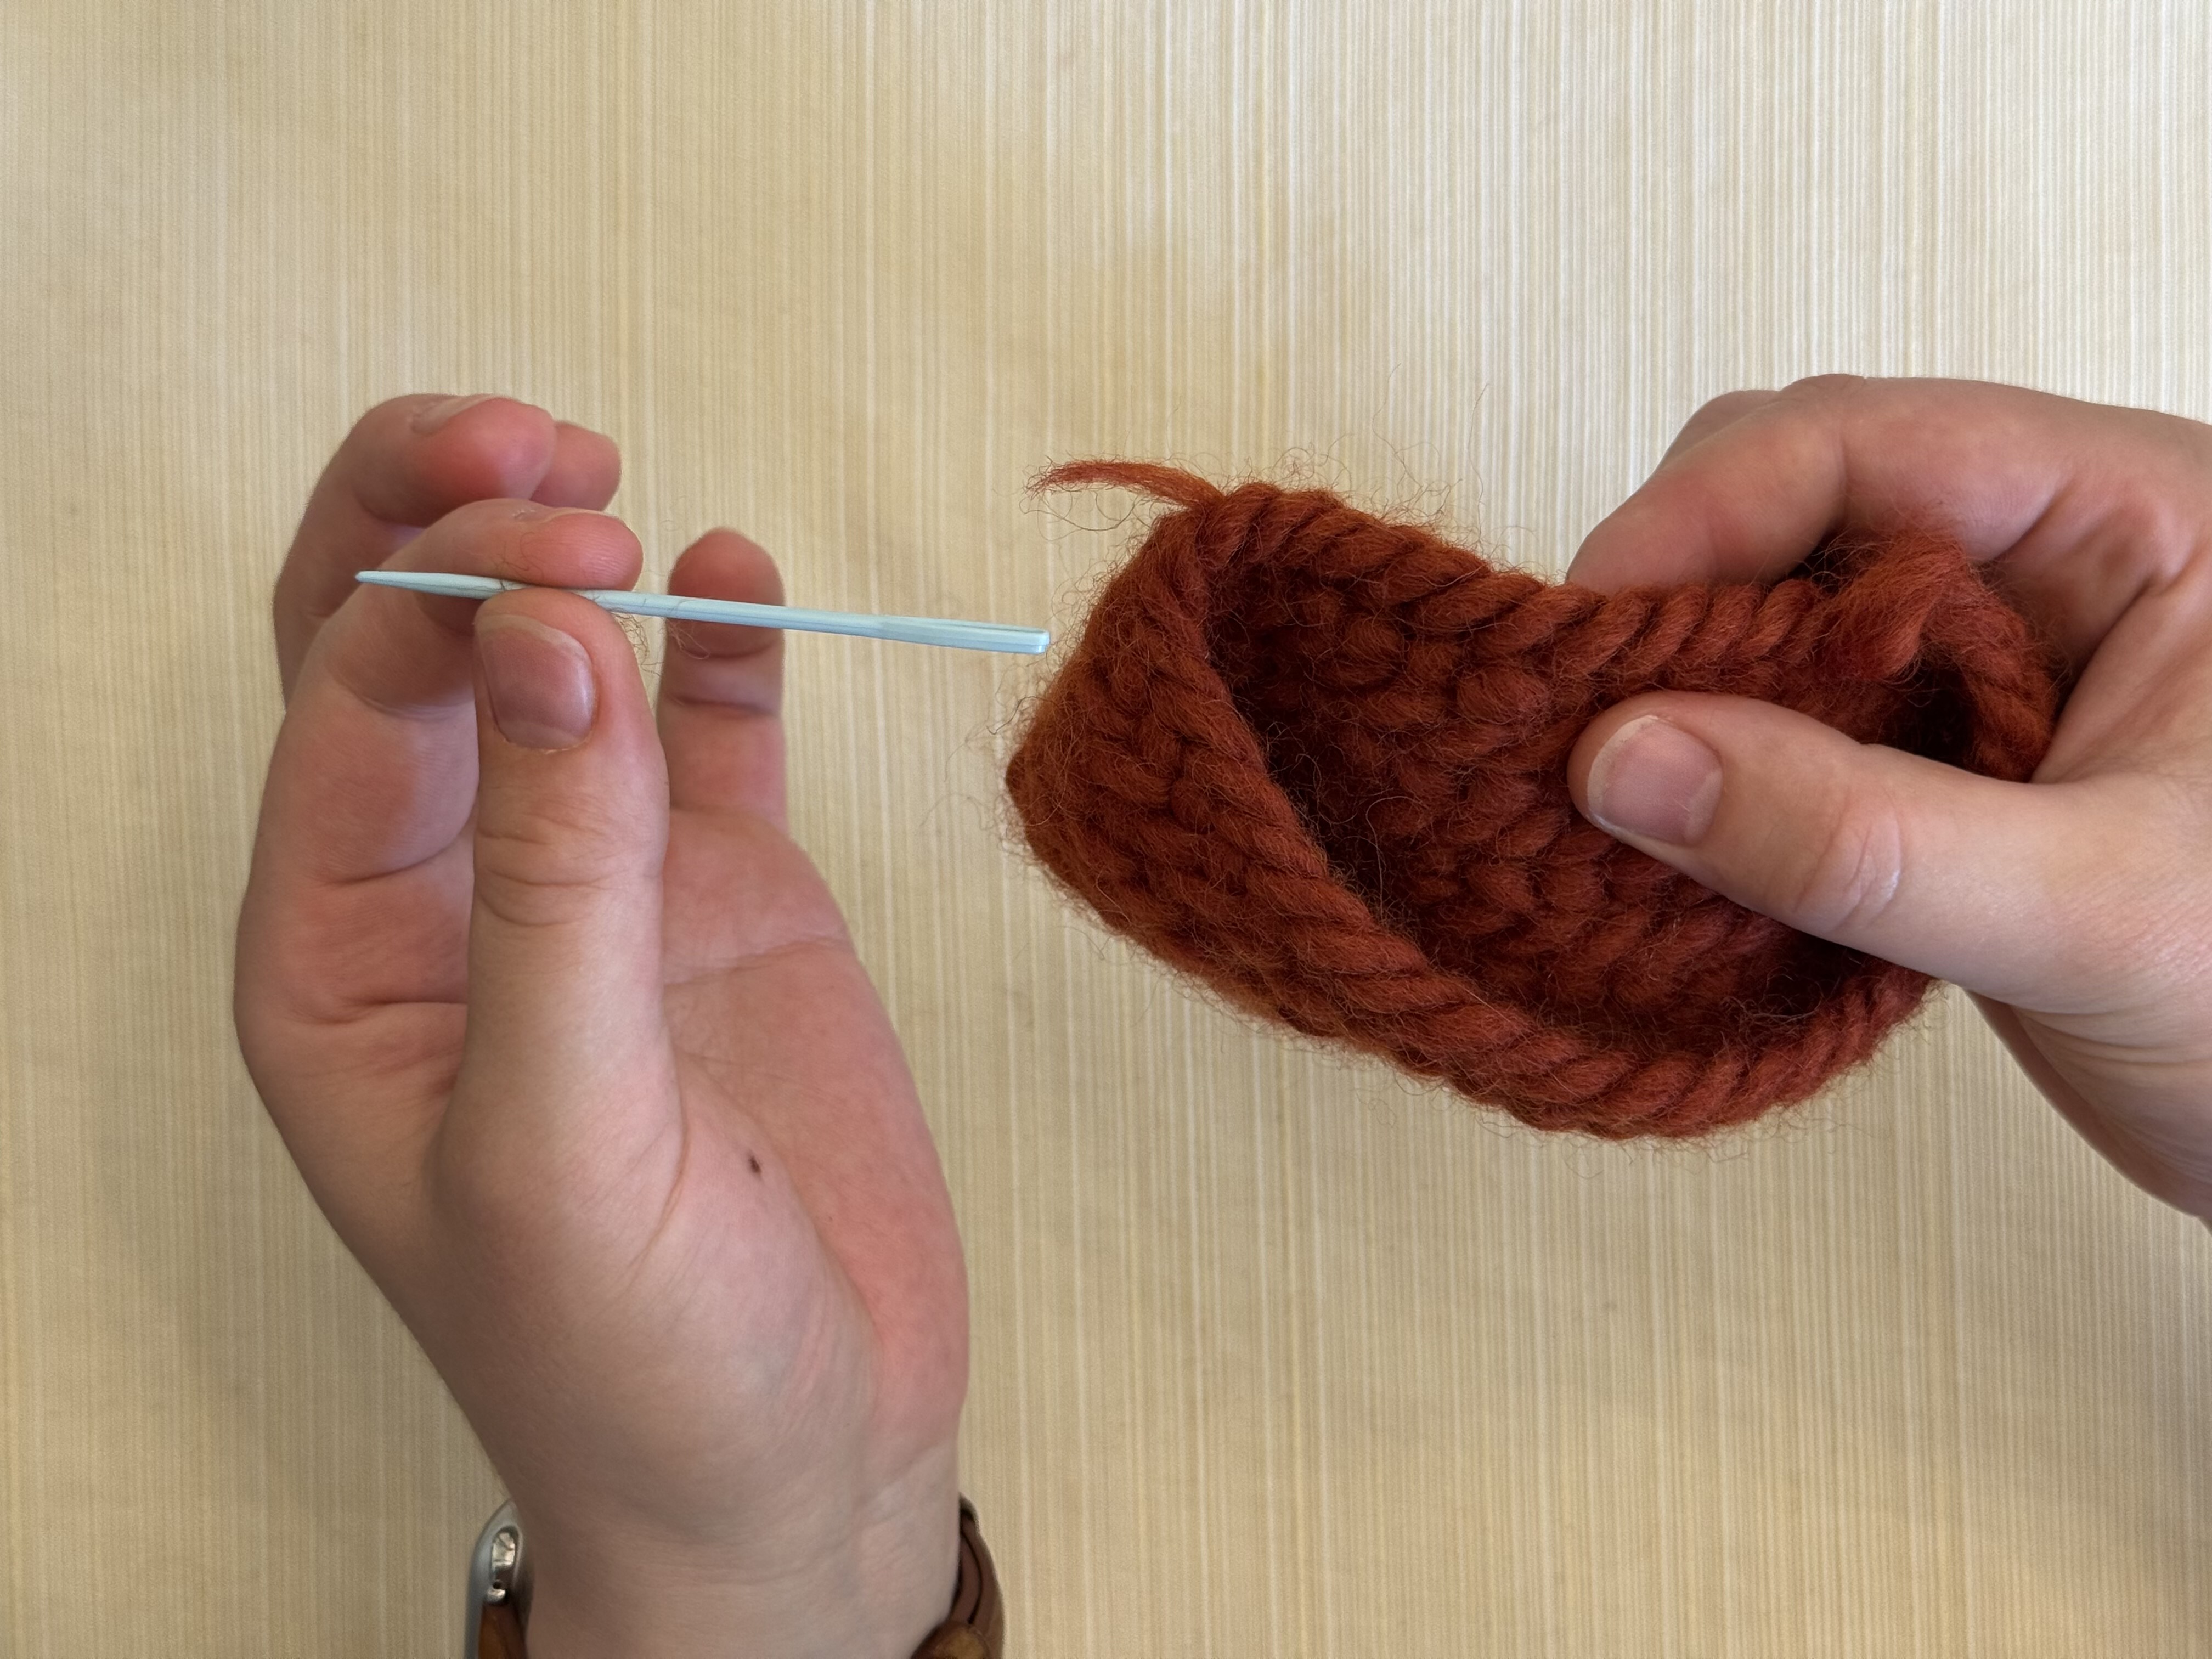
Here’s the inside (back) of the row, after sewing in the end.

Here’s the outside (front). There’s still a bit of a bump, but it’s much less noticeable.
To hide the starting tail of your yarn from your very first stitch, use the same process to sew the end into the loops on the row above.